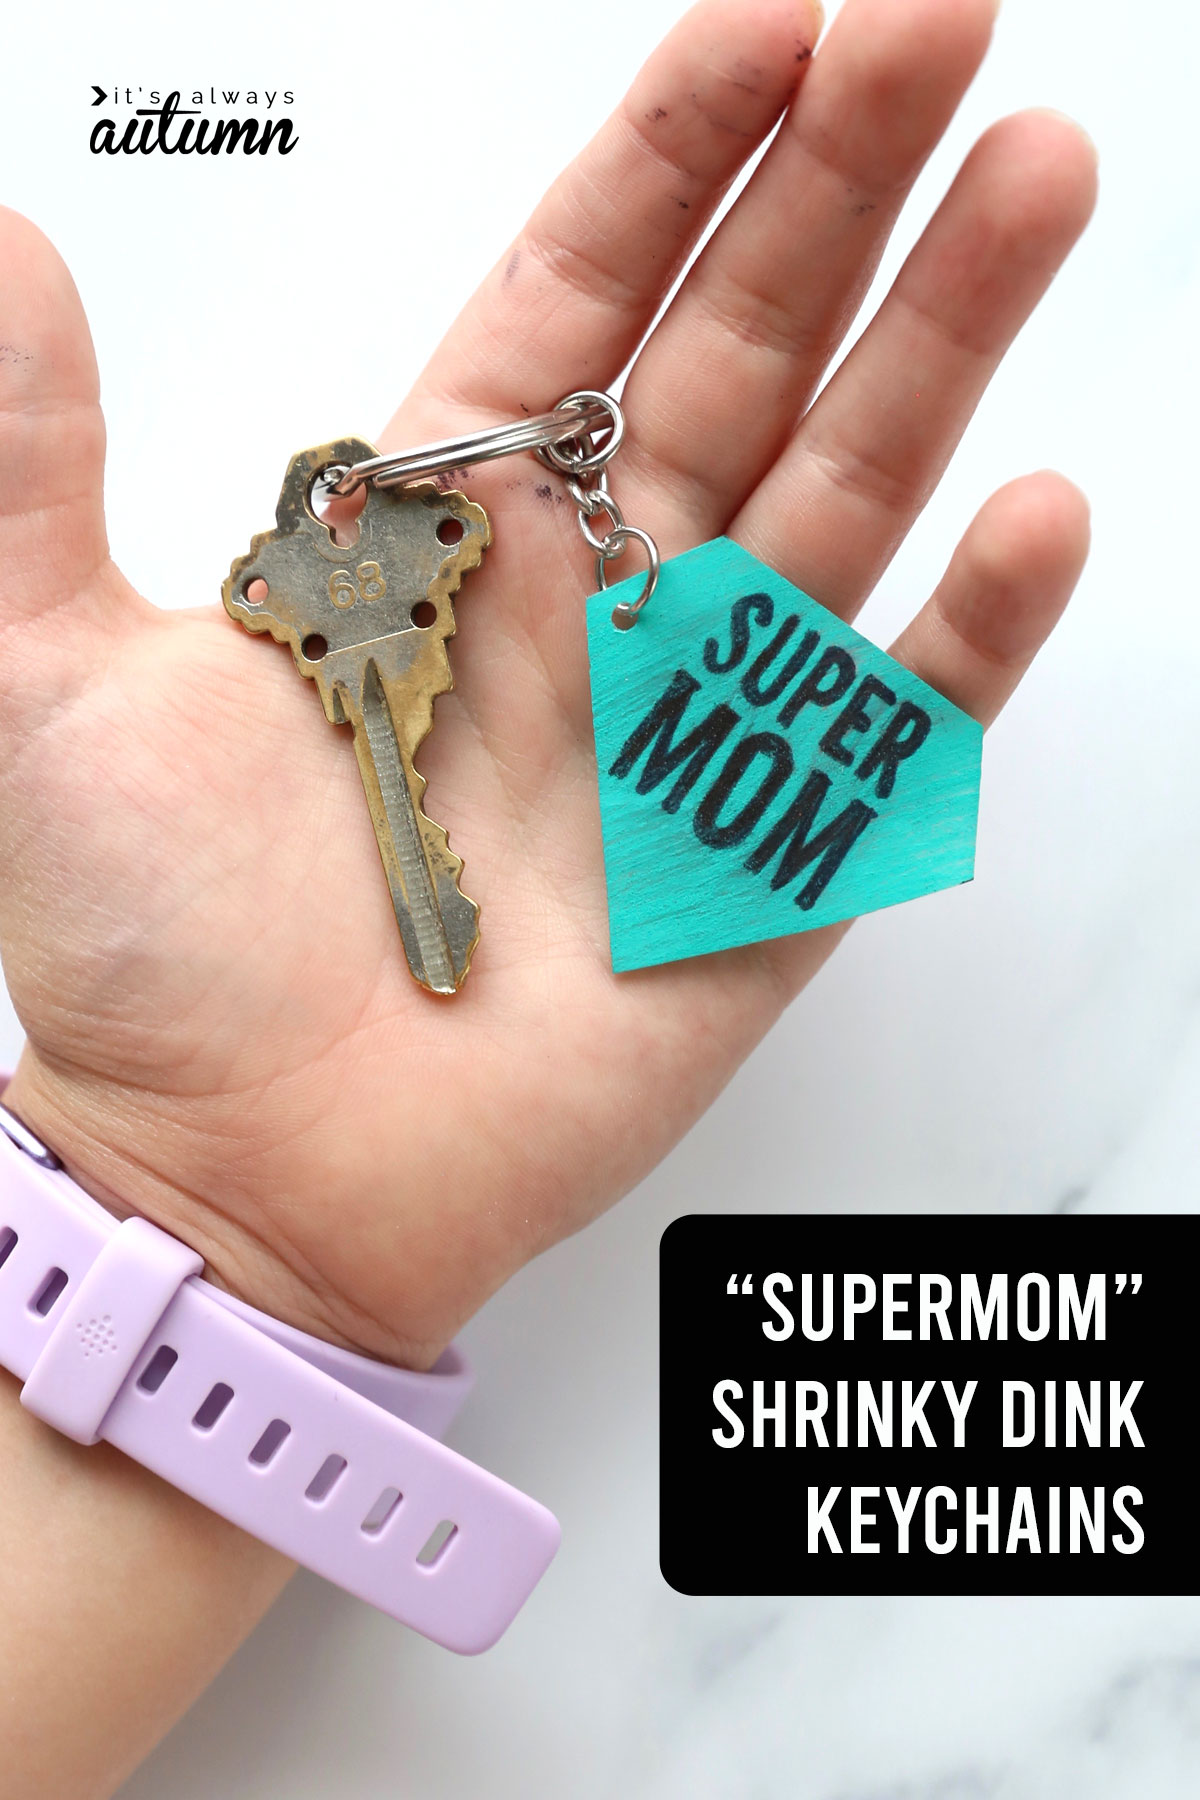
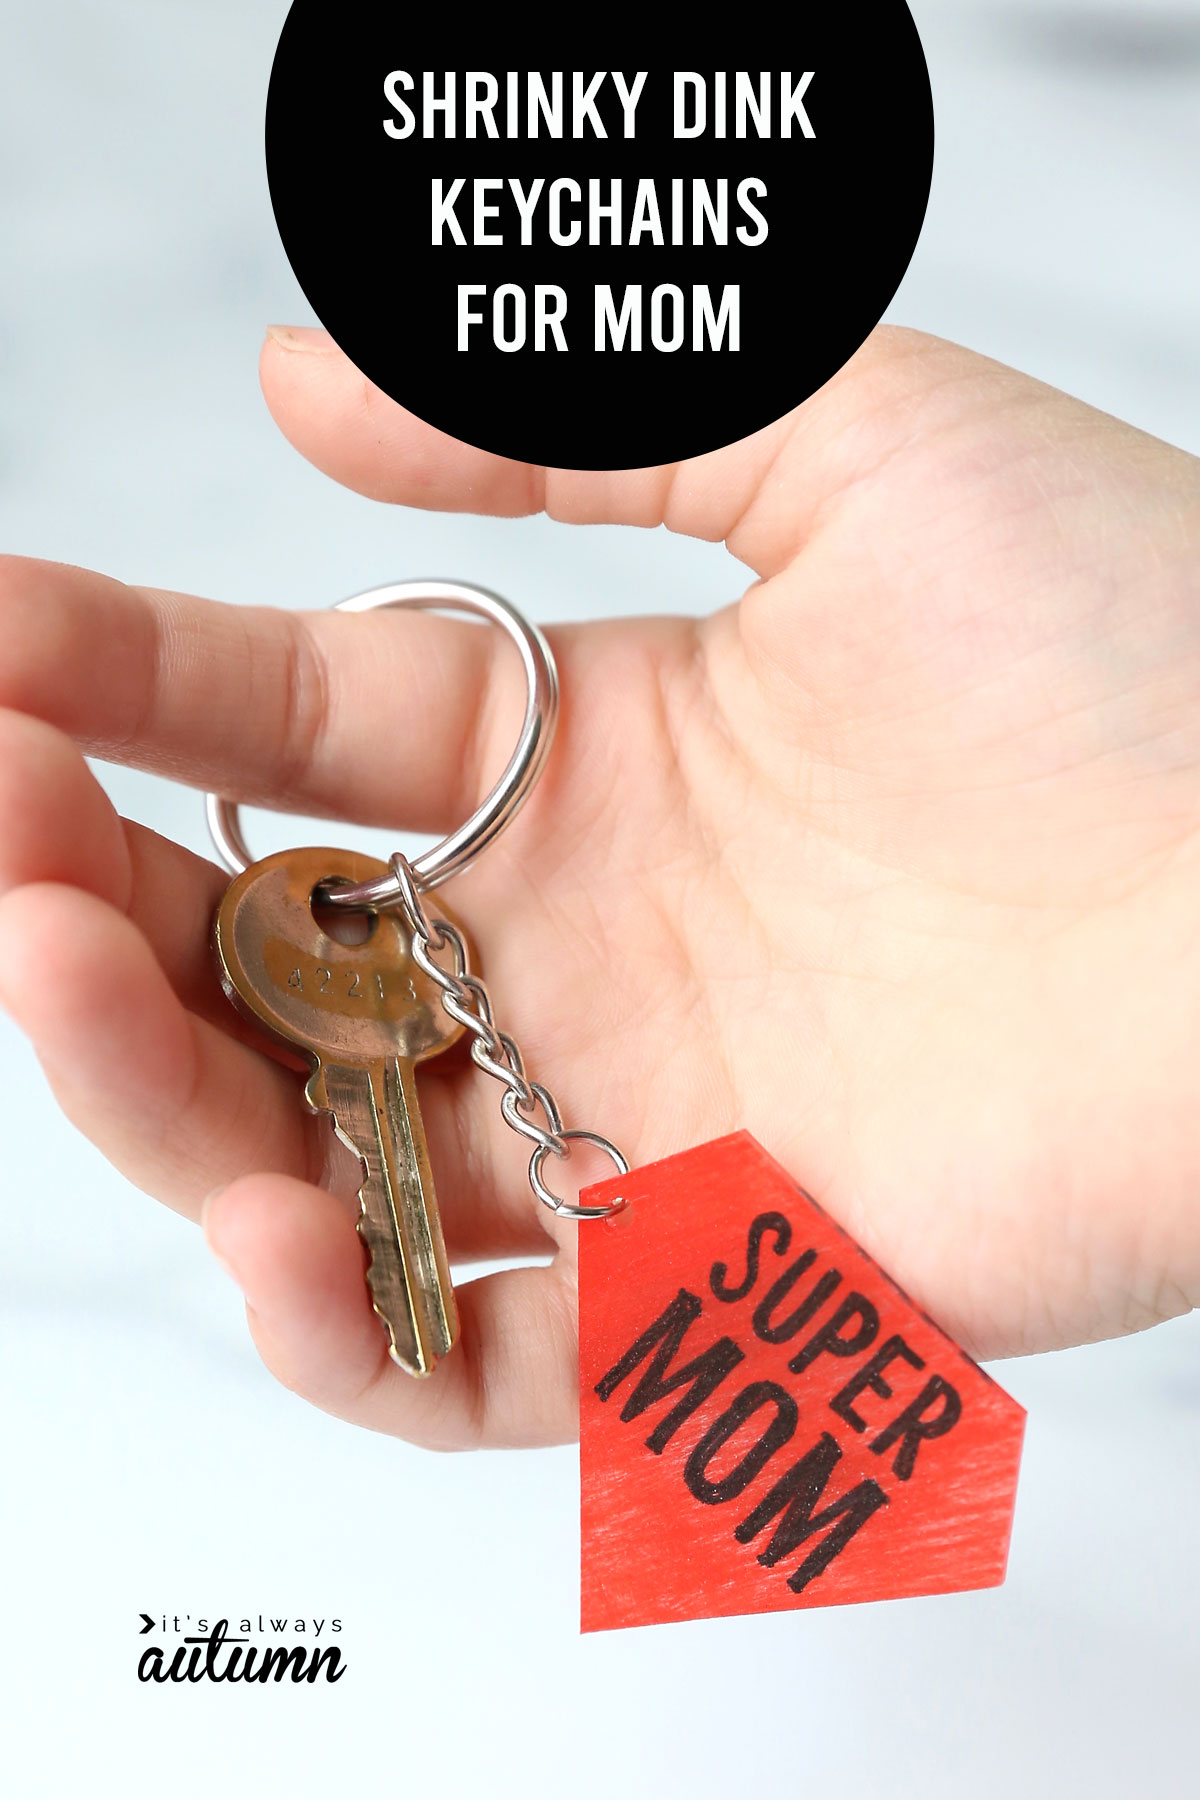
In today’s post: Shrinky dinks are so much fun! Grab the template for the adorable SuperMom shrinky dink keychains.
Well, Mother’s Day is right around the corner, which means it’s time for us all to start making and/or buying our own gifts, right? 😂 I always feel a little silly posting DIY Mother’s Day stuff…because if anyone is doing a DIY with my kids it’s me, which means I’m basically making whatever it is for myself. But I figure that’s just fine. I make birthday cake for myself every year (because I’m really picky about cake), so I might as well help my kids make me something cute for Mother’s Day!
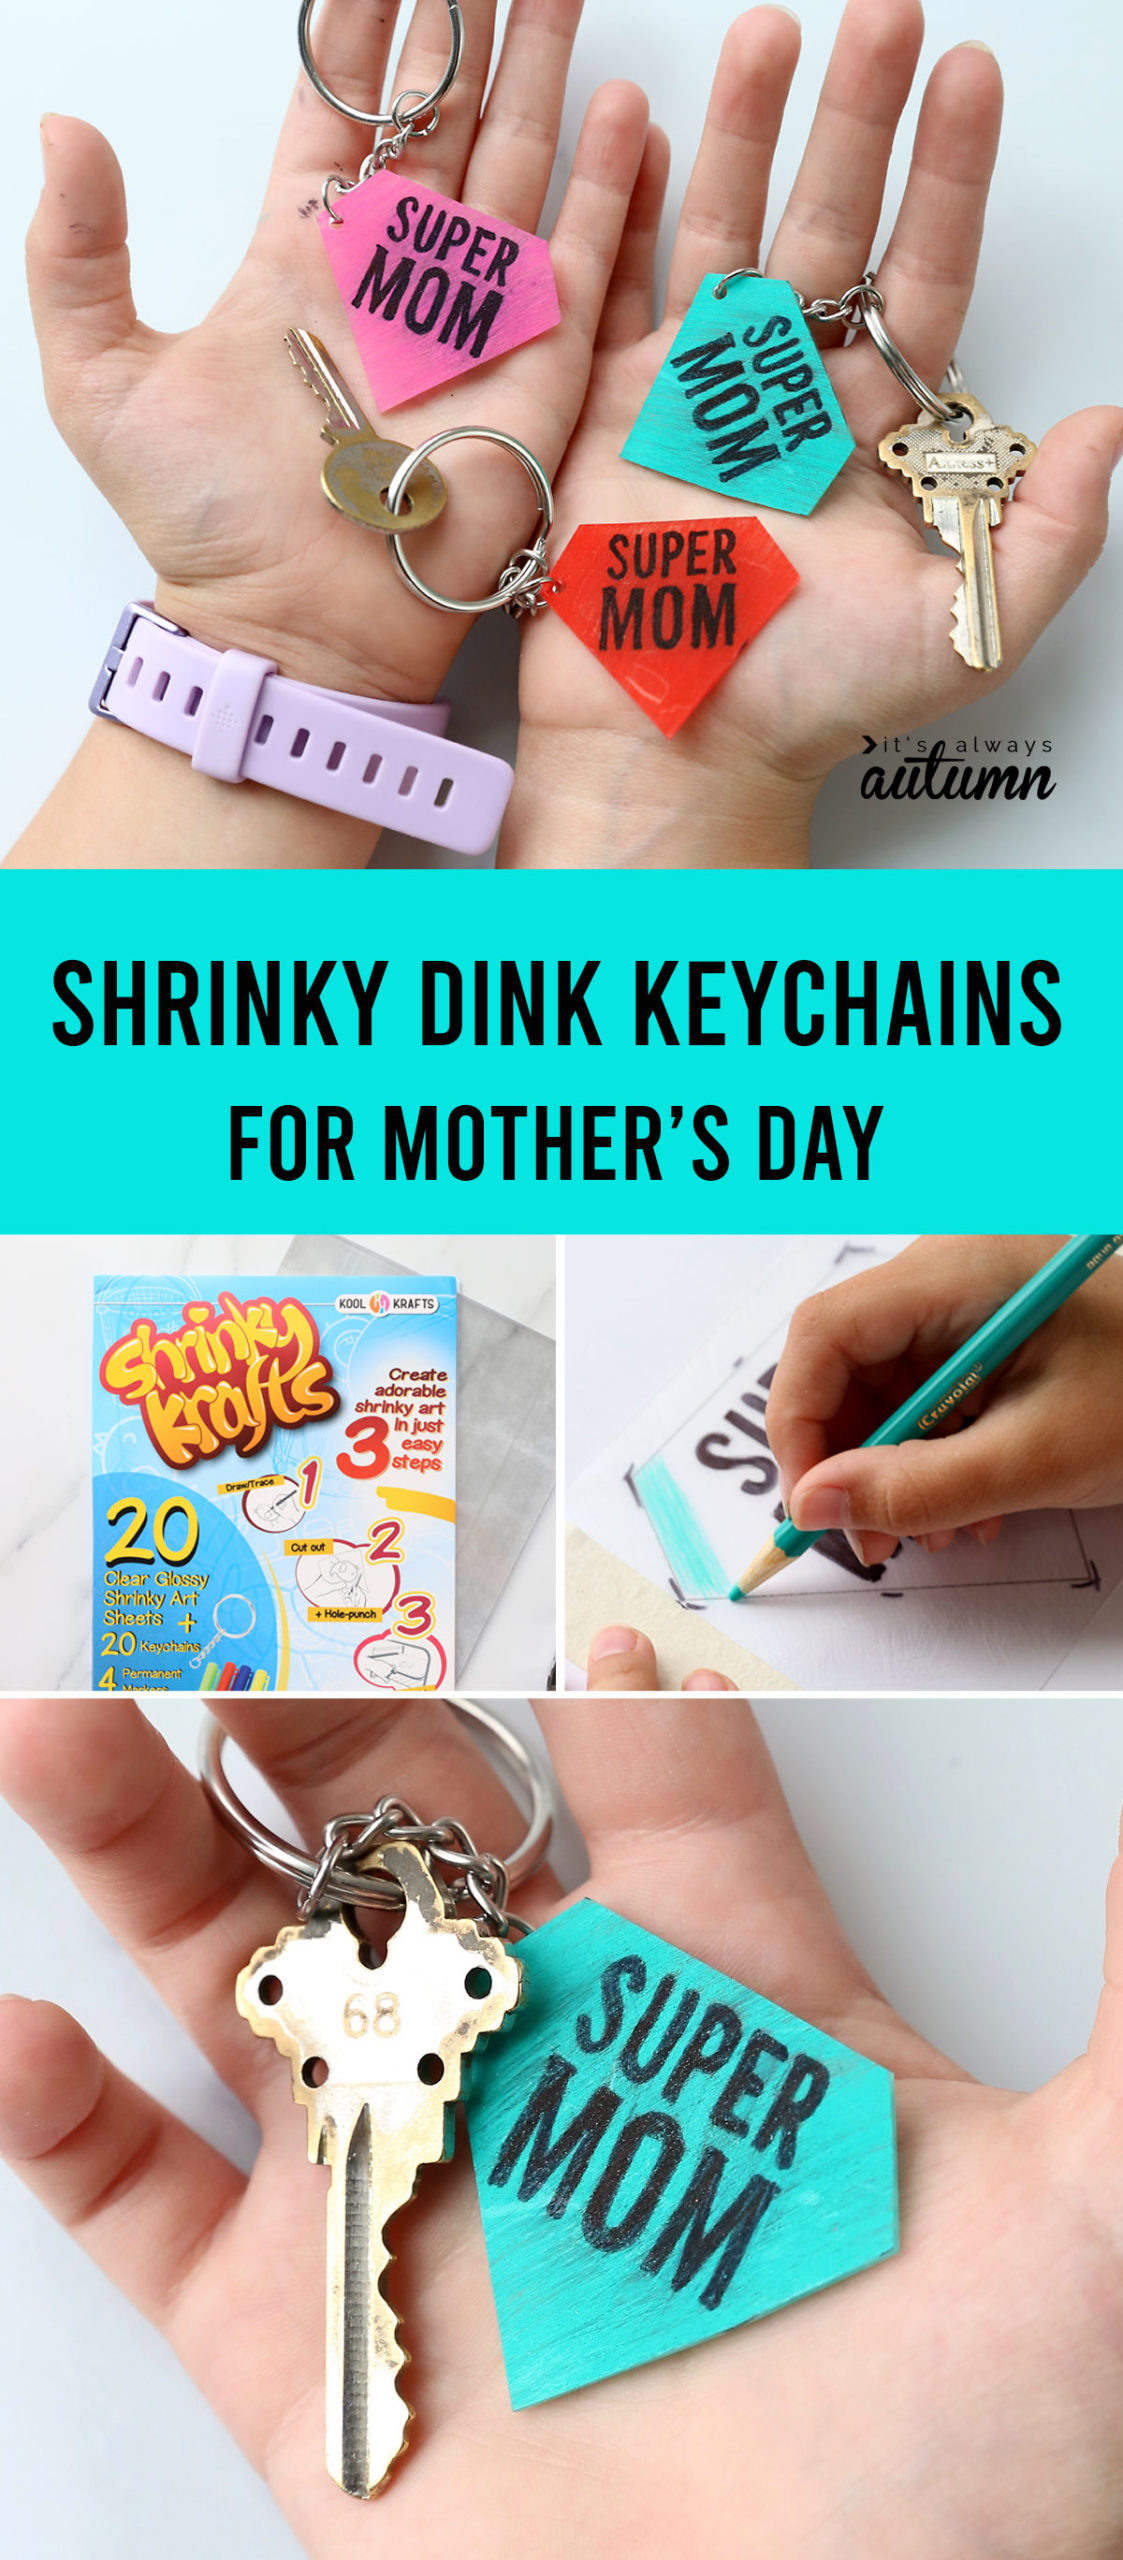
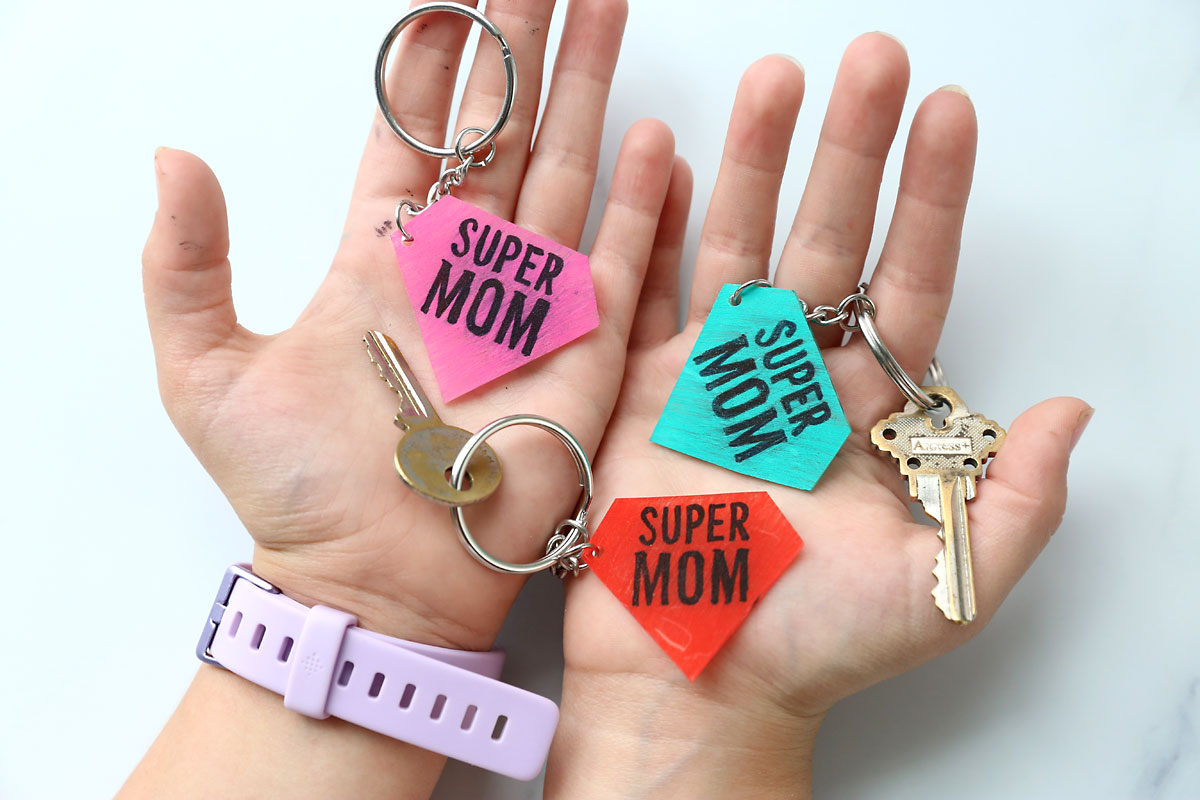
And hey, maybe some of you are dads, or grandmas, or teachers, or someone else who can help kids make a little gift for their mom. Perfect! Help them make shrinky dink keychains for Mom:
So I had NEVER used a shrinky dink until a couple of months ago, when I ordered a package of shrinky sheets to play around with. MY CHILDREN ARE HOOKED! They absolutely love this stuff.
In case you don’t know what shrinky dinks are, here’s the rundown:
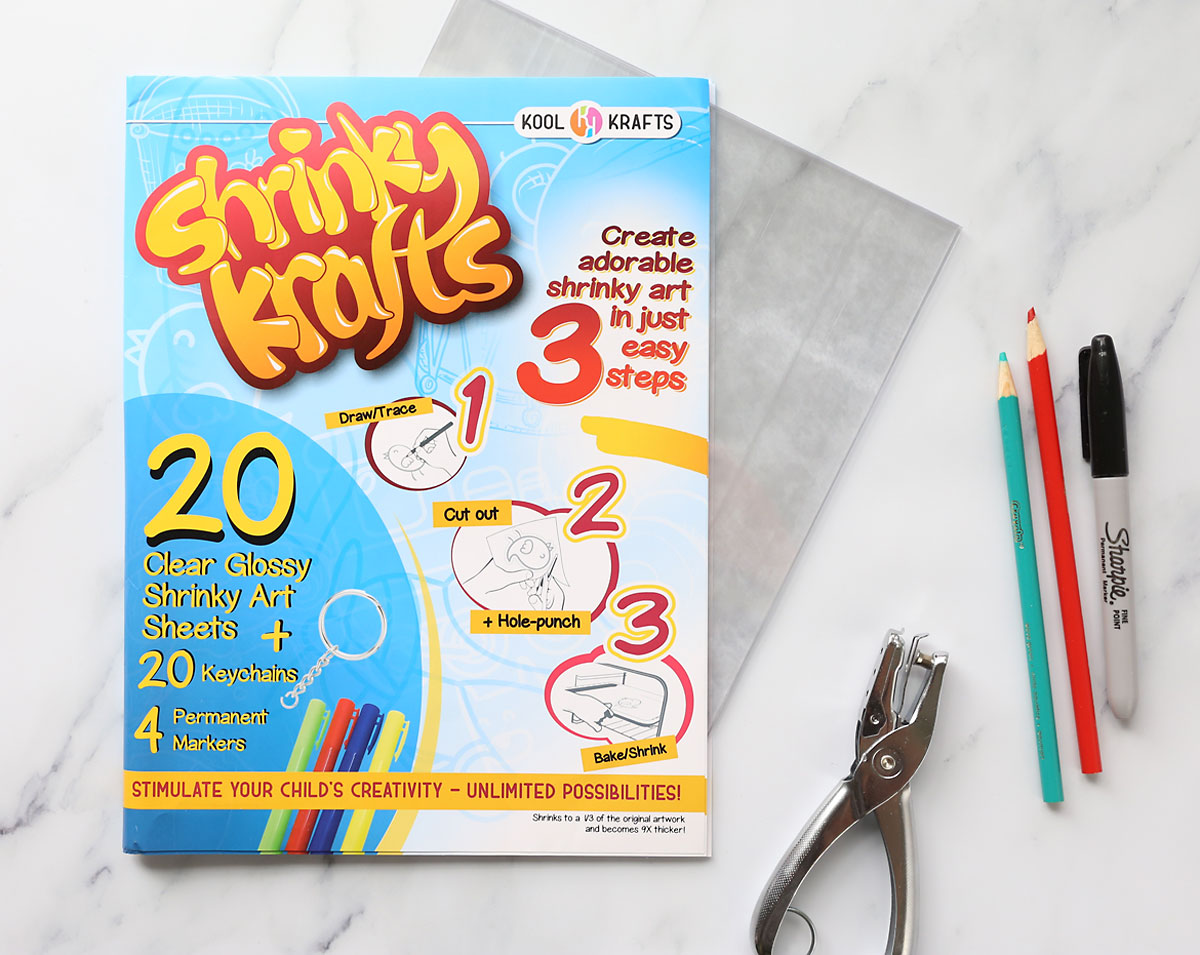
- You buy a package of shrinky sheets, which look like transparency sheets but are a little thicker.
- Kids can trace a design or color their own on the shrinky sheet, then cut it out.
- Bake the shrinky sheet in a 325 degree oven for 5 minutes – the design shrinks to about 1/3 of its original size.
- When it cools, the shrinky dink design hardens up and becomes thick and durable.
Sounds simple maybe, but it’s really fun!
My kids especially enjoy tracing a design on the shrinky sheet – it’s easier to make something cool when tracing at a larger size. So I made a template for this Super Mom keychain that you can print out and trace. Keep reading for the step by step!
NOTE: My kids are 9 and 11 and both were able to do a pretty good job tracing the letters and coloring in the design. The 11 year old can do the baking by himself as well. Small kids may have a harder time tracing the letters, so it might make sense to have an adult do that part and let the child color in the background.
Supplies for a Shrinky Dink Keychain
This is what you’ll need to make the SuperMom shrinky dink keychain:
- Shrinky Sheet – I used this brand that I ordered from Amazon (that’s an affiliate link). We have been very pleased with how these sheets have worked. This brand makes both clear and white sheets; I use clear because my kids like to trace designs
- Fine grit sandpaper – Shrinky sheets take color much better after they’ve been sanded. I believe you can purchase pre-sanded shrinky sheets but I haven’t tried them.
- Black Sharpie
- Colored Pencils
- Scissors
- Hole Punch
- Key Chain – the Shrinky sheets I linked above come with keychains
How to make a Shrinky Dink Keychain
First, you will need to download and print the template:
Click here to download the SuperMom keychain template
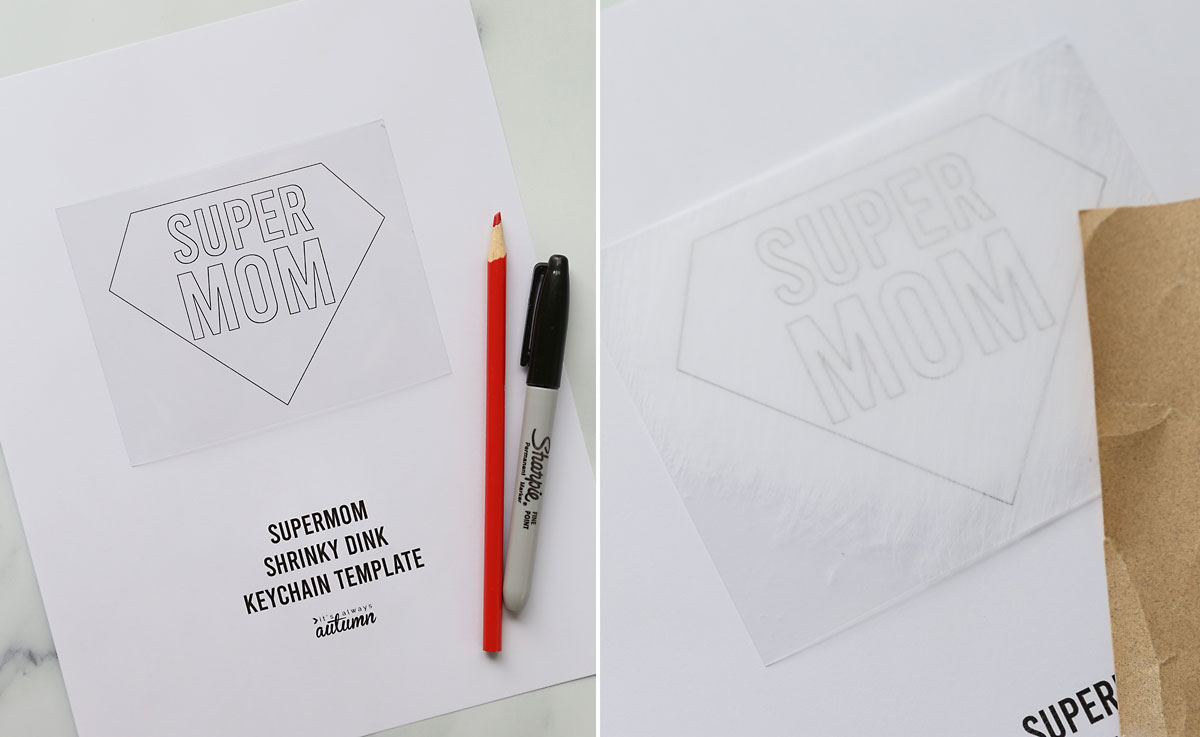
Print out the template on 8.5×11 paper at full size. Cut one of the shrinky sheets into quarters. You will only need 1 quarter for each keychain.
Using your fine grit sandpaper, sand the shrinky sheet until it’s quite cloudy (photo above on the left is before it’s been sanded, and photo on the right is after it’s sanded). I like to sand all in one direction. You only need to sand for a minute or two, but don’t skip this step or the colored pencil won’t work. Anywhere that still feels glossy needs more sanding. When you’re done sanding, wipe it off with a cloth.
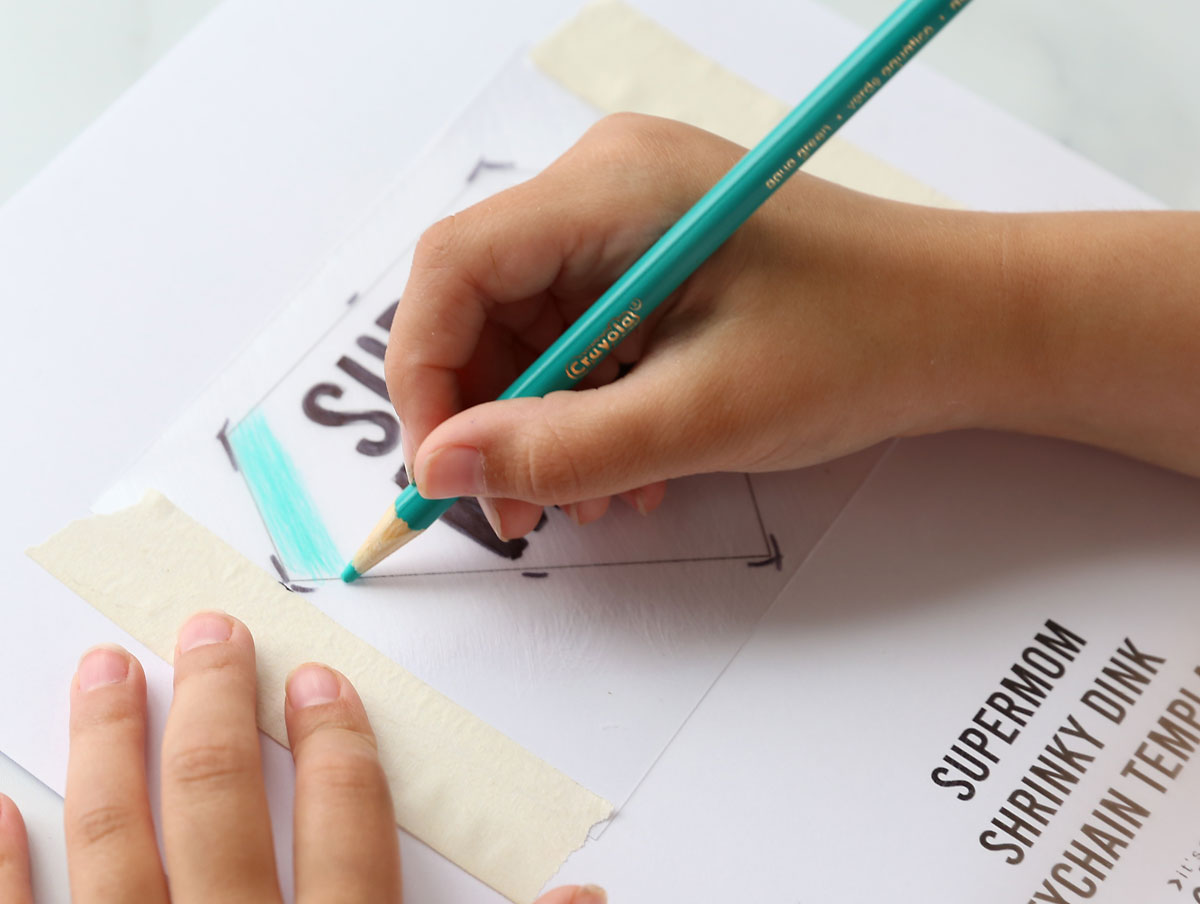
Next, use masking tape to tape the shrinky sheet to the template. This ensures it doesn’t move around as you trace. Use a black Sharpie to fill in the letters. Try to stay INSIDE the letter outlines for best results. Young kids will have a hard time doing this on their own – either an adult can help with this step OR you can just let the child do her best (Mom will love it anyway!).
The Sharpie should dry immediately, but gently touch it just to make sure and wait a few minutes it if smears at all. Then use a colored pencil to completely color in the shield shape. You can color right over the Sharpie – as long as it’s dry it shouldn’t smear. You want to get the background colored in as completely as you can. Bright colors work best.
Finally, either trace around the edge of the shield or make marks at the corners so you know where to cut.
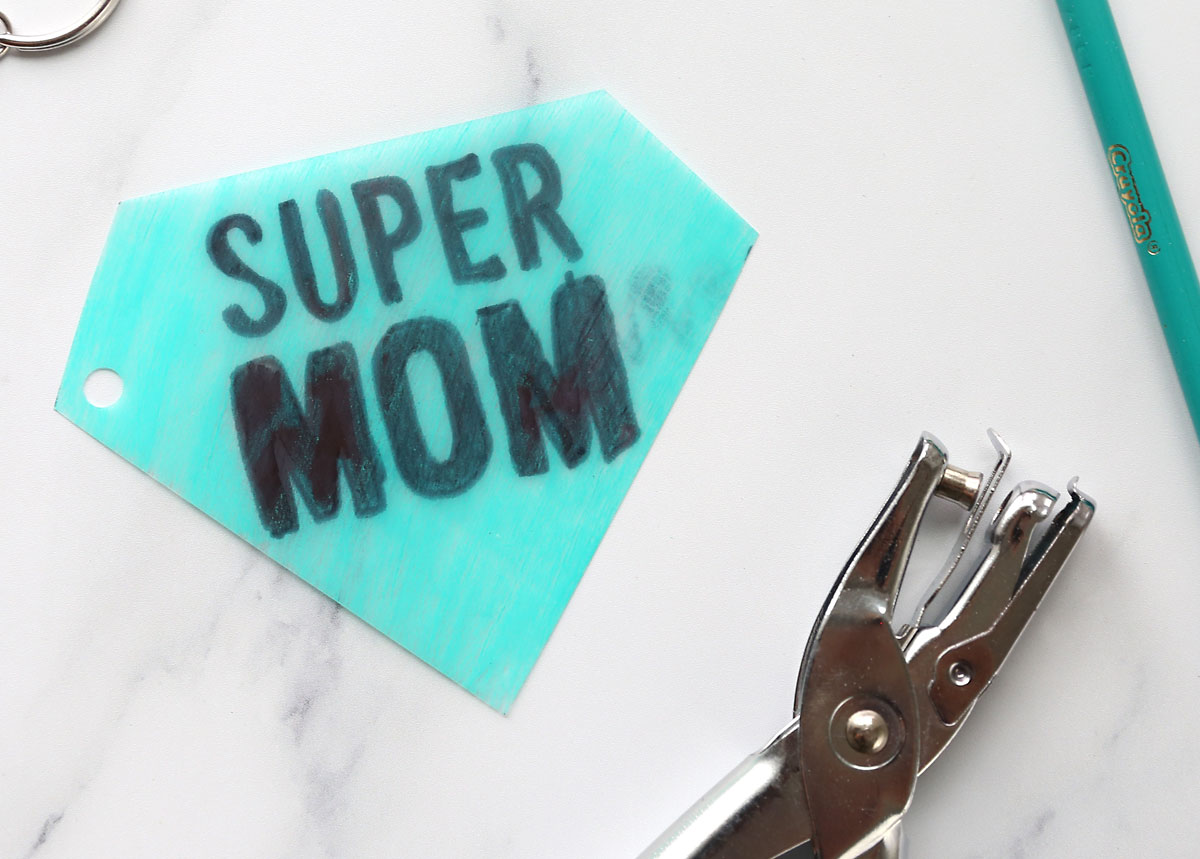
Cut out the shield and use a hole punch to punch a hole near one corner.
How to bake the Shrinky Dink keychain
Bake your shrinky design according to the package directions. If you are using the same Shrinky Sheets as I used, you will want to place your design on a piece of parchment paper on a cookie sheet (parchment paper is recommended but probably not strictly necessary). Preheat the oven to 325 degrees F. Place the cookie sheet in the oven and cook 4-5 minutes, until the design has shrunk and is completely flat again.
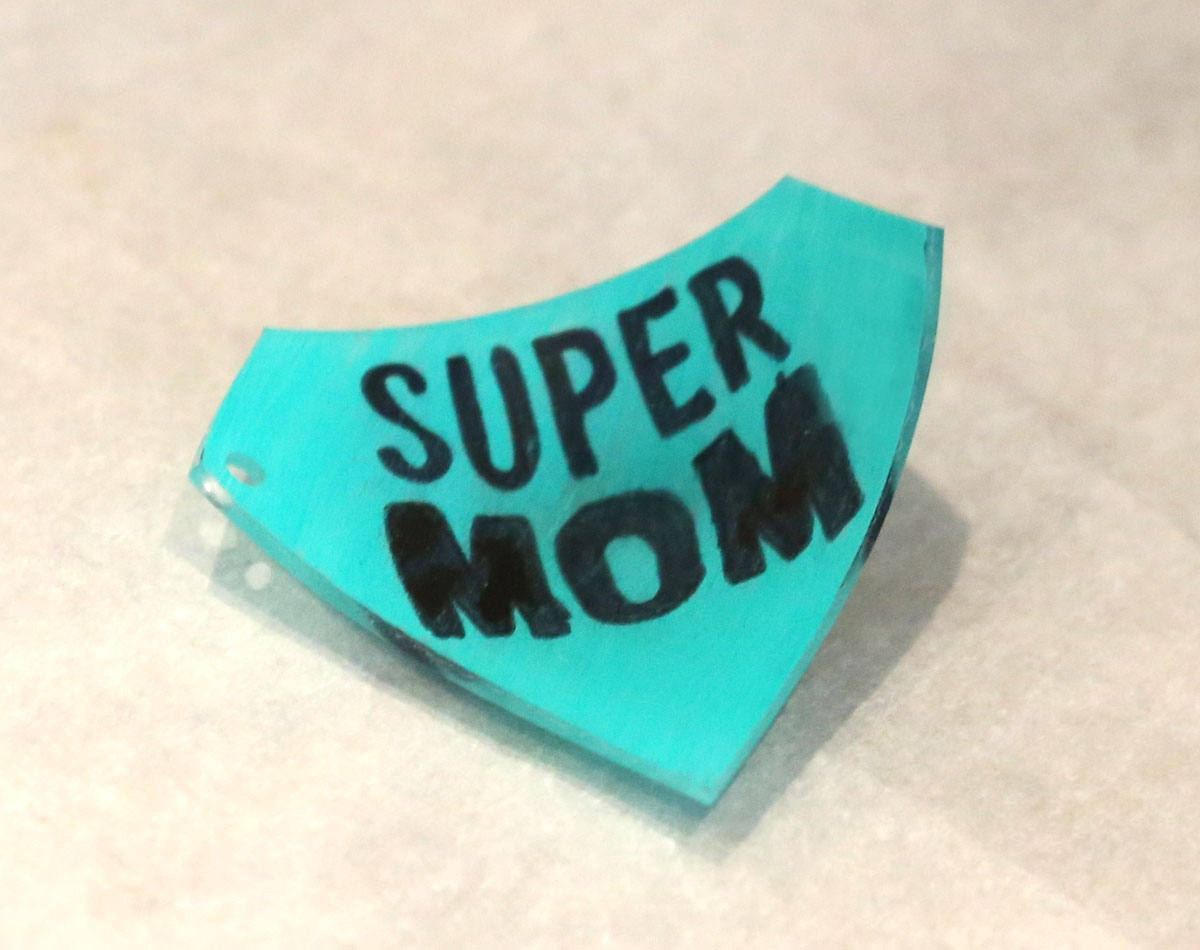
While a shrinky dink bakes, it shrinks and the edges curl up. If you look at it while it’s baking, it may look like it’s completely ruined! The edges will be all curled and it may kind of roll to one side. Here’s what one of ours looked like halfway through baking:
But don’t worry! Just continue letting it bake and it will flatten back down all by itself. Once it’s completely flat, pull it out of the oven and let it cool on the cookie sheet – it only takes a couple of minutes.
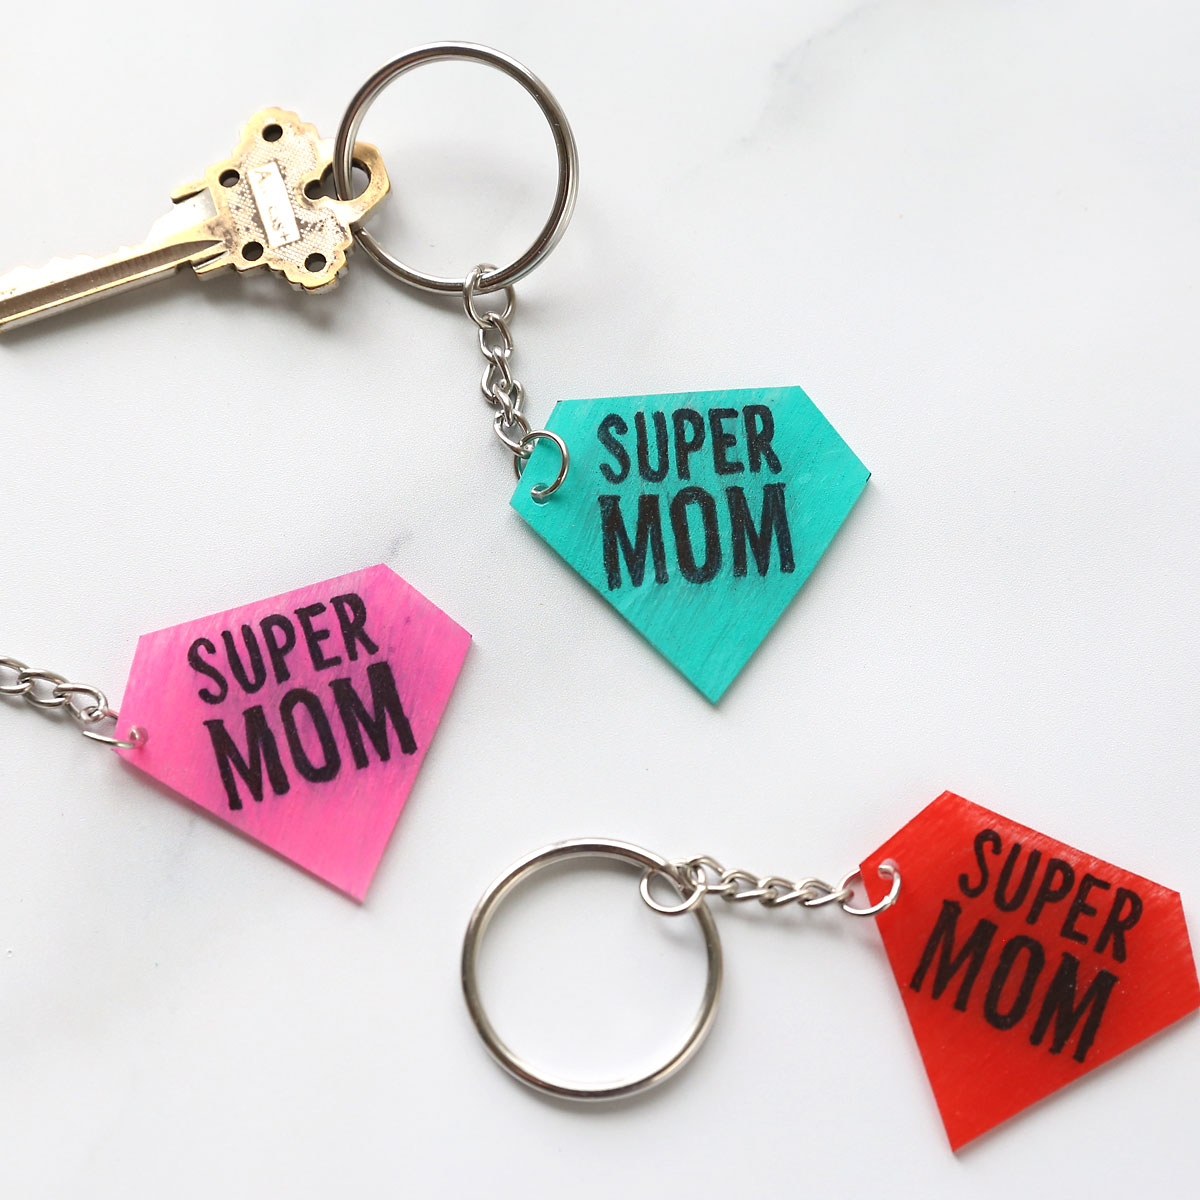
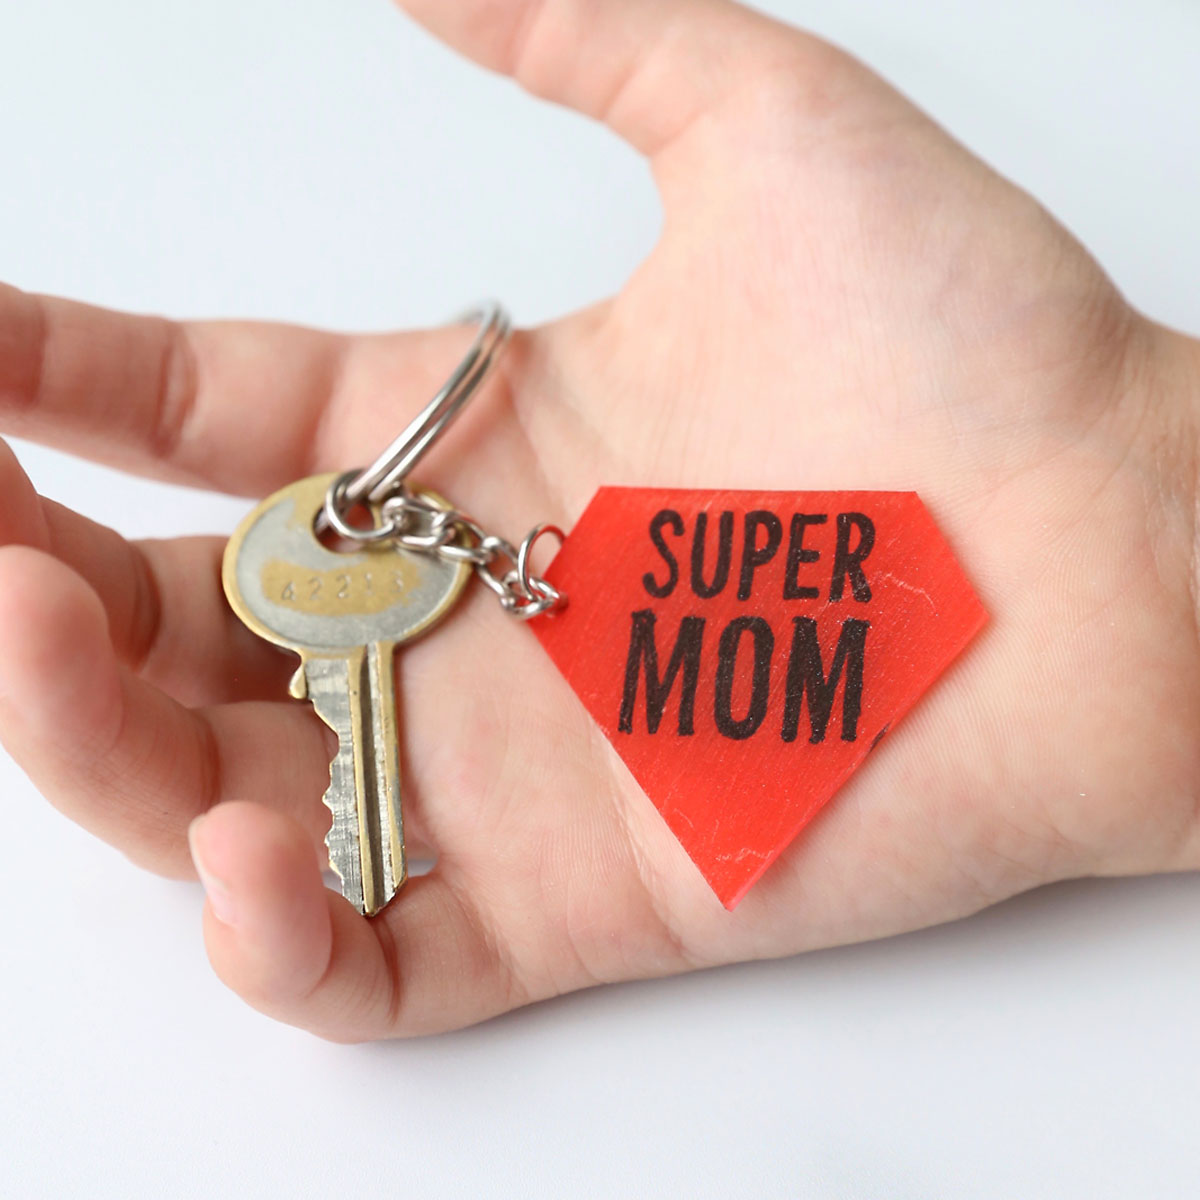
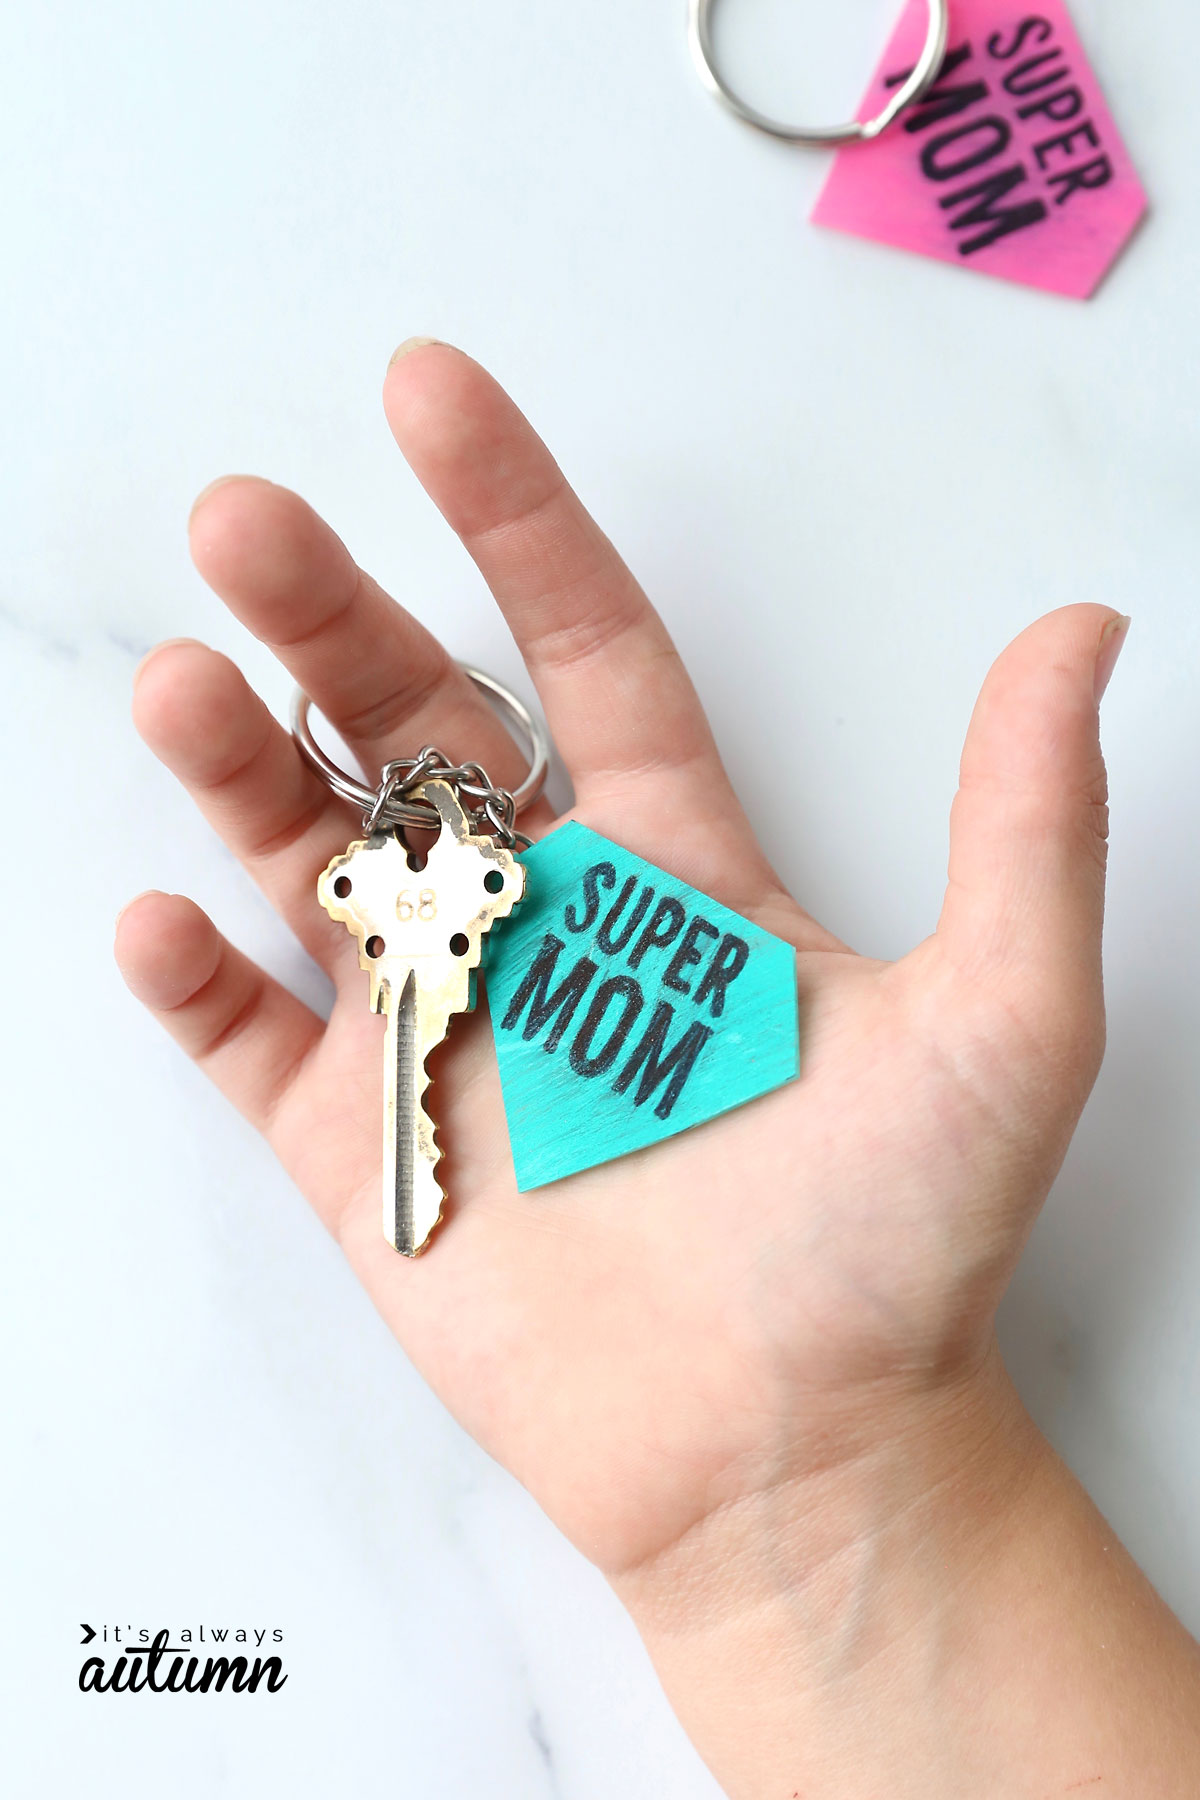
Once it’s cool, you can thread one of the included keychains through the hole:
Shrinky Dink Tips
- Remember that shrinky designs will shrink to about one third of their original size. The SuperMom shield template is 4.3 inches wide, and after baking the design shrinks down to about 1.5 inches wide. If you want it to be bigger, you can enlarge the template.
- Sharpies can be used on these shrinky sheets without sanding first, although you have to be careful not to smear them. However, we prefer colored pencils because the Sharpie ink darkens quite a bit when baked, so much that colors change. Colored pencils stay the same color during baking. Colored pencils also end up more opaque after baking than pens.
- If you can see lots of lines and empty spaces in the background after baking, that means you didn’t sand the shrink sheet well enough before coloring.
- Very large designs are a little hard to manage when baking because they can curl onto themselves and get stuck. We have found that anything that uses only a quarter sheet or less bakes very well.
Happy Mother’s Day!
More Mother’s Day Projects
How to Make a Fingerprint Heart Necklace
Print + Color Mother’s Day card
How to Make an Explosion Photo Box
20 DIY Photo gifts perfect for Mom




Leave a Comment