
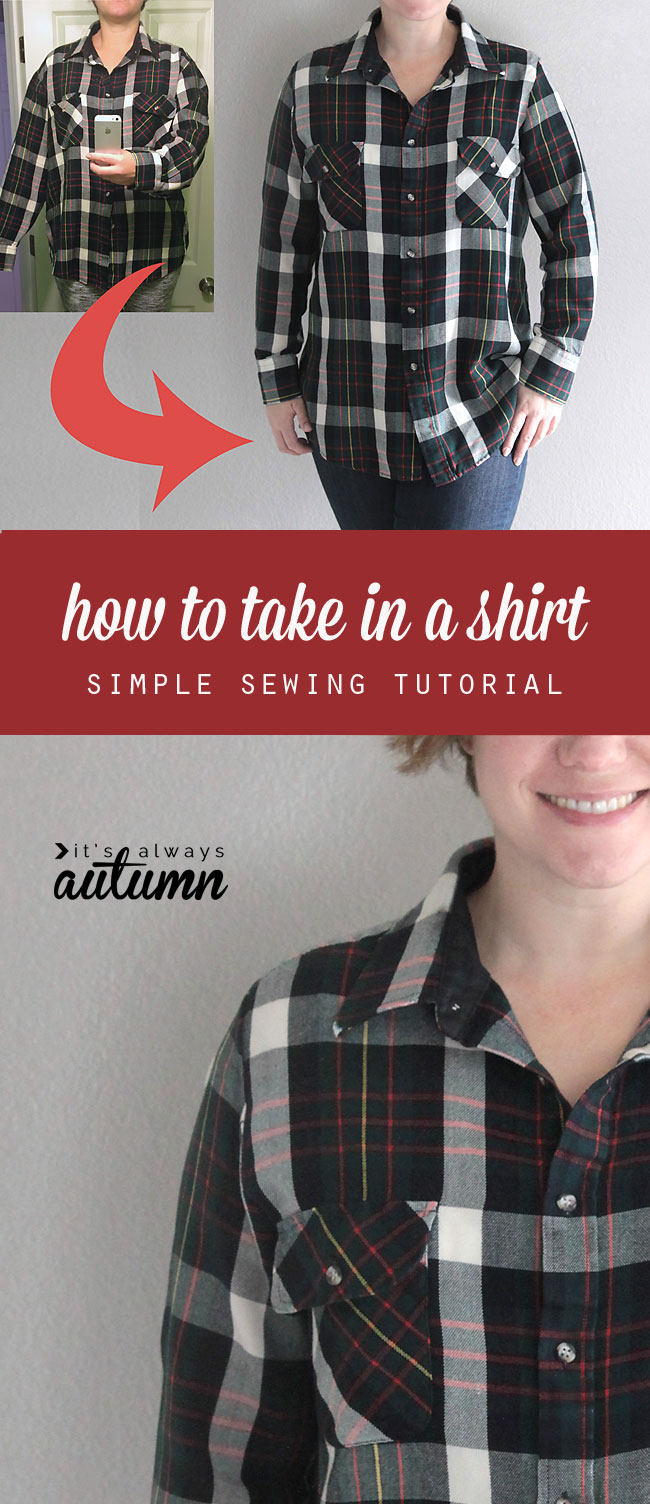
In today’s post: Learn the right way to take in a shirt so you can make a large shirt smaller and still have it look great!
Plaid flannel shirts are back! It feels like high school to me when I see all this plaid in the stores. Of course, not many of us are wearing our flannel with Doc Martens anymore (remember those days?). I’ve purchased a few comfy plaid flannel shirts, and I have one beef with them: flannel shrinks, so after a few washes the shirt still fits fine in width but ends up just a little too short. My solution? Buy larger men’s shirts at the thrift store and take them in for the perfect fit with a little extra length. Today I’ll show you how to take in a shirt the right way. It’s pretty simple!
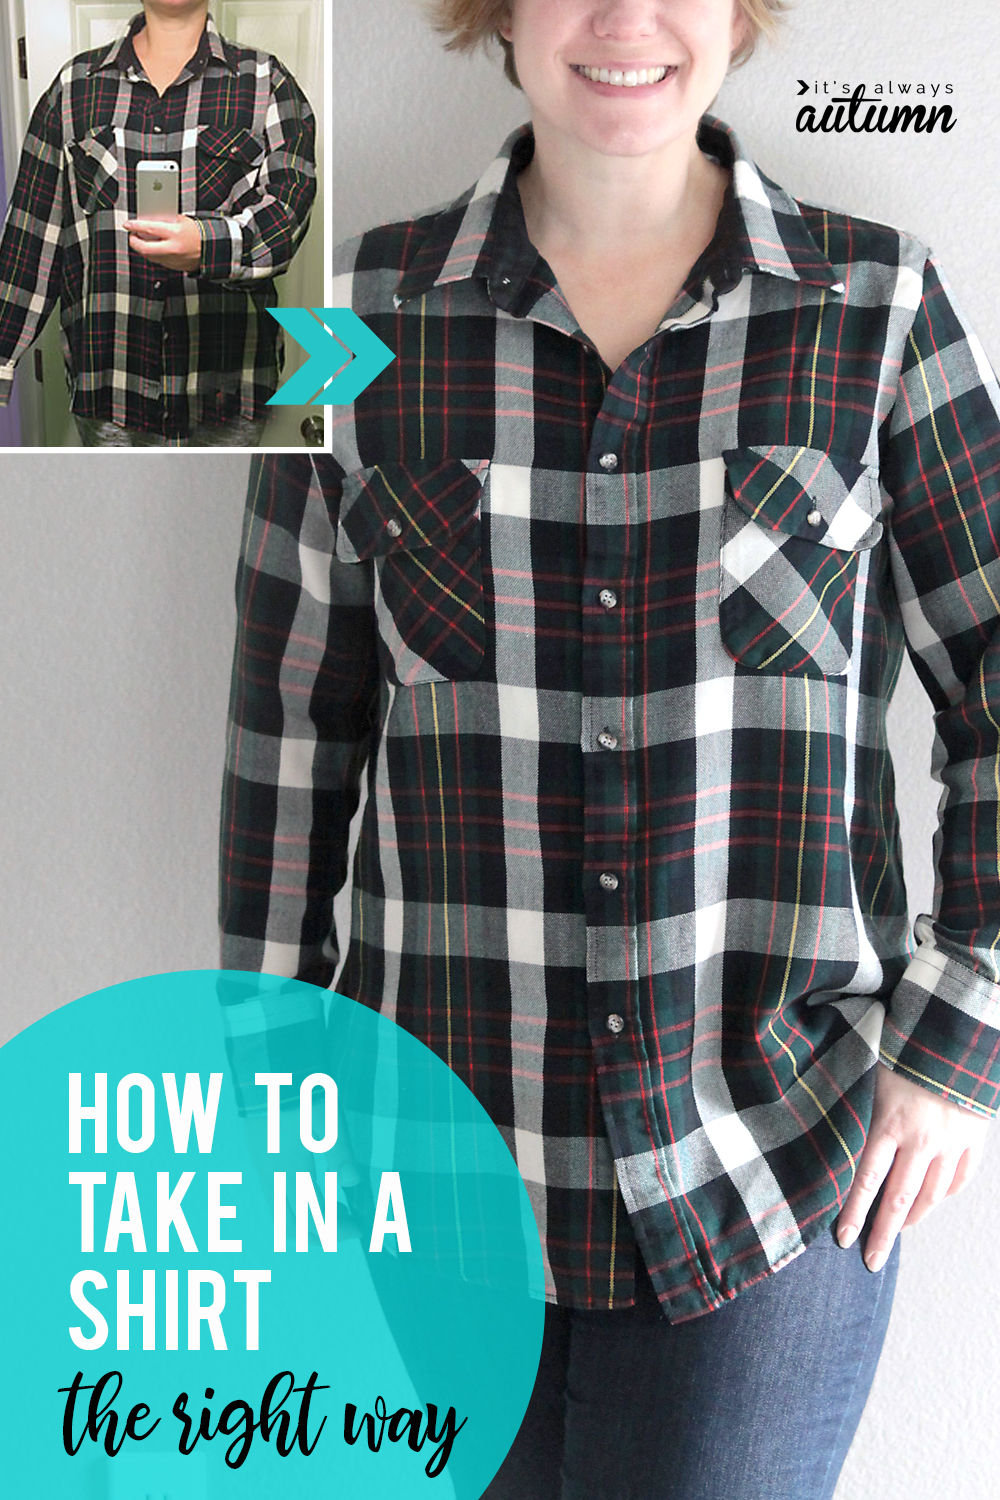
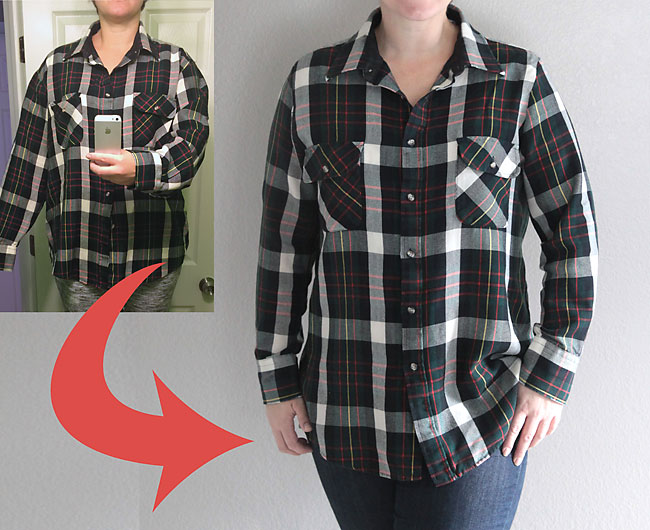
Take a look at the before and after of my flannel shirt. It always seems like I should just be able to wear an oversized shirt and have it look cute – it sure looks cute when girls on TV do it – but no, it doesn’t turn out that way. Oversized shirts just make me look, well, oversized. As you can see from the before photo, the arms are too wide, the body of the shirt is too wide, and the sleeves start too far down on my shoulders.
I’ve seen plenty of tutorials on taking in a shirt that tell you to just sew up the arms and back down the body – but you’ll actually get a much better fit (and more mobility in the arms) with the method for taking in a shirt that I’ll show you today.
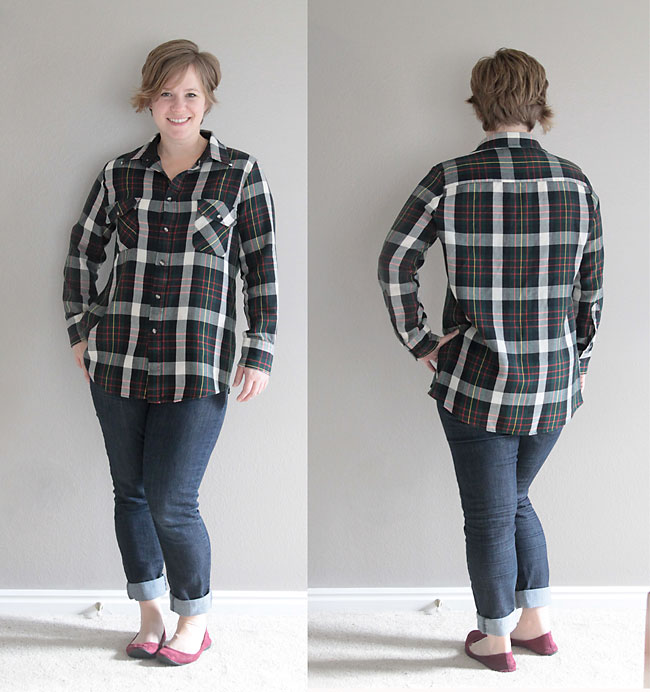
I like my new shirt – it’s just long enough to cover my backside when I wear skinny jeans.
How to make a shirt smaller
Here’s the right way to take in a shirt (or make a shirt smaller):

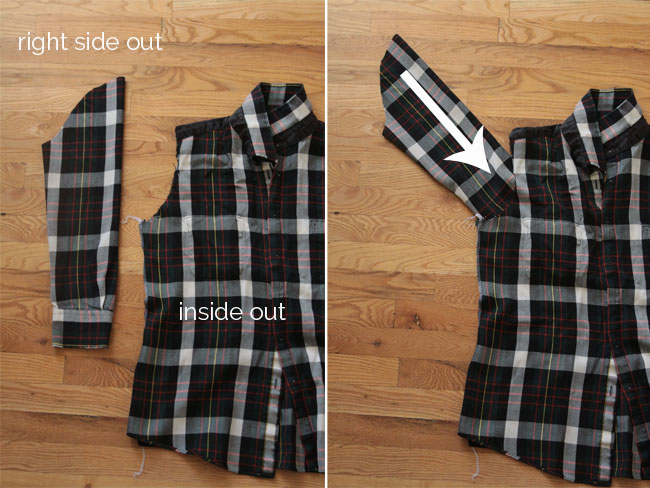
Lay your oversized shirt down on a flat surface, smoothing it out flat. Place a shirt that fits well directly on top of the larger shirt, making sure it is smoothed out completely flat and not bunched up anywhere. Pull the sleeve inside the shirt as shown above so you can see the “scoop” of the armhole.
How to take in a shirt: cutting
Using the shirt that fits as a guide, trim away the sleeves and excess on the sides to make the shirt smaller. BE SURE to add seam allowance – more than I did would probably be good. (For the best fit, you may want to add an extra half inch to the armholes on the back of the shirt only. As you can see, I didn’t do that, but it would have been a good idea.)

Trim away the excess on the other side as well, making sure they match.
Next you’ll want to cut down the sleeves. Lay your guide shirt on the ground, this time smoothing out the sleeve. You’ll see that at the armhole seam the sleeve makes an S shape. It’s important to smooth and spread that out as much as possible, then use that as a guide for cutting your new sleeves.
When you cut new sleeves from the oversized shirt, don’t cut through the cuffs. Most men’s shirts have two buttons on the cuff so even if they are a little large you can just button them a bit tighter and not have to worry about trying to sew them back together. Turn your sleeves inside out and sew them back together along the bottom. Turn the shirt inside out and sew both sides together.
How to take in a shirt: sewing
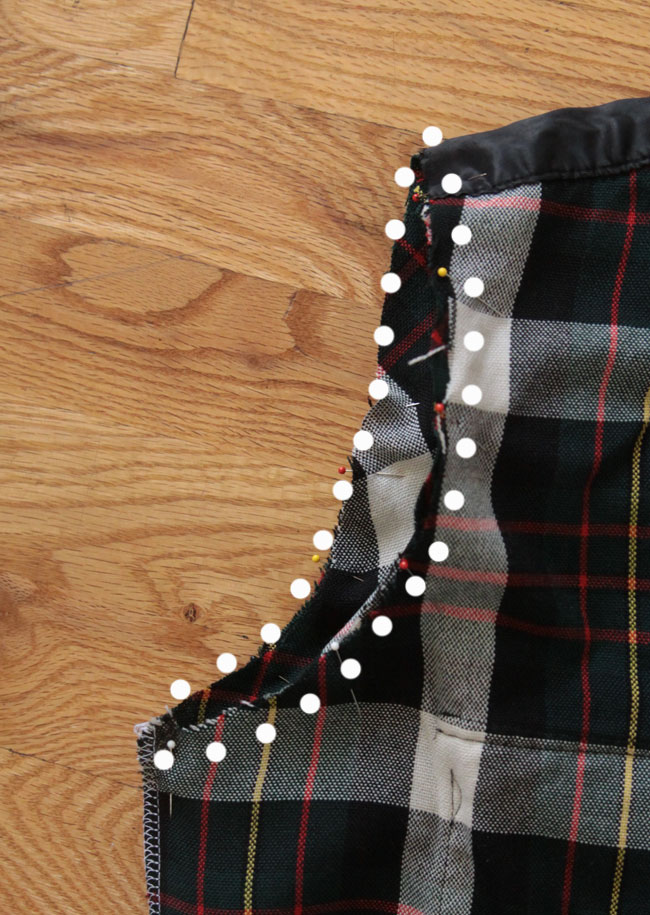
Now all you need to do is set the sleeves back in. Leaving the shirt inside out, turn the sleeves right side out. Place the shirt and one sleeve as you see in the photo below, making sure the buttons on the cuff are down toward the table (if they’re up, you need to switch sleeves). Slide the sleeve inside the armhole, as shown in the second photo below.
Match up the raw edges of the sleeve and armhole, easing the material to fit. Pin well, then sew.
Repeat with the other sleeve, press your seams, and your new smaller shirt is ready to wear!
Note: if you’re looking for info on how to size down a pattern visit this post from Melly Sews, .
Want more sewing tutorials? Check out these posts:
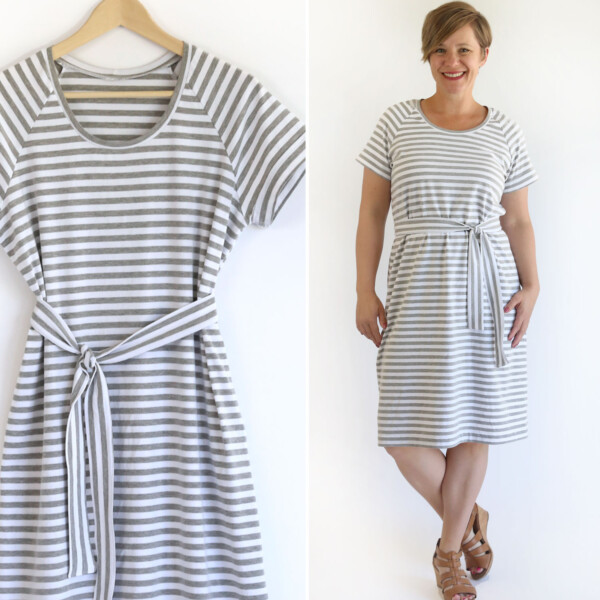
Swing tunic sewing pattern for women
How to sew a half circle skirt
20 sewing projects for beginners

delores beene says
Great tute! You should be a teacher. Oh, by the way your modeling and pictures are great too!
HelEn kulhavy says
wow that was great and it look so simple
Cherie says
I would suggest adding darts to make the shirt more flattering and fit better. Bodice darts are easy as long as you get them even on both sides. Or you can use darts front or back to pull in the waist just a bit to look more feminine. Other than that great post…oh PS if you use darts front or back they should be made before cutting the shirt to fit your one that you are using for a pattern.
Jeannie K says
Most helpful hint ! ! I’ve been recycling/reusing/reforming/redesigning mens shirts for years ! With my long arms and the need for larger pockets (women shirts are so lacking) I’ve tormented myself trying to find a better way to undo and redo shirts .. this explanation is Right On ! Thanks for sharing
Anna says
Great tips. Thank you.
Gail says
Great tutorial without taking the one that fits apart to do so. i’ve tried several ways, but looks like this is the best, ever. Can’t wait to try it. You gave such clear, easy to understand instructions. Thank you so much!
Kathryn says
I too sew and though there is a time and place for the down and dirty redo, a button up shirt is not one of them. I learned to sew from a wedding dress seamstress & designer and you can’t tell what she altered because she takes the dress completely apart, makes the changes, and puts it back together again. Bravo for writing about how to property resize a too big shirt, a little extra effort goes a long way. All the blogs I’ve seen say to sew up the arm and bodice and completely neglect the fact that the shoulder will still not fit aka sit correctly on you if it’s too large! Well done my dear.
Kirsten giving says
I am a retired Home Economics teacher, and have taught hundreds of students how to sew. I have been sewing forever, and though I don’t make my clothes from scratch (LOL) I am really enjoying refashioning some of my garments.
I want to say that this is by far the Best and Most Clear shirt redo I have had the pleasure to read. Thank you so much!
Sincerely,
Kirsten Giving