
In today’s post: Learn the right way to take in a shirt so you can make a large shirt smaller and still have it look great!
Plaid flannel shirts are back! It feels like high school to me when I see all this plaid in the stores. Of course, not many of us are wearing our flannel with Doc Martens anymore (remember those days?). I’ve purchased a few comfy plaid flannel shirts, and I have one beef with them: flannel shrinks, so after a few washes the shirt still fits fine in width but ends up just a little too short. My solution? Buy larger men’s shirts at the thrift store and take them in for the perfect fit with a little extra length. Today I’ll show you how to take in a shirt the right way. It’s pretty simple!
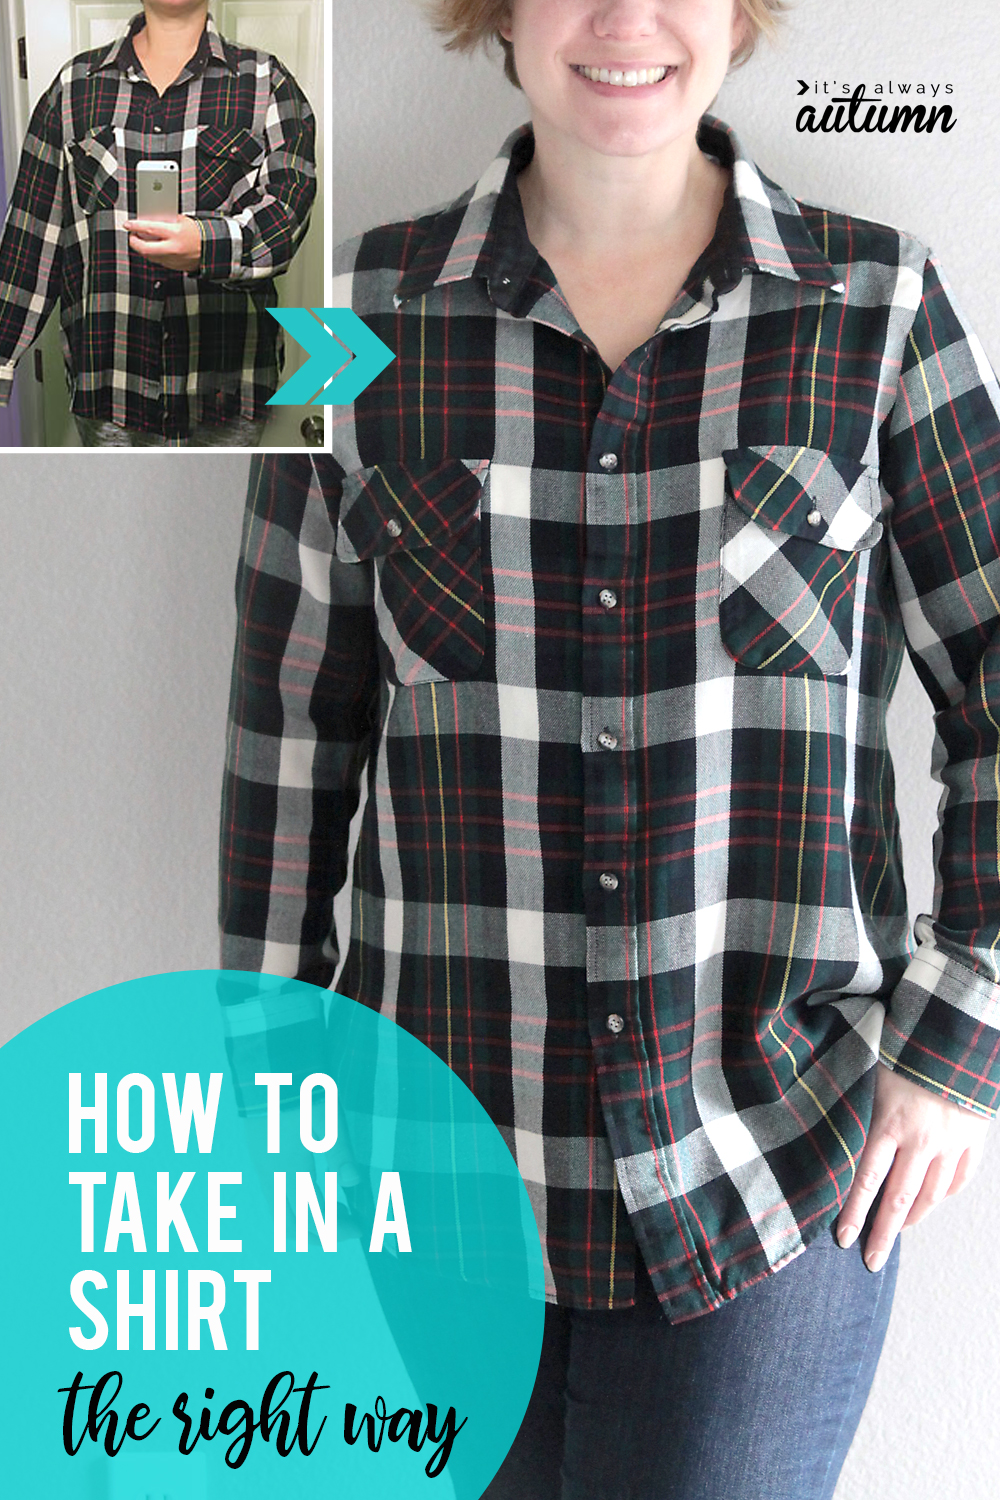
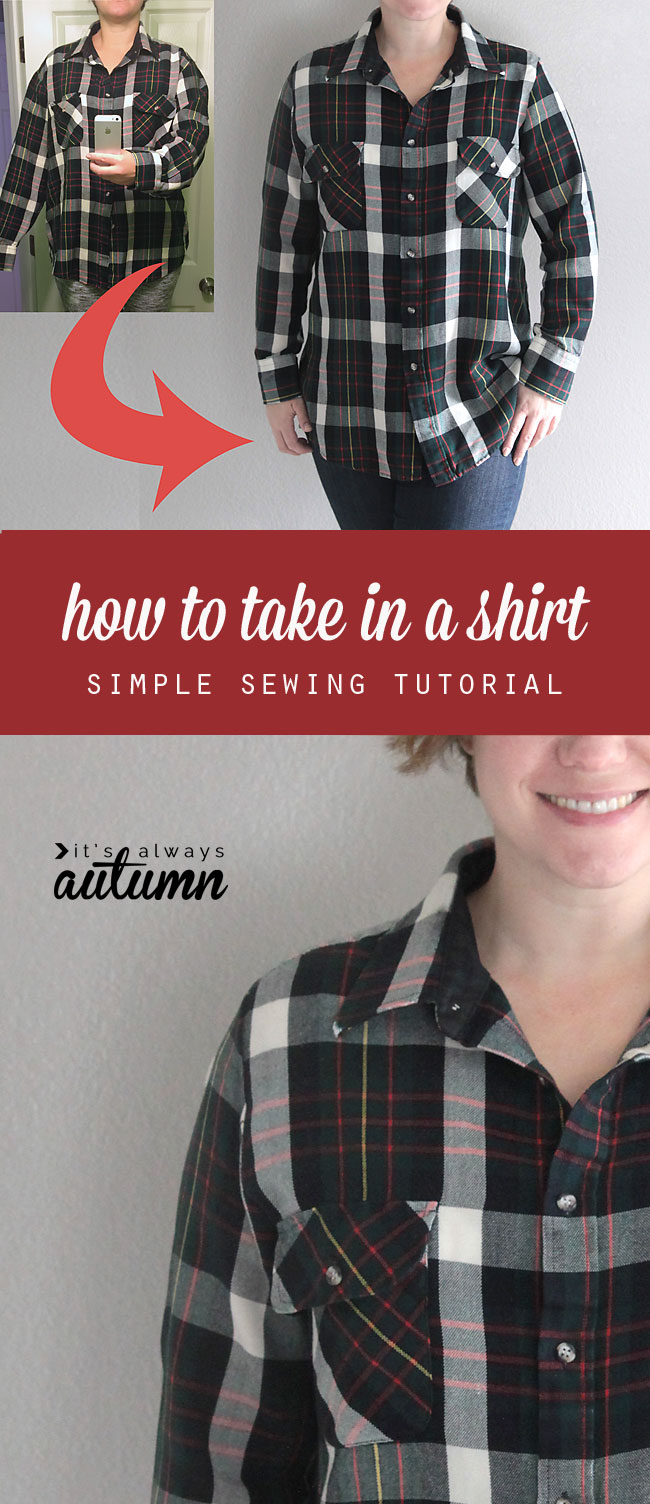
Take a look at the before and after of my flannel shirt. It always seems like I should just be able to wear an oversized shirt and have it look cute – it sure looks cute when girls on TV do it – but no, it doesn’t turn out that way. Oversized shirts just make me look, well, oversized. As you can see from the before photo, the arms are too wide, the body of the shirt is too wide, and the sleeves start too far down on my shoulders.
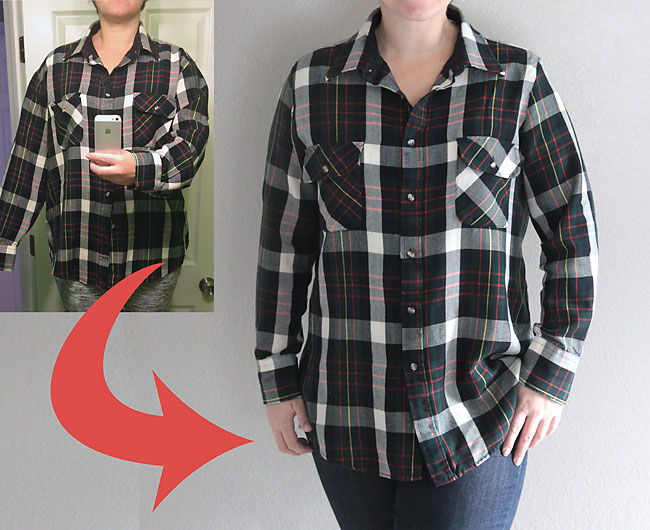
I’ve seen plenty of tutorials on taking in a shirt that tell you to just sew up the arms and back down the body – but you’ll actually get a much better fit (and more mobility in the arms) with the method for taking in a shirt that I’ll show you today.
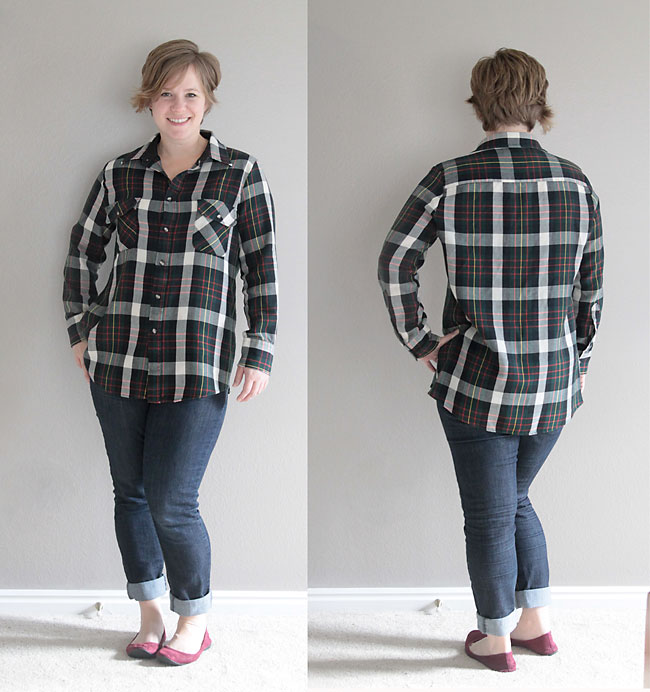
I like my new shirt – it’s just long enough to cover my backside when I wear skinny jeans.
How to make a shirt smaller
Here’s the right way to take in a shirt (or make a shirt smaller):
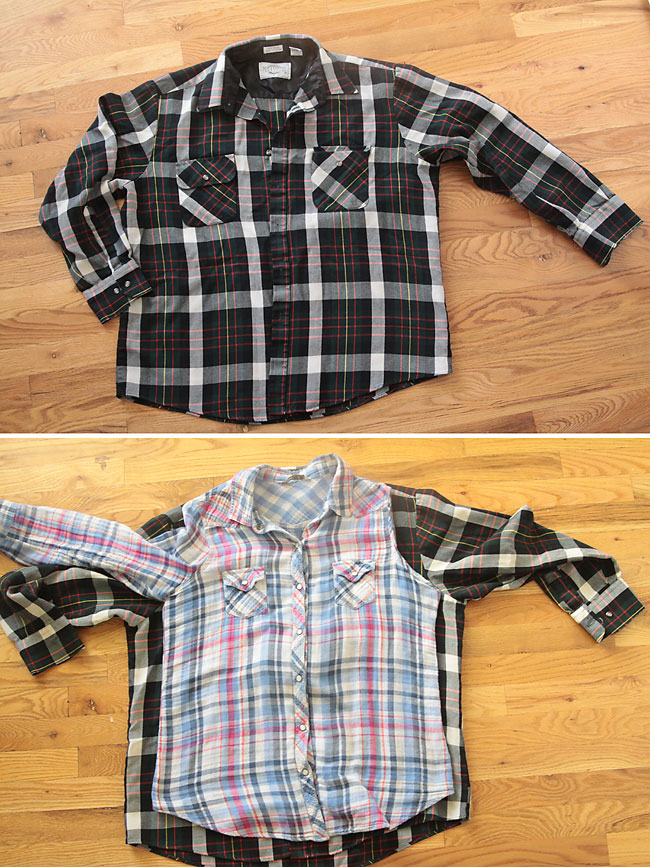
Lay your oversized shirt down on a flat surface, smoothing it out flat. Place a shirt that fits well directly on top of the larger shirt, making sure it is smoothed out completely flat and not bunched up anywhere. Pull the sleeve inside the shirt as shown above so you can see the “scoop” of the armhole.
How to take in a shirt: cutting
Using the shirt that fits as a guide, trim away the sleeves and excess on the sides to make the shirt smaller. BE SURE to add seam allowance – more than I did would probably be good. (For the best fit, you may want to add an extra half inch to the armholes on the back of the shirt only. As you can see, I didn’t do that, but it would have been a good idea.)
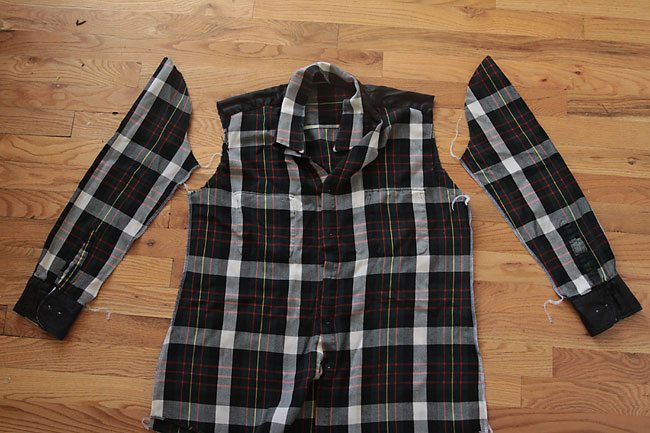
Trim away the excess on the other side as well, making sure they match.
Next you’ll want to cut down the sleeves. Lay your guide shirt on the ground, this time smoothing out the sleeve. You’ll see that at the armhole seam the sleeve makes an S shape. It’s important to smooth and spread that out as much as possible, then use that as a guide for cutting your new sleeves.
When you cut new sleeves from the oversized shirt, don’t cut through the cuffs. Most men’s shirts have two buttons on the cuff so even if they are a little large you can just button them a bit tighter and not have to worry about trying to sew them back together. Turn your sleeves inside out and sew them back together along the bottom. Turn the shirt inside out and sew both sides together.
How to take in a shirt: sewing
Now all you need to do is set the sleeves back in. Leaving the shirt inside out, turn the sleeves right side out. Place the shirt and one sleeve as you see in the photo below, making sure the buttons on the cuff are down toward the table (if they’re up, you need to switch sleeves). Slide the sleeve inside the armhole, as shown in the second photo below.
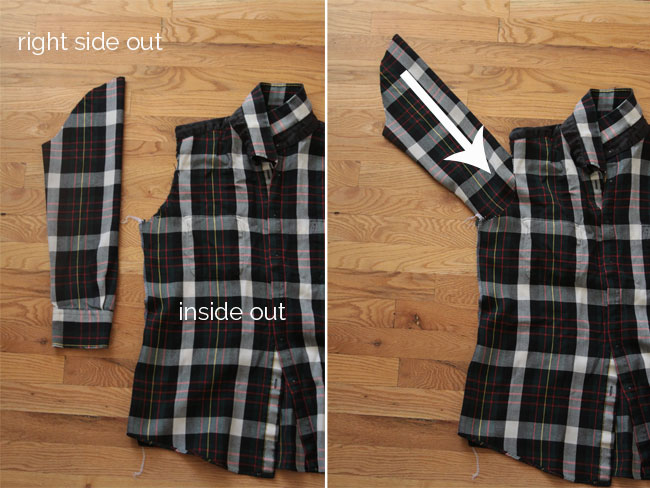
Match up the raw edges of the sleeve and armhole, easing the material to fit. Pin well, then sew.
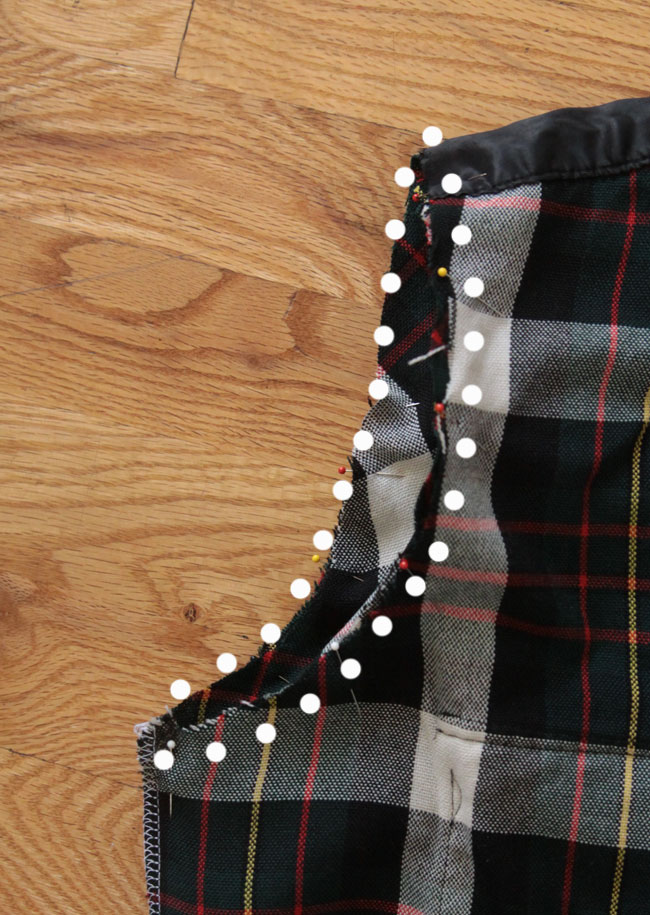
Repeat with the other sleeve, press your seams, and your new smaller shirt is ready to wear!
Note: if you’re looking for info on how to size down a pattern visit this post from Melly Sews, .
Want more sewing tutorials? Check out these posts:
Swing tunic sewing pattern for women
How to sew a half circle skirt
20 sewing projects for beginners

TEMA says
Thank you very much for this helpful tutorial… I’m going to try it the first chance I get. I haven’t been too happy with my re-styles lately because of the sleeves and the taking in of the pieces. I love to re-style!
TEMA
Tania says
Thank you for the clear instructions.
Deb says
I’ve just found your site as a result of searching for easy patterns to use for sewing baby and girls clothes for those who are in shelters. But oh my gosh I found so much more! Thank you so much for sharing so many wonderful patterns, and your tutorials. They are terrific and so clear and easy to follow. I’m just in awe of your creativity and skills. I’ll be following you from now on and will be looking forward to more of your ideas. And I’ll be using so many of your techniques both for sewing for my new project AND for altering some of my own clothes in need of help. Your suggestion on altering the flannel shirt will be incredibly useful to me! I’ve been trying to take up shirts forever and never been happy with the results since the shoulder seams still fell down and looked sloppy. Yeh!
btw, you have beautiful children and I enjoy seeing their little faces and cute expressions. Your comments and funny stories are so much fun and very refreshing. Keep up the good work!
rENEE says
Great tutorial, agree, this type of shirt doesn’t need darts. Yes, the sleeves will be shorter, but generally, if the shirt is too large, the sleeves are too long as well.
Thanks for sharing, well written and the photos are great too.
Caroline says
Thank you so much for sharing this – I’ve just refashioned an old shirt and it certainly worked! It was a bit of a fiddle putting the sleeves back in, but then fitting sleeves is always fiddly. The end result is wonderful and I shall most definitely do this again.