
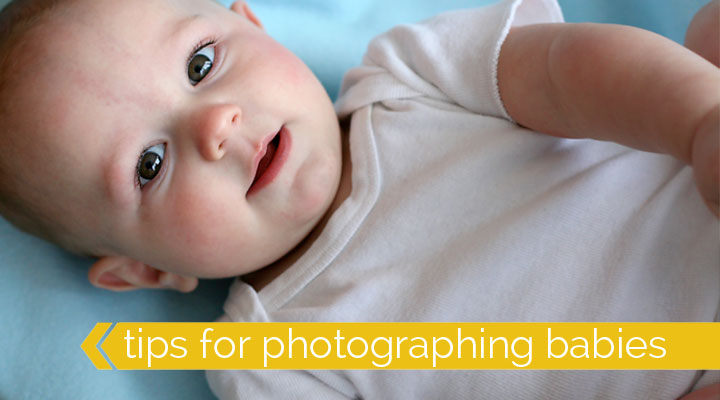
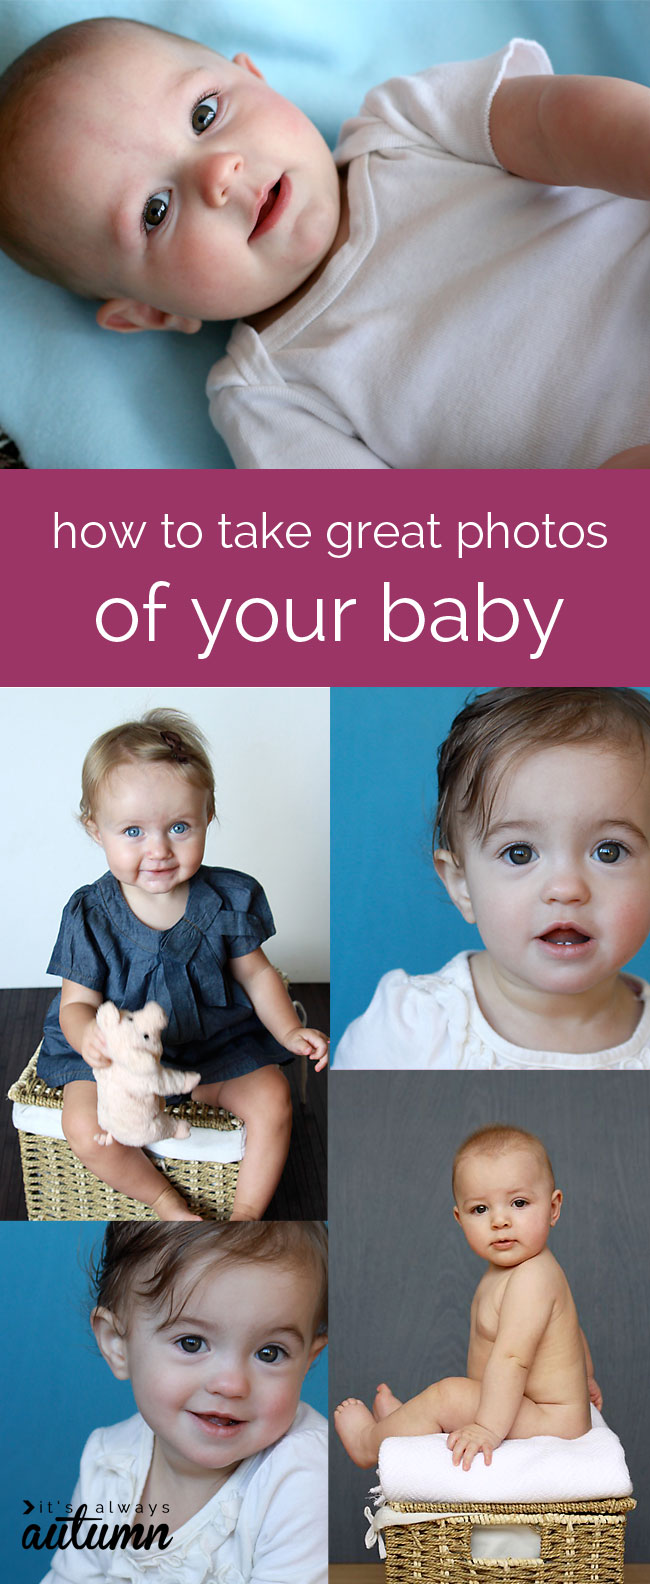
It can be hard to take professional looking photos of babies – babies who can’t sit on their own often looked scrunched and uncomfortable in photos, and by the time they can sit, most babies can also scoot, meaning they’re not interested in sitting still for photos! Photographing babies is hard, so I’m sharing the things I’ve found that work best for babies at different ages.
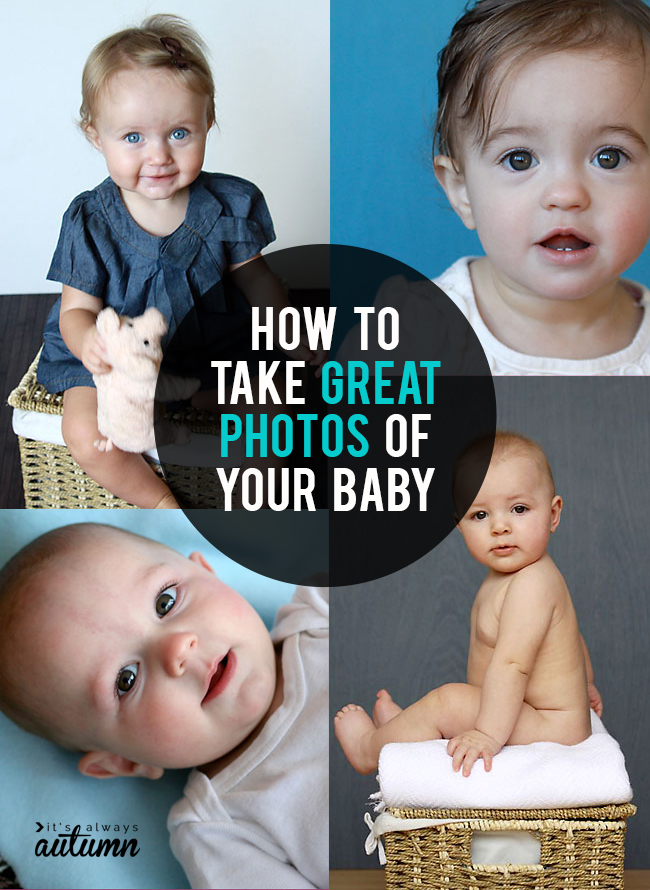
(This post will cover babies ages 1 month to 12 months – you can find help for photographing newborns at home here, photographing newborns in the hospital here, and photographing toddlers here and here.)
Most of the photos we take of babies show them sitting in something, whether it’s a carseat, bouncy seat, or someone’s arms. That’s fine for a snapshot, but for a more professional looking photo it’s best to find a way to photograph the baby in front of a plain, neutral background that won’t be distracting in the photo.
For babies 1-3 months old
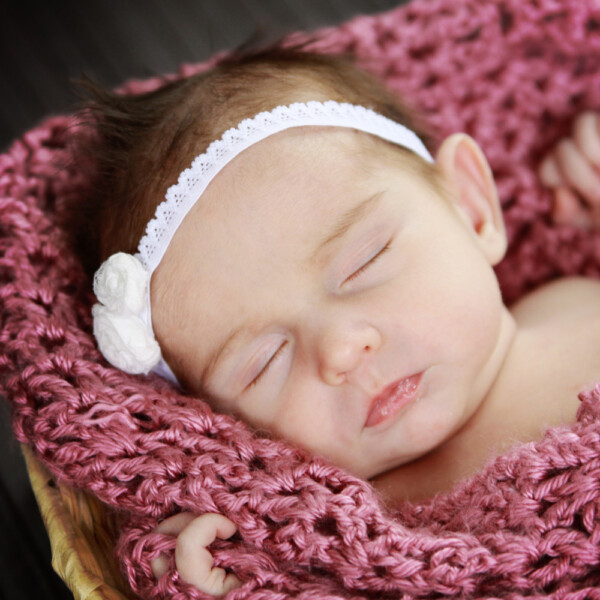
For very young babies, placing them face down on the their stomachs often looks best in photos. This position helps eliminate the startled, flailing arm look your often get with young babies. Additionally, a small baby is less likely to stick his hands in his mouth if they are tucked beneath him or being used to push himself up. I generally cover a boppy pillow with a blanket and slightly prop the baby up on it. Then get down to the baby’s eye level for photos like this one:

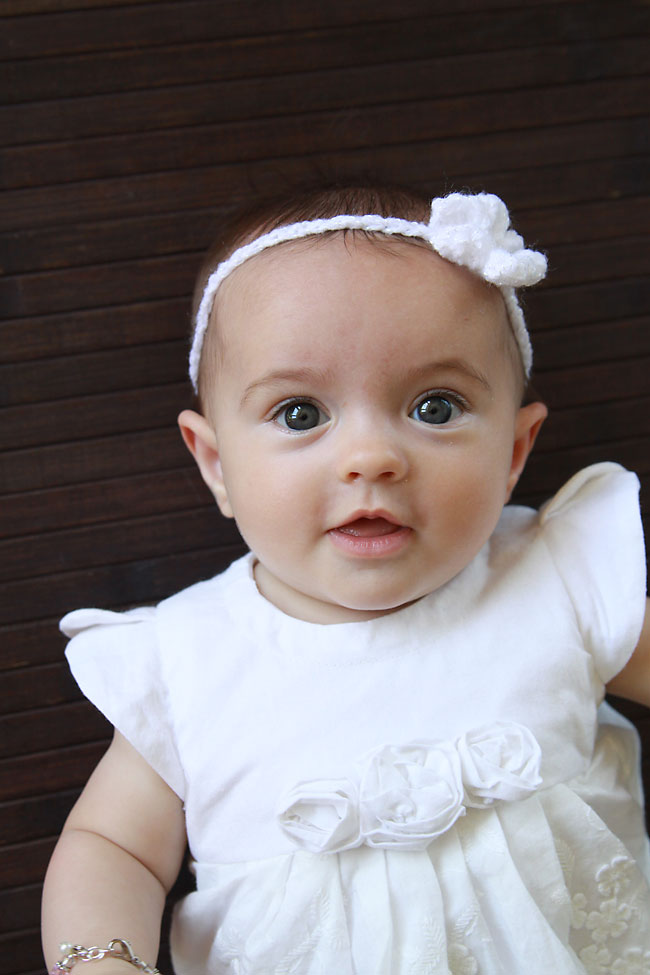
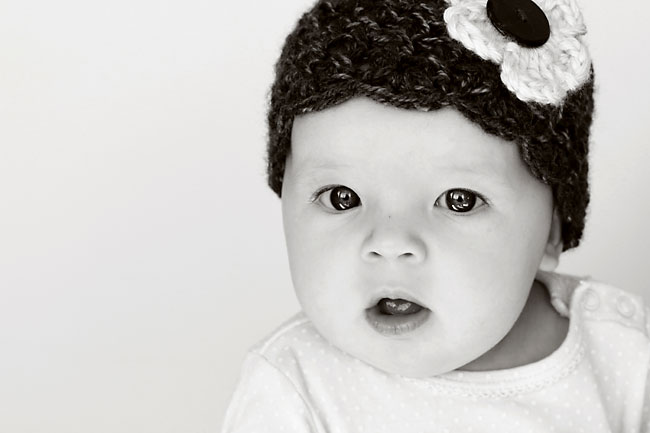
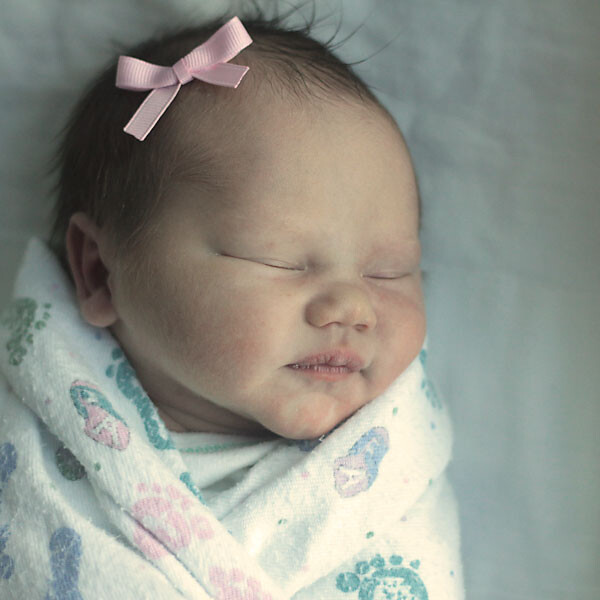
Or photos like this when a baby is old enough to lift up her head and look at you (2-3 months old):
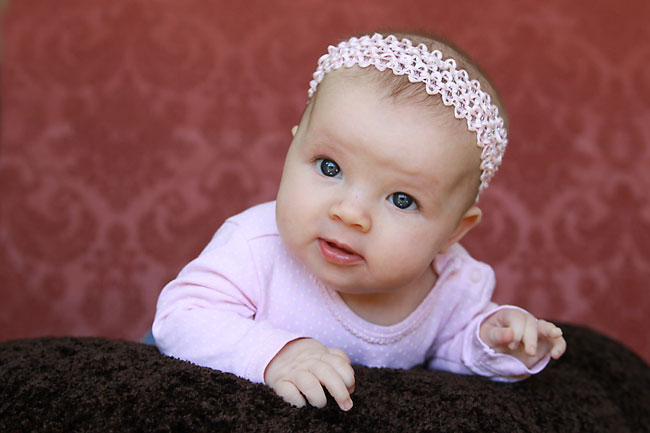
(To see exactly how I set things up for this type of photo, see this post on newborn photography.)
For babies 3-6 months old
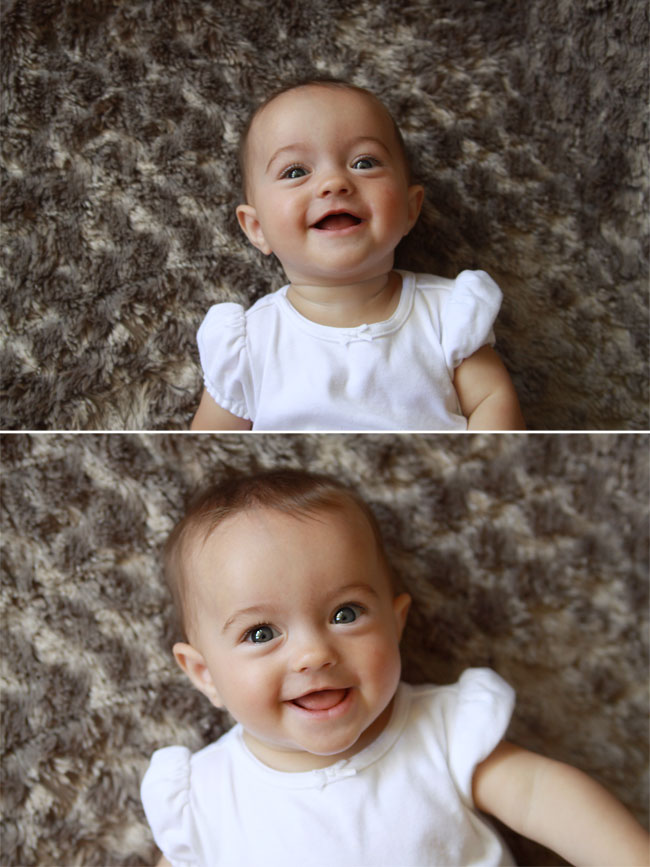
My favorite way to photograph babies who are a little older but not yet sitting unsupported in to lay them down on the floor on their back. You can stand directly above the baby and talk to her to get eye contact and a really natural expression, along with a nice neutral background (use a blanket, rug, or bamboo rug like I used here).
You might be tempted to prop a baby who can’t quite sit by himself yet in the corner of a couch. Don’t do it! Even if you cover the couch with a blanket, you’ll get lots of distracting wrinkles in the background. Young babies will kind of “squish” into the couch, looking uncomfortable. Placing baby on the floor will give a better result:
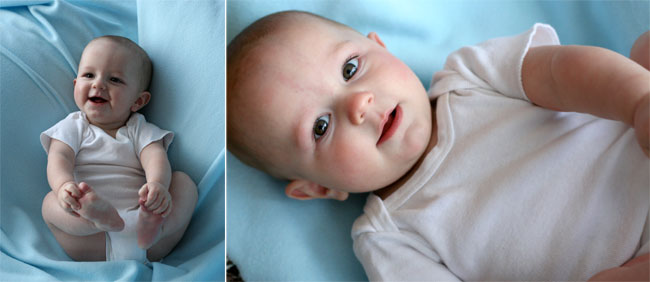
Just BE SURE to shoot from directly above the baby’s eyes (stand on a chair if you need to) instead of standing at the baby’s feet – look how much nicer the 2nd photo below looks than the 1st one.
I’ve listed this position for babies 3-6 months old, but it actually works great for all ages. If you’d like to use this pose for a very young baby, swaddling him tight will help him feel secure. If you use it for an older baby, plan to work fast before she rolls over and crawls away!
For babies 3-6 months old, option #2
Photos of baby on the ground can be very cute, but it can be hard to get a true portrait feel unless they are sitting up in front of a backdrop. If baby can’t quite sit on her own yet, grab a helper. Have the helper sit sideways on a chair in front of a plain backdrop (get simple home photo studio backdrop ideas here). Then ask the helper to hold the baby sitting up on his lap, holding the baby away from his body. You’ll be able to take close-ups of the baby that don’t show the helper:
If the baby is almost old enough to sit up by herself, you can position her sitting slightly forward, supporting herself on her hands. Again, this works well for closeups:
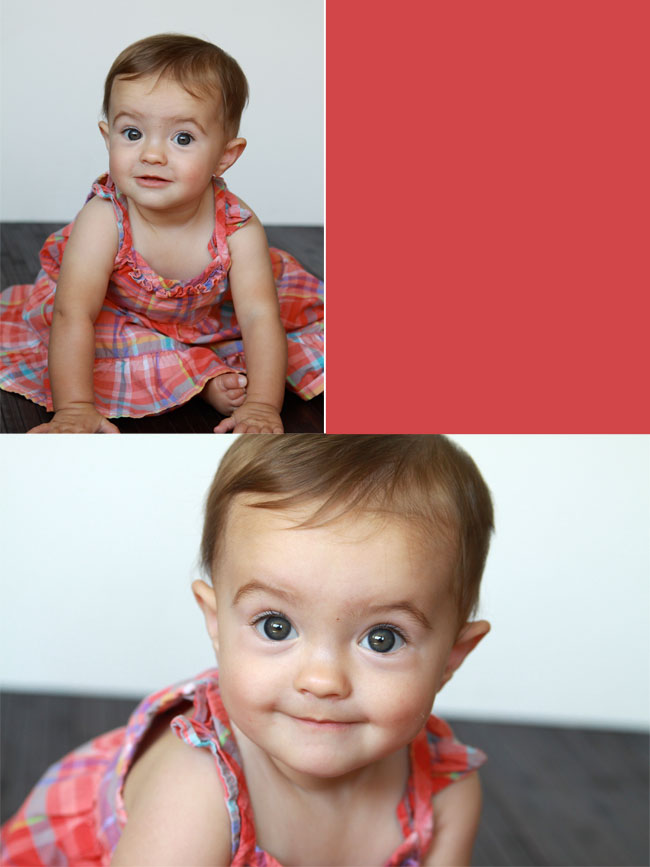
Just remember that if you are taking pictures of a baby who is sitting on the ground, you’ll need to be sitting or laying on the ground as well so you can shoot at her eye level. If I had been a little lower when I took the photo above the background would have been plain white.
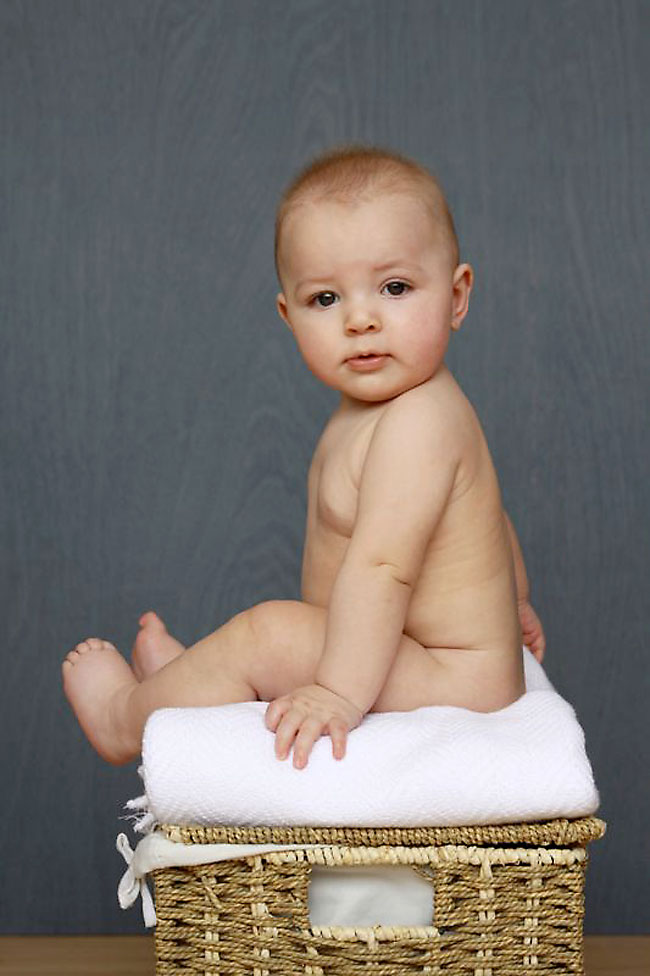
For babies 6-12 months old
Once the can sit on their own, they’re probably getting mobile, so it can be hard to keep them in one place long enough for a photo. The biggest help at this age is to find something for the baby to sit on – a kid sized chair or rocking horse can often convince even the wiggliest baby to stay put for at least a few minutes:
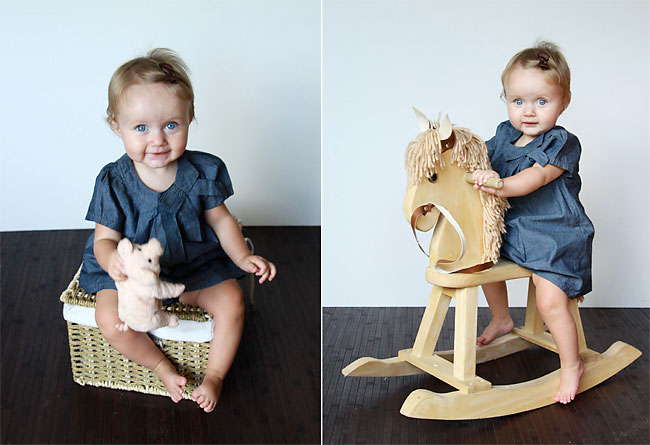
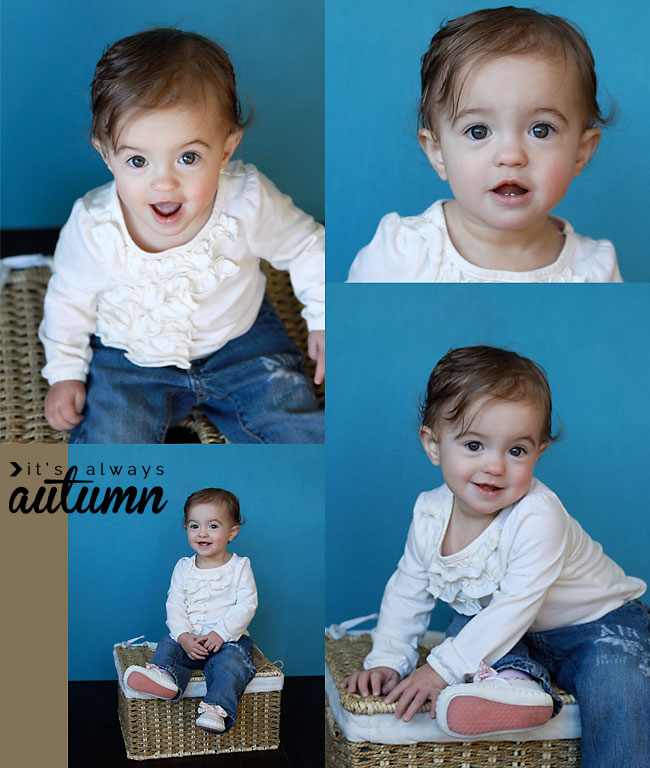
Even something as simple as a square basket can work as a little seat:
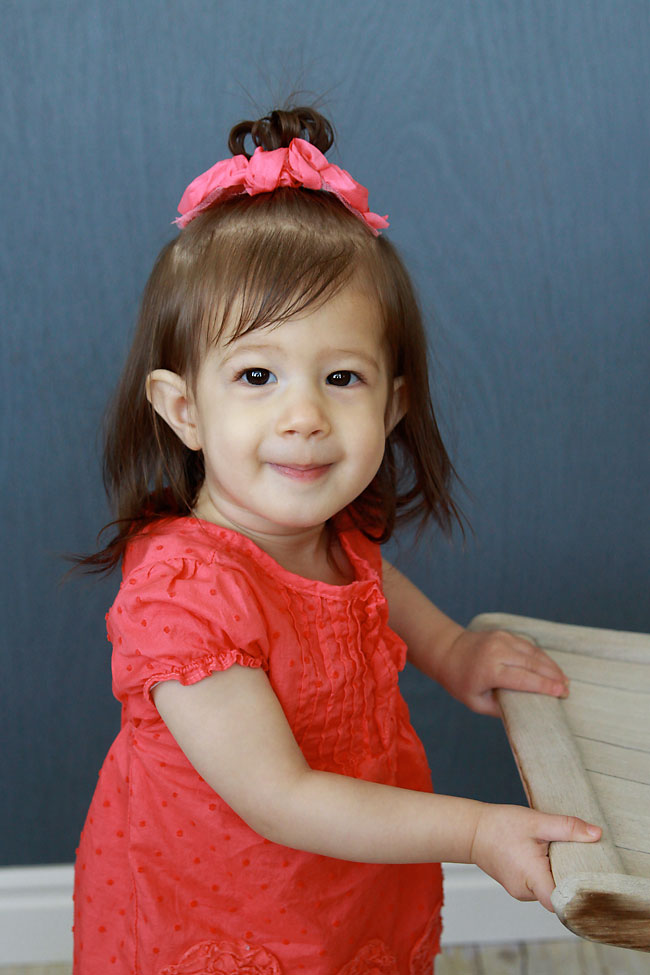
Another option is to help an older baby stand by sliding a chair or other support into the photo. She’ll be so proud of herself for standing that she might not try to crawl away immediately. Choose a neutral colored chair so it doesn’t distract from the photo, and remember to sit on the ground so you can shoot from her eye level.
A final tip:
Remember that it’s a lot easy to reposition yourself than it is to reposition the baby, so once you find a pose that works, get as many photos from different angles as possible. Talk, sing, or giggle at your baby so he’ll be more likely to stay still and look at you, then take as many photos as you can – you may only have a few minutes before the baby starts to cry or tries to crawl away. (Shaking a rattle or musical toy can be really helpful.) Zoom in for closeups and zoom out for full body shots. Get low to shoot at baby’s eye level, then take a few from above. Get pictures from as many different angles as you can so you’ll end up with photos that look different even though you didn’t move the baby.
Be ready to work fast, and remember that if it the photoshoot doesn’t go so well the first time, you can always try again! If you can’t get a smile today, plan to try again tomorrow when the baby is in a better mood. Practice really does help.
Want more baby photography tips? Check out these posts:
Setup + props for a newborn photoshoot
DIY baby photoshoot at home: posing
How to pose baby with family members
How to set up a home photo studio
Set up a cake smash photoshoot at home


Luz jorges says
Great tips! I’m going to share these with my husband.
Helen Kulwicki says
Beautiful pictures and great tips.