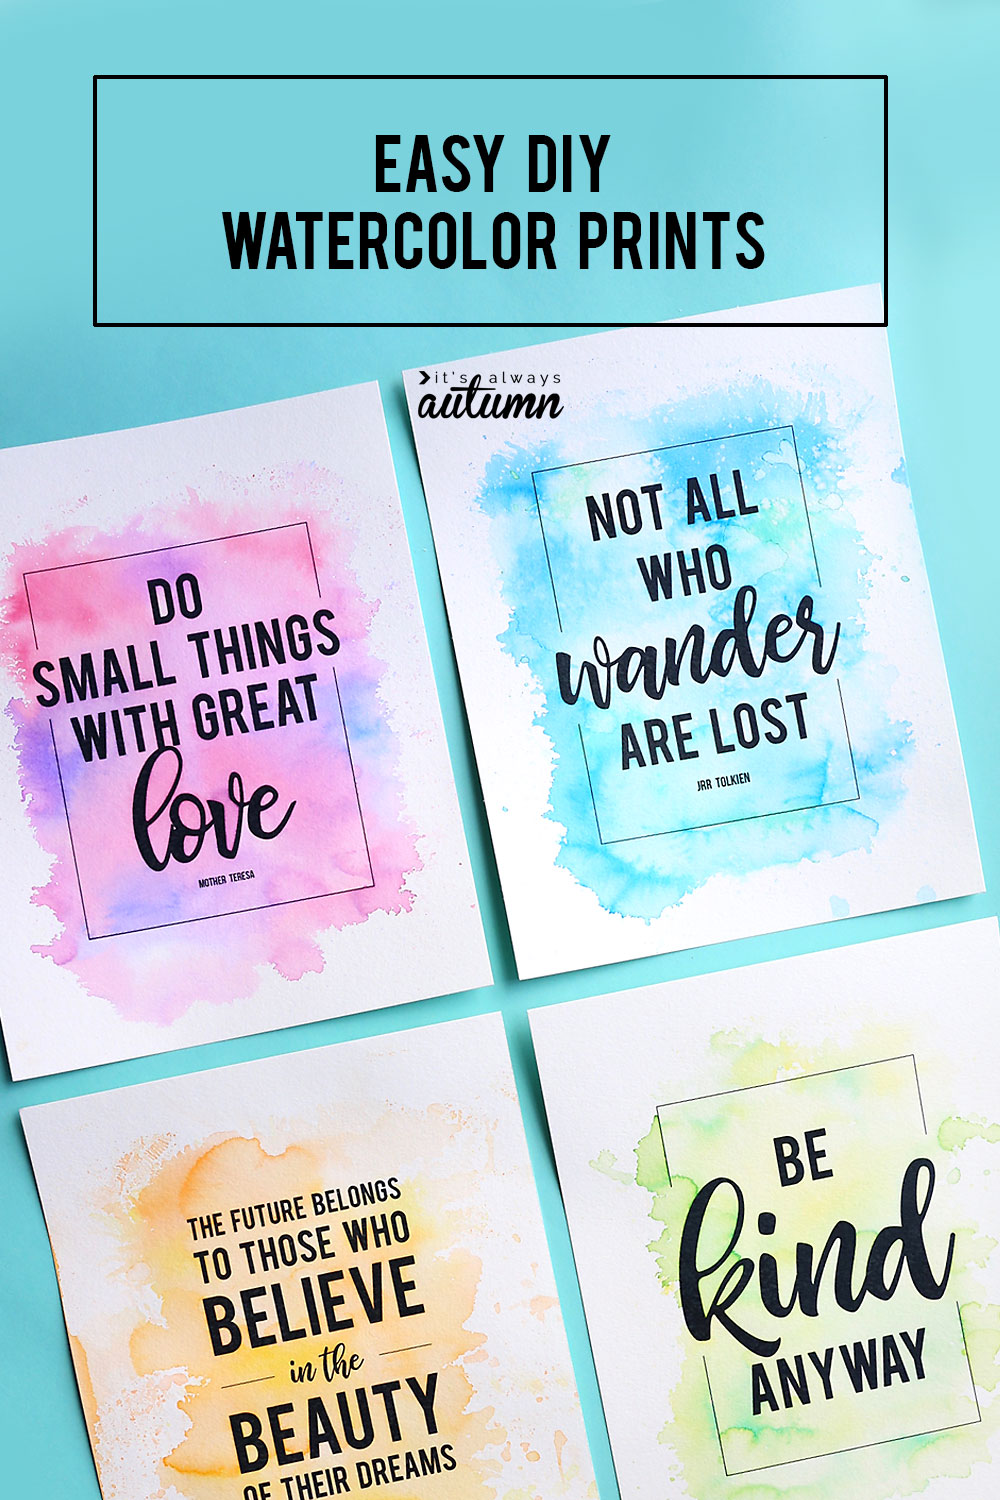
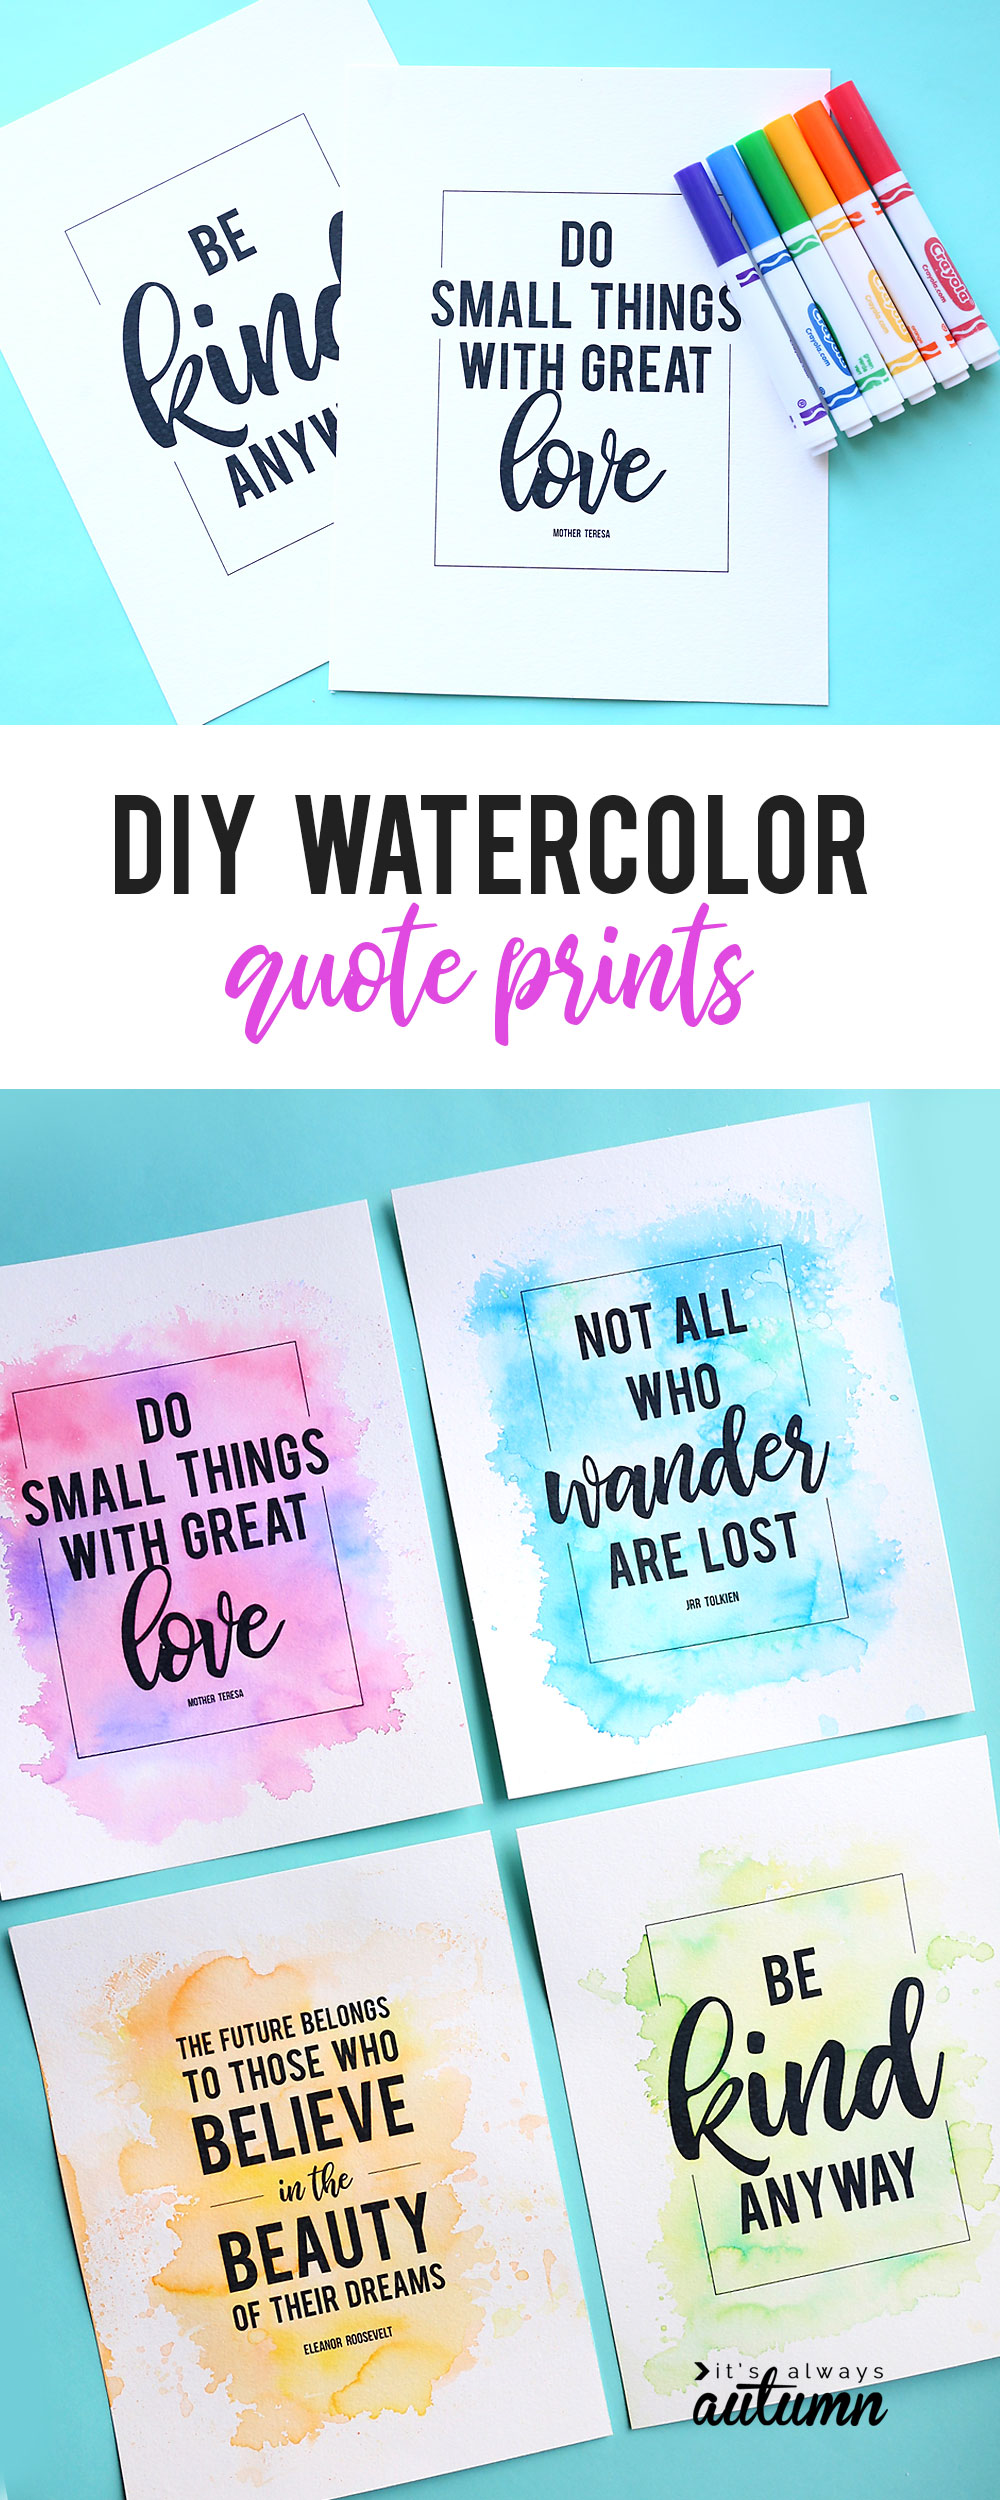
In today’s post: Learn how to make these beautiful watercolor art prints using just markers and water!
I am completely incompetent when it comes to art. When I was a kid and my family used to play Pictionary, no one wanted me on their team because I couldn’t even draw a recognizable stick figure. Last time I tried hand lettering ended with tears. My most recent attempt at “art” (ladies’ paint night) ended just as badly – we were all laughing so hard I cried. I can craft, and I can sew, but drawing or painting is really out of my comfort zone.
So when I discovered that you can “fake” a pretty watercolor background using markers and water, I was immediately intrigued. This technique is easy enough for both kids and complete art incompetents like me! Pair the cheater watercolor technique with some printable quotes, and you have a really simple project that yields really beautiful results.
Watercolor with Markers Technique
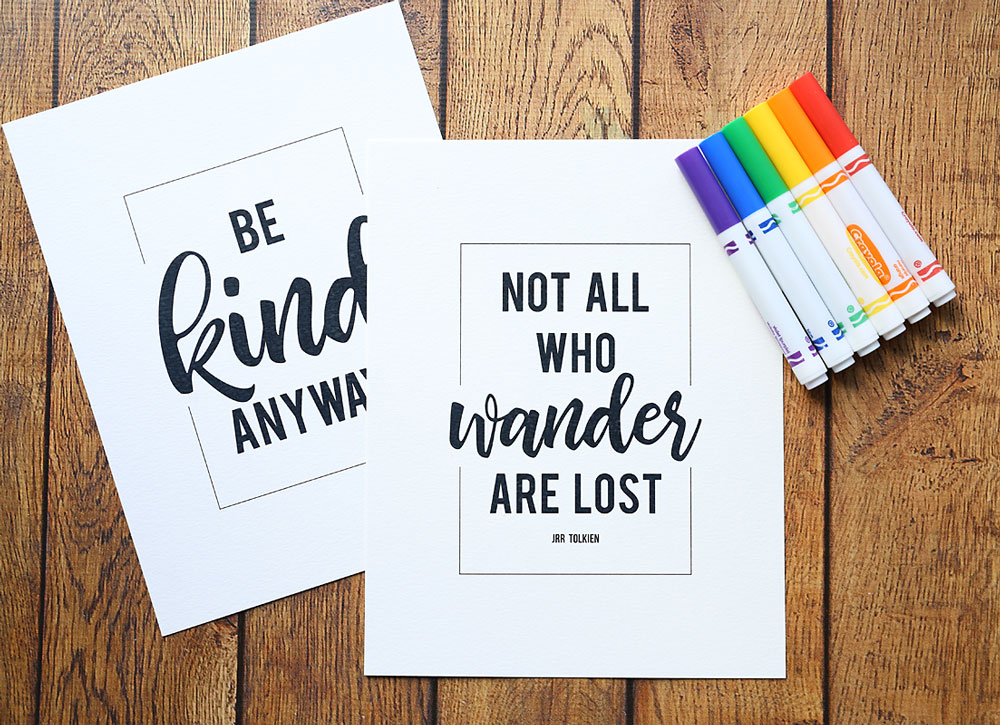
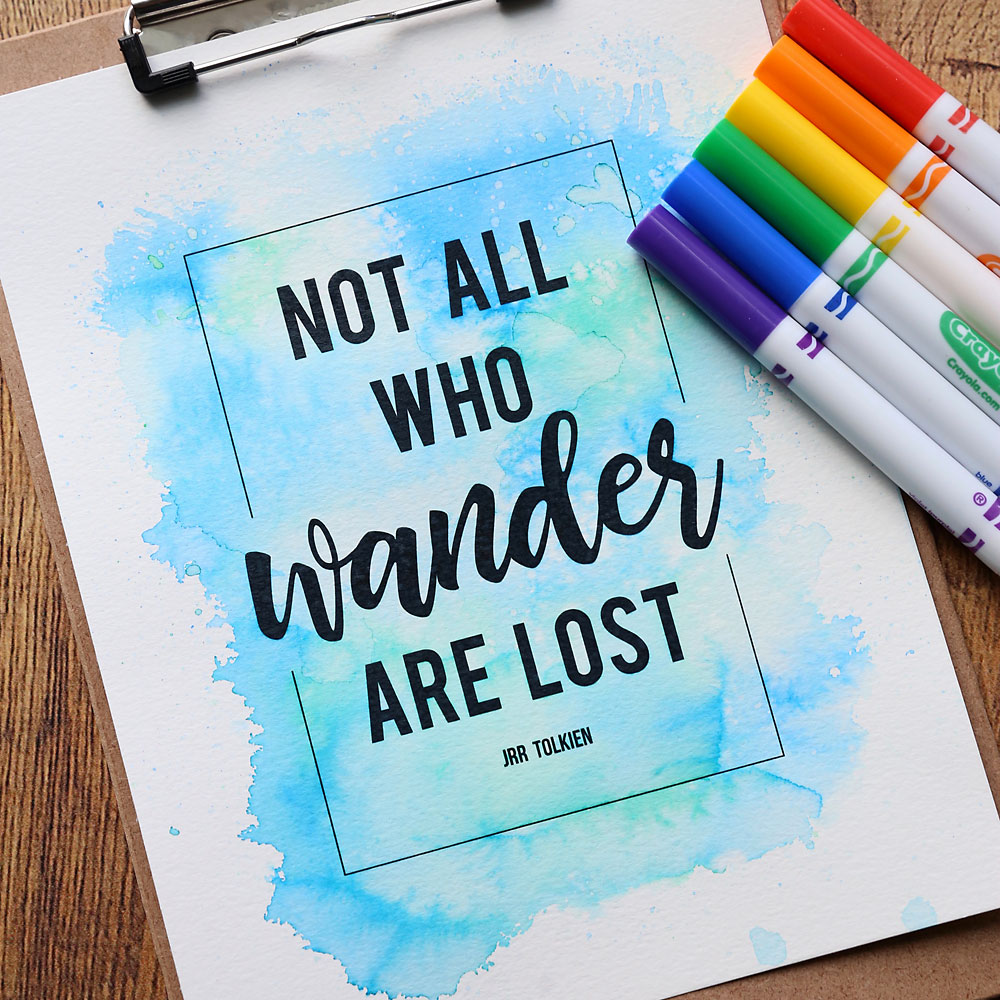
This cheater watercolor technique is really easy. You start with a printed quote (I have six you can download below) and some old fashioned Crayola markers:
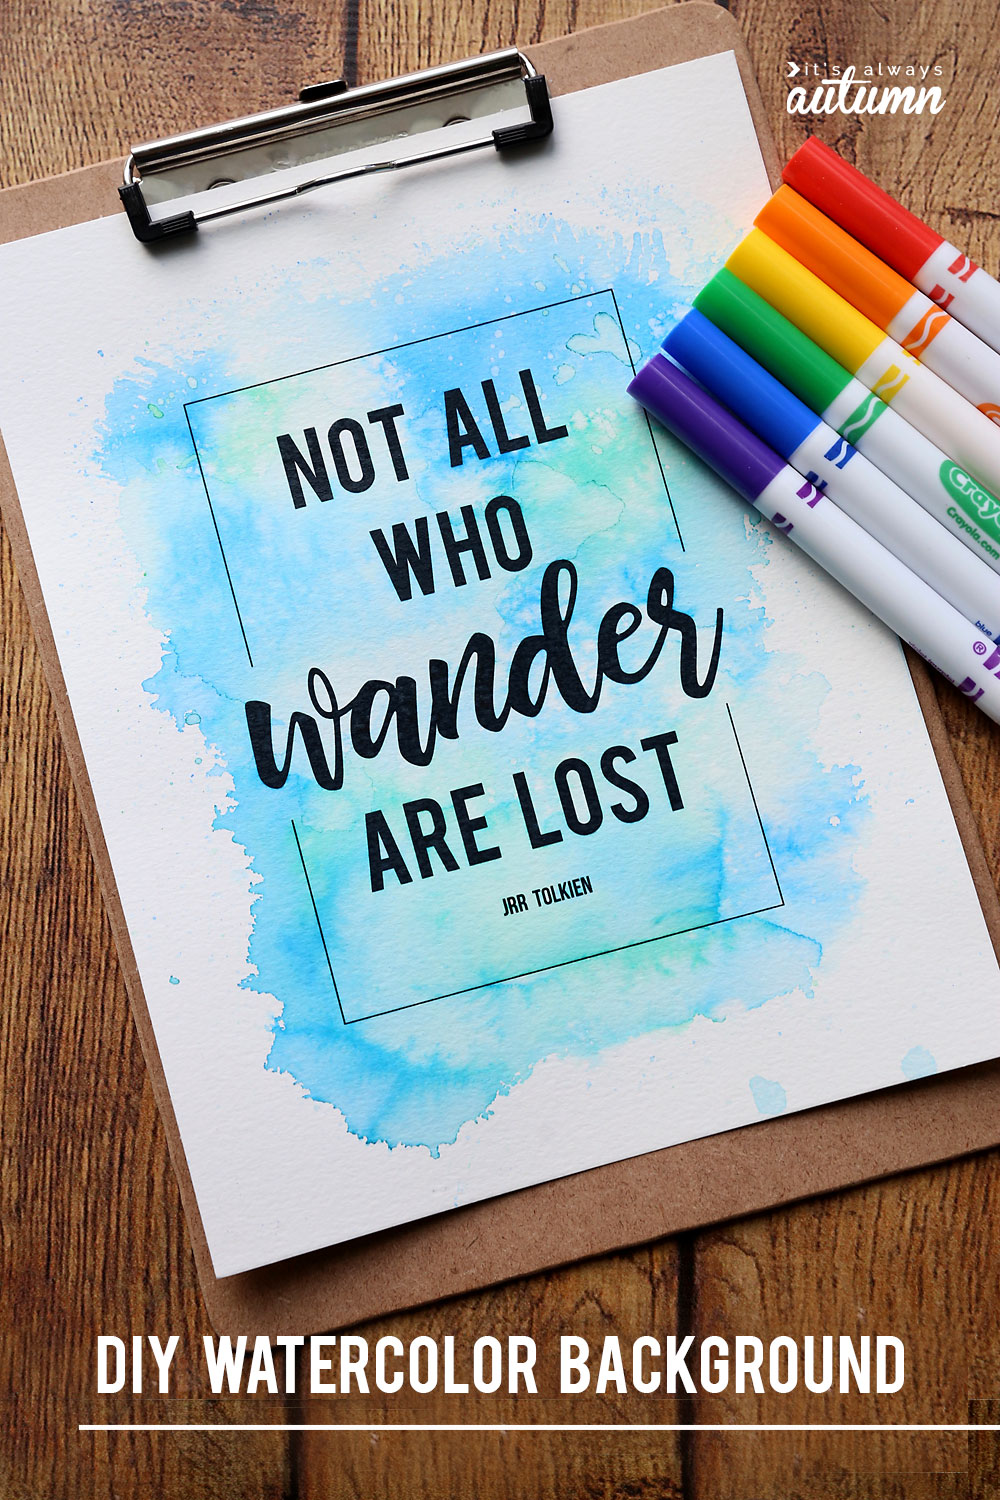
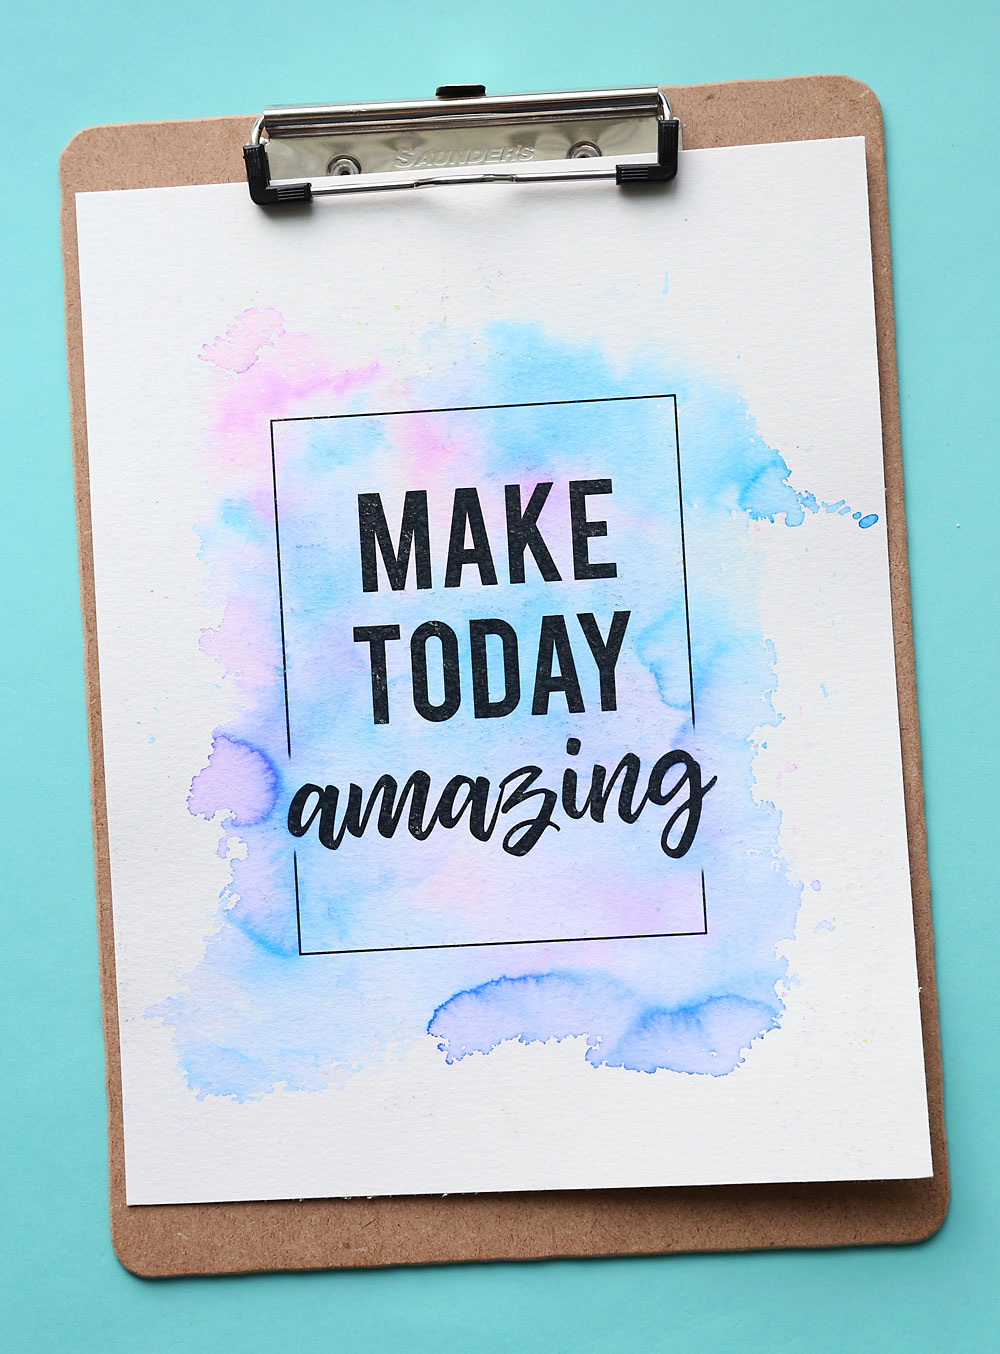
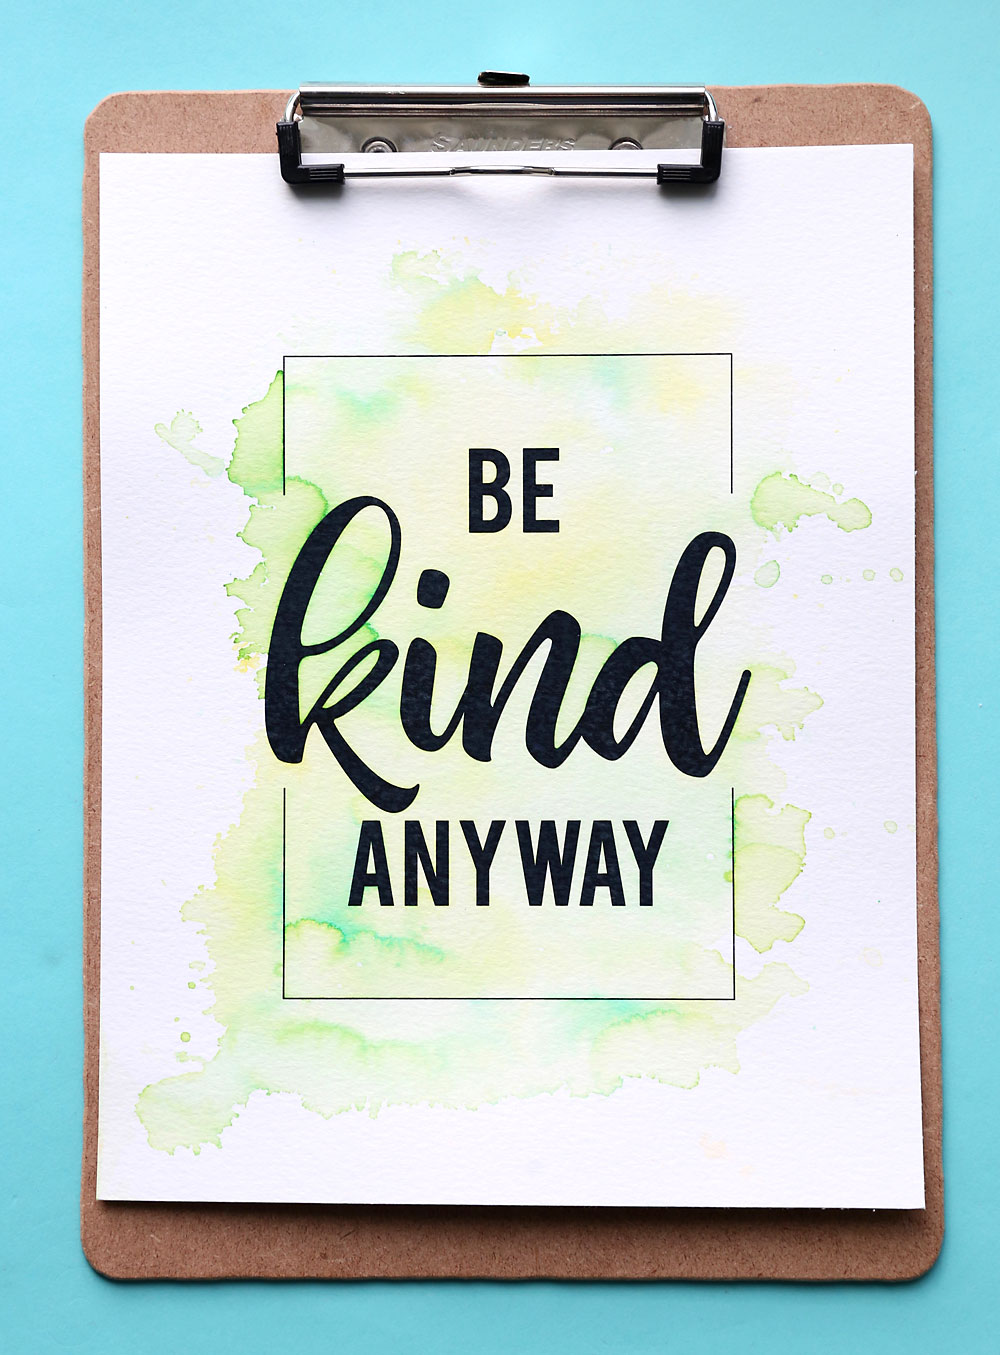
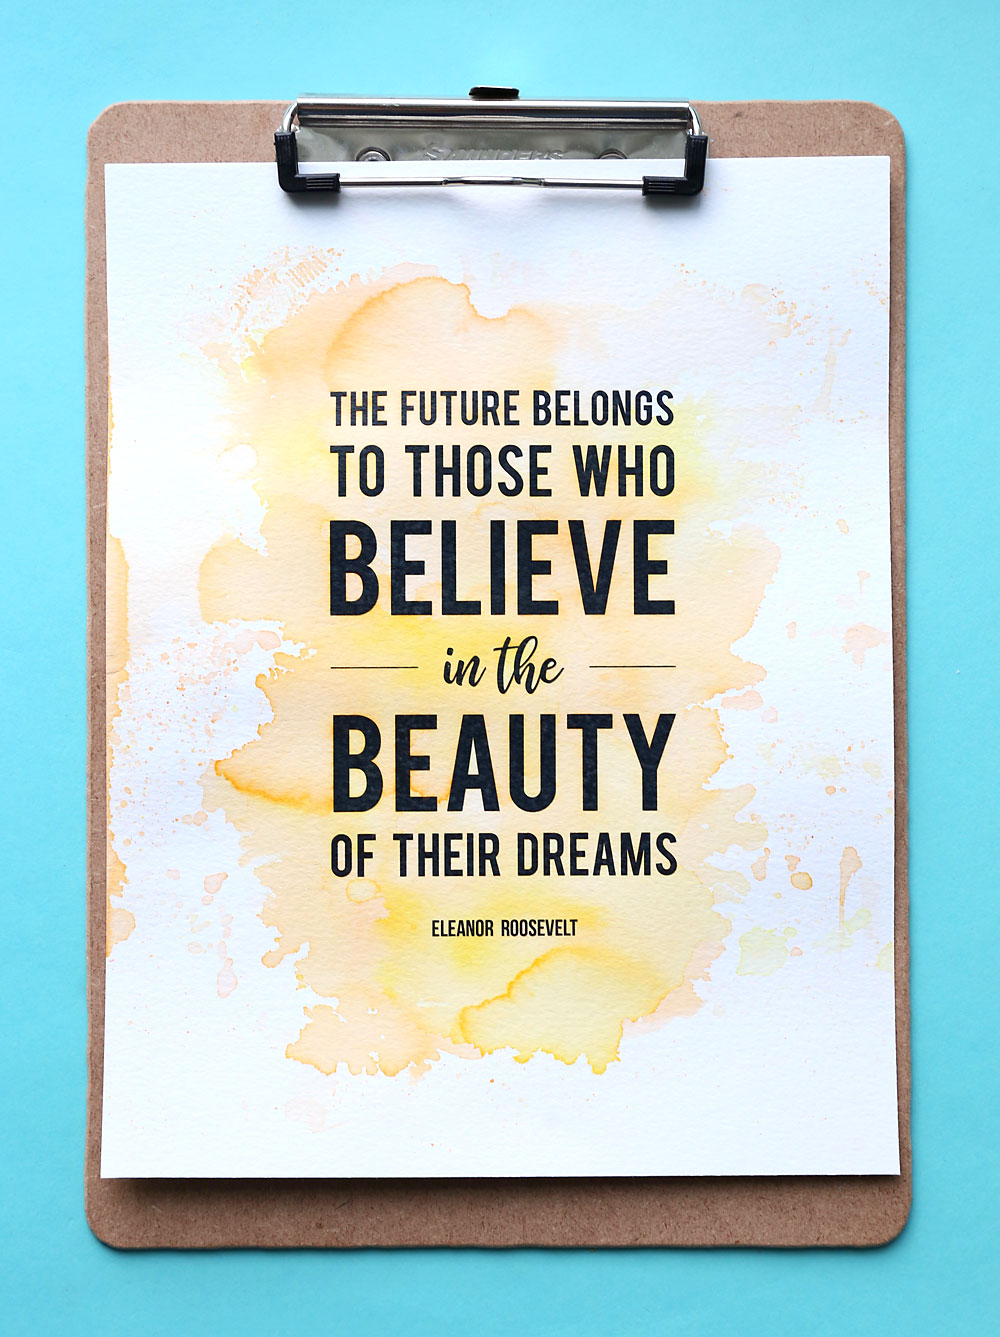
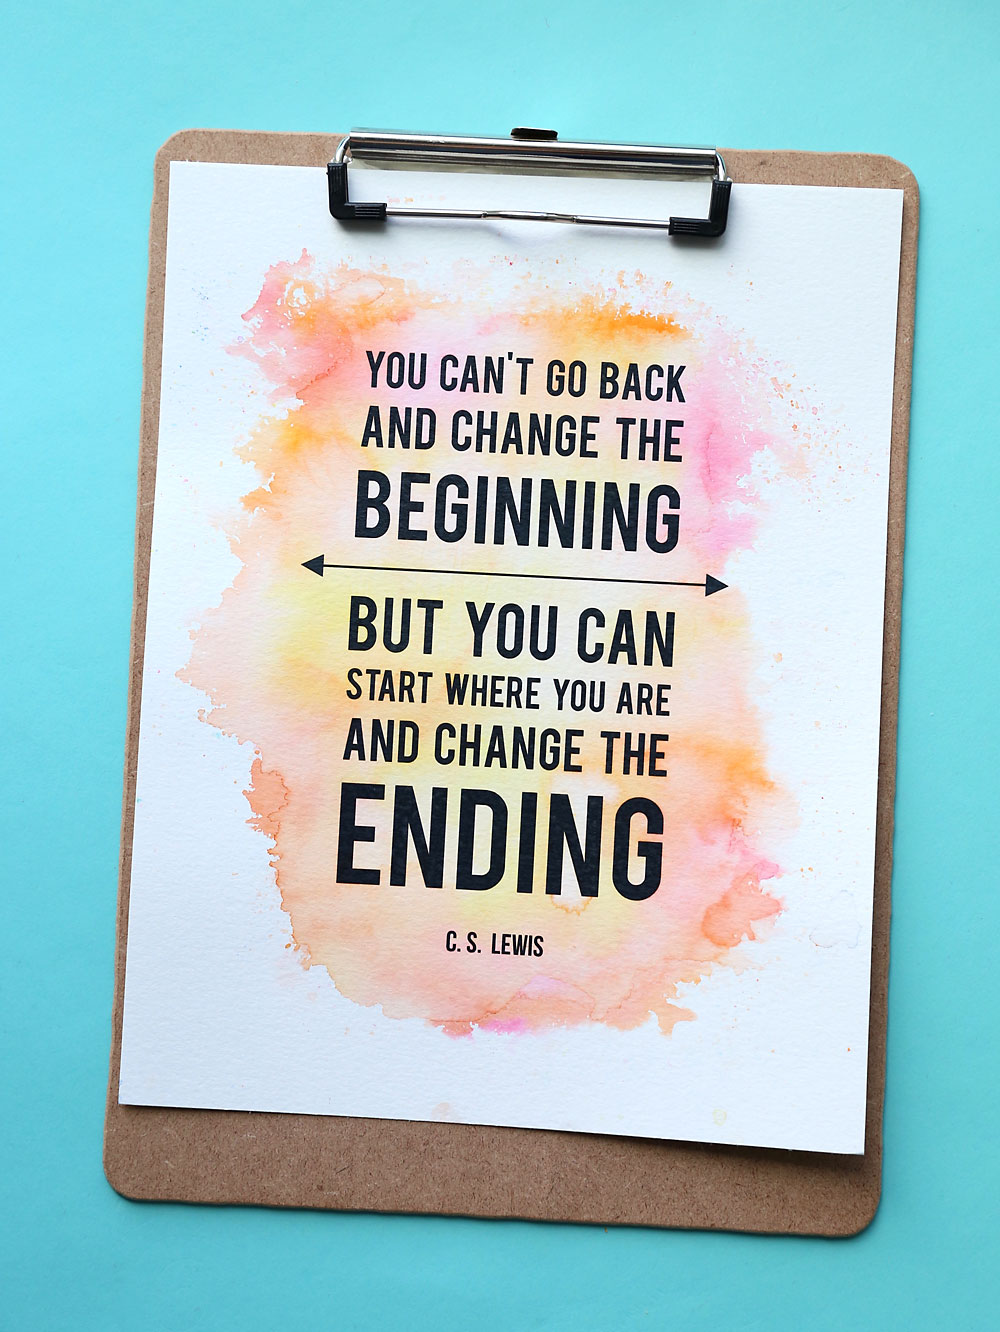
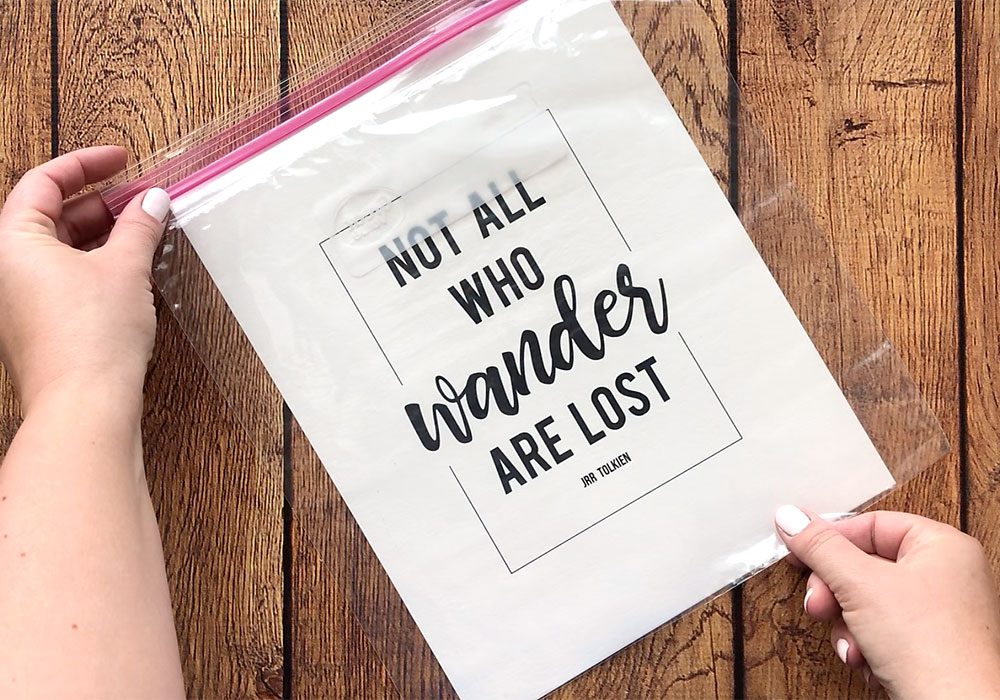
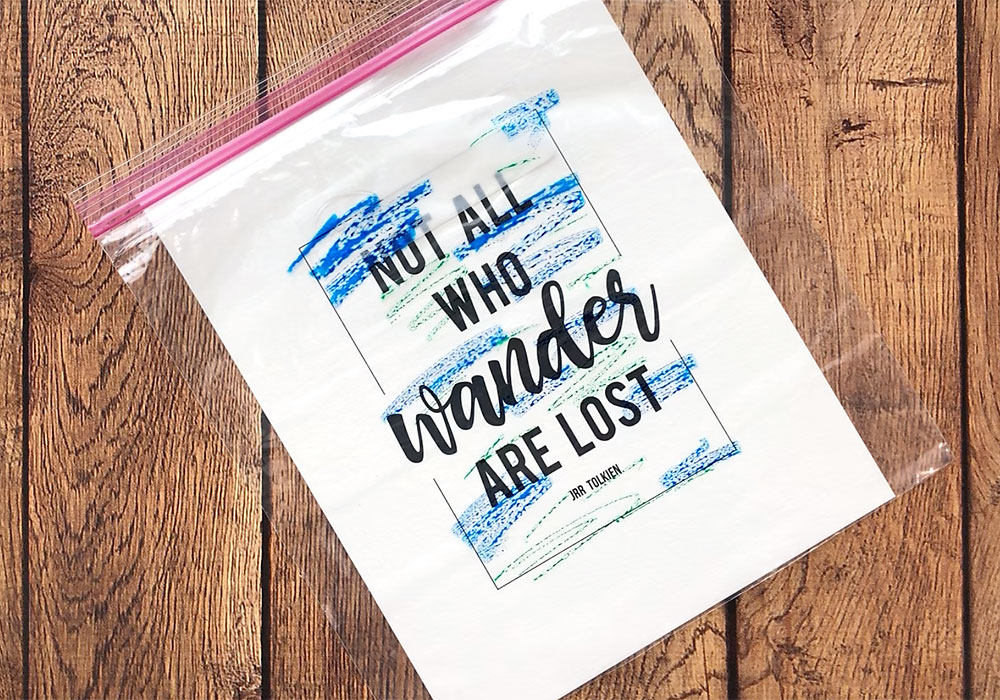
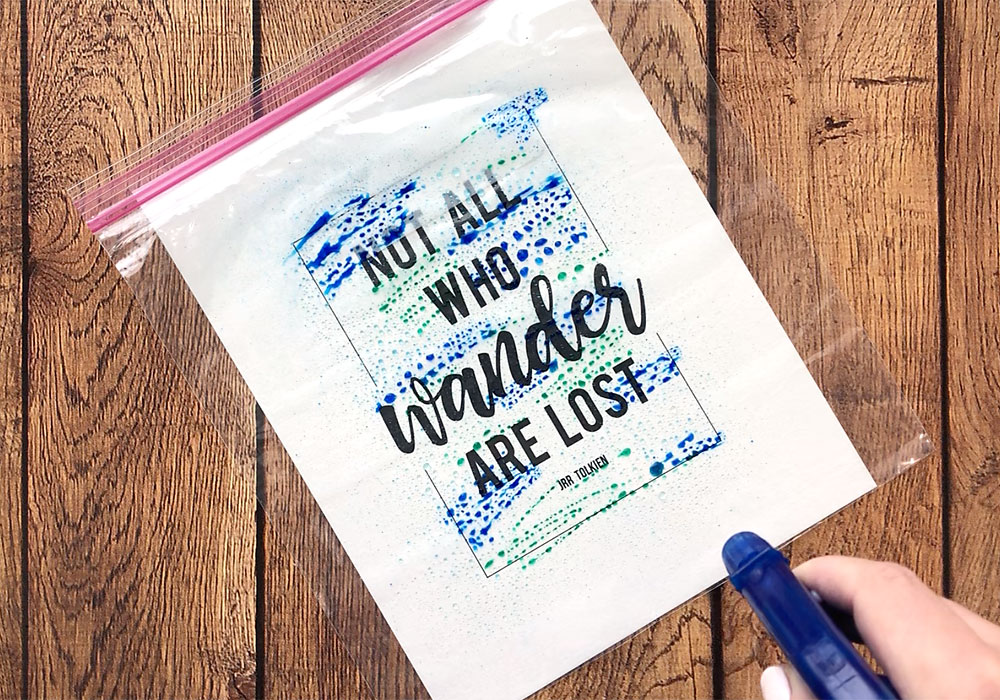
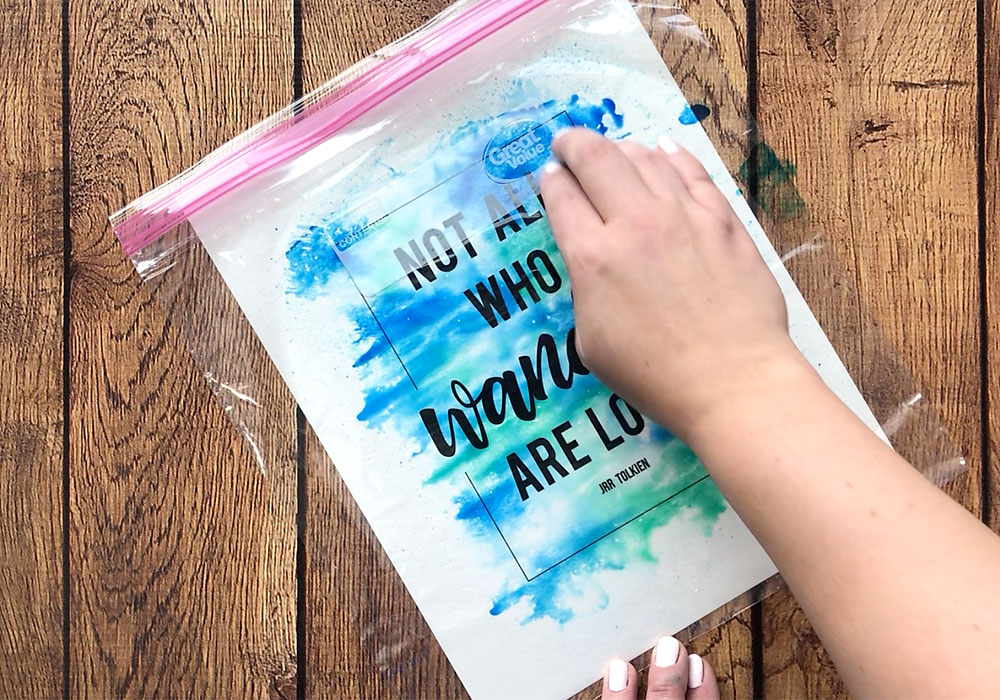
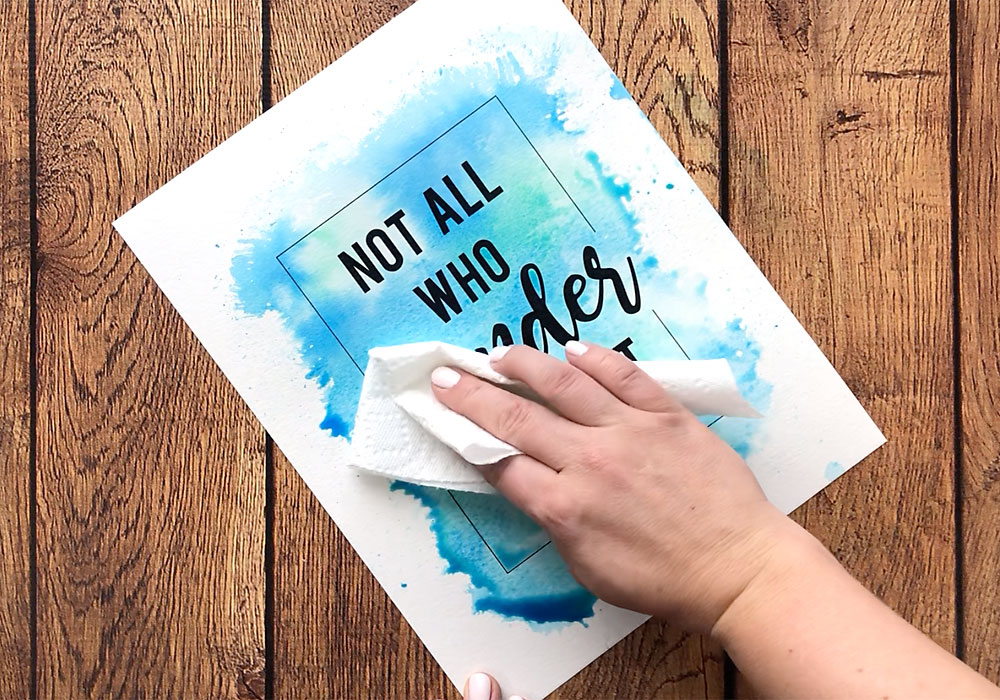
You’re going to color with the markers on a gallon zip bag, then spray the bag with water. This causes the marker color to run and blend. When you flip the bag over onto your printed quote you end up with a pretty, watercolor-like background:
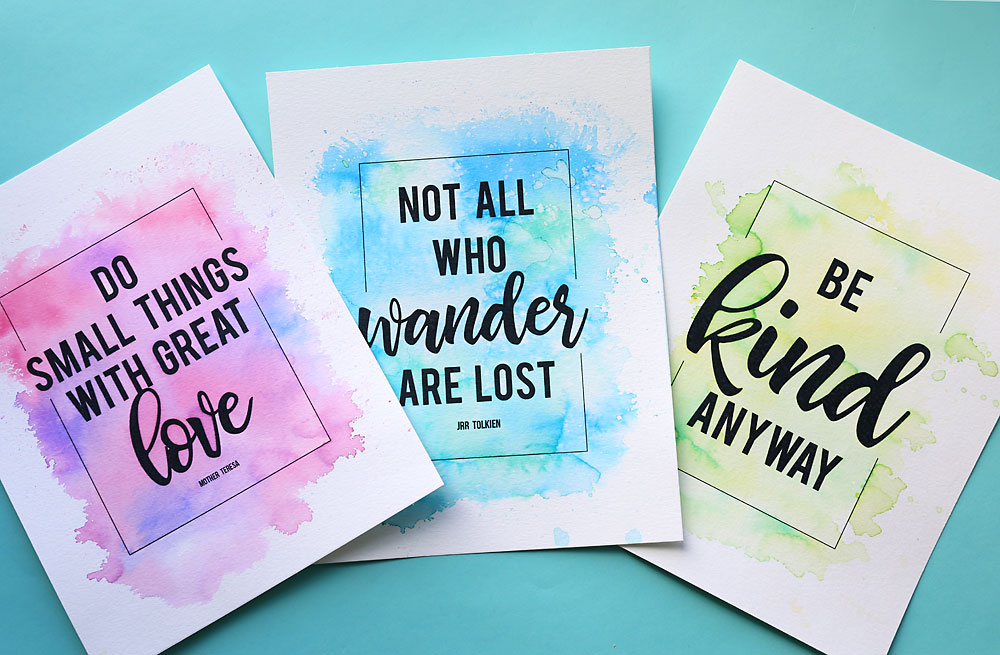
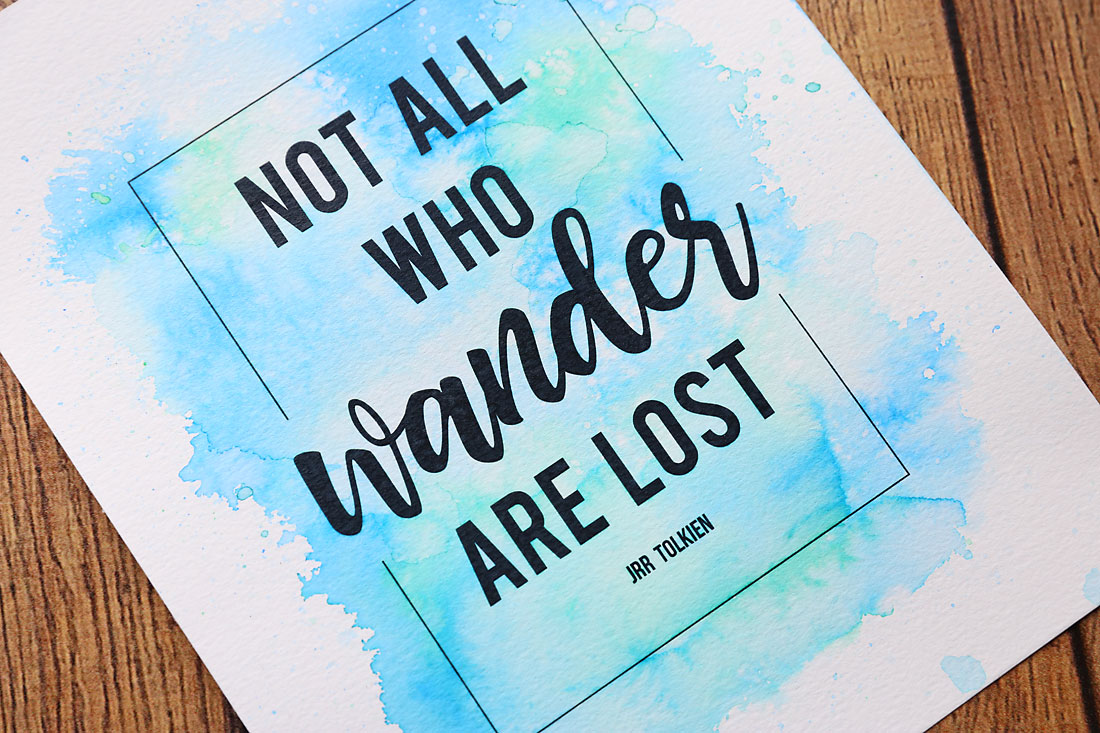
So cool, right? I know it’s not nearly as nuanced as a real watercolor painting would be, but it also doesn’t take any special supplies, training, or talent. So I’ll take it.
It’s seriously easy enough for a child to do, but there are enough ways to manipulate the end result that it’s fun for adults, too. I’m hooked!
Watch this video to see the technique in action. Then keep reading to download six free printable quotes and learn all my tips and tricks.
Printable Watercolor Quotes
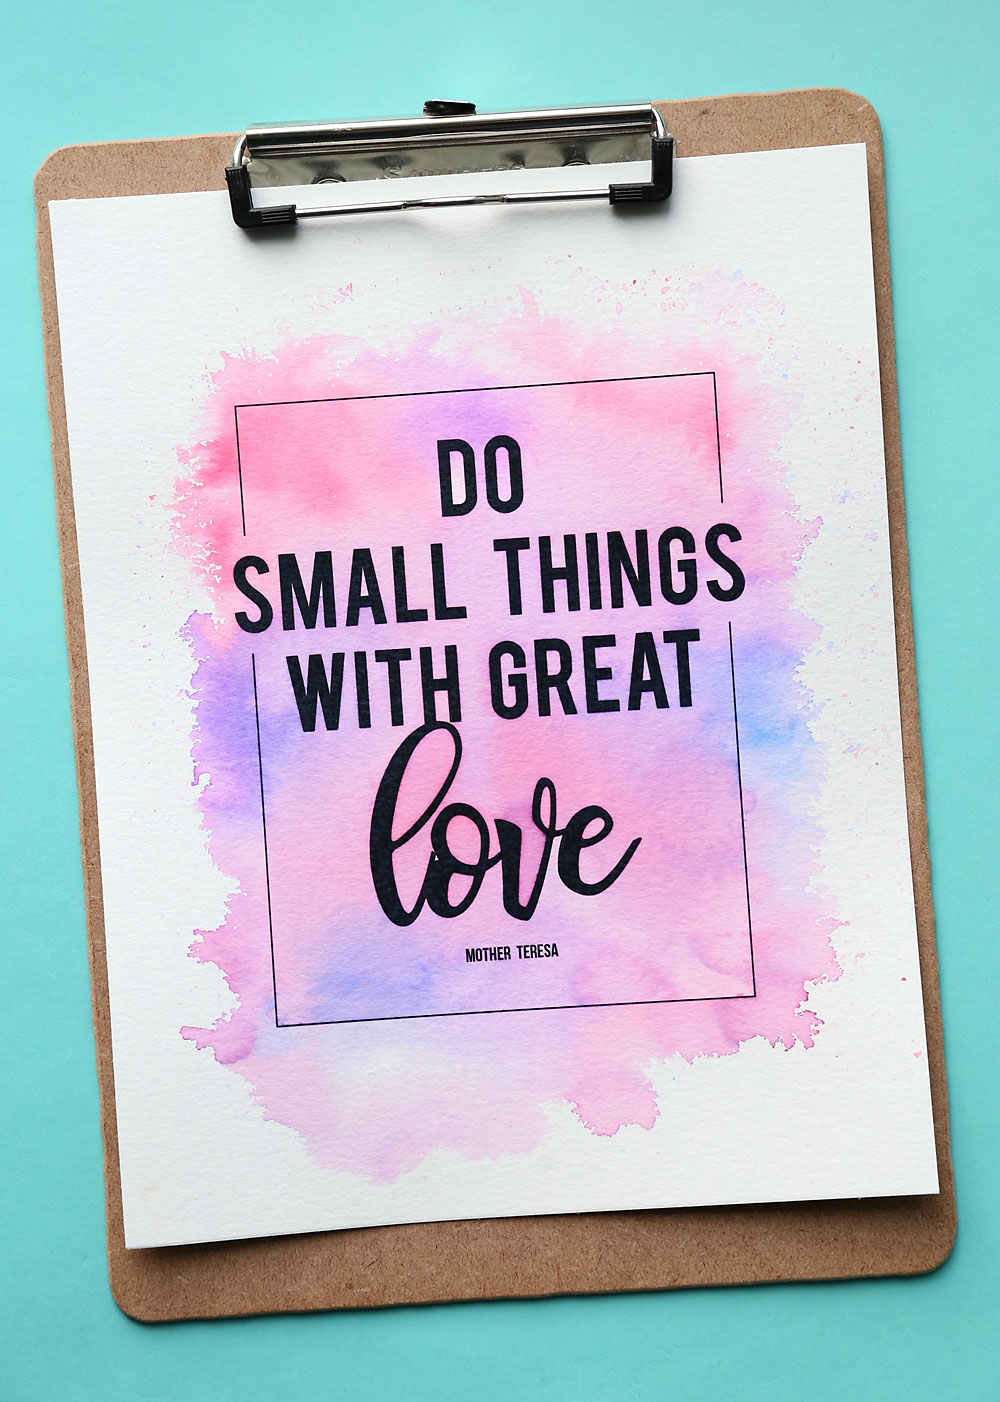
Download my printable quotes by clicking on the links below (remember, the PDF files will just have the quote on a plain white background – you get to add your own watercolor background!):
Do Small Things with Great Love
Supples for Watercolor with Markers Technique
Paper. You can use this technique on a variety of surfaces (Click here to see how I used this technique to decorate Easter eggs!), but since I wanted to combine it with a printable quote, I used 8.5 x 11 paper. I tried a variety of papers so I could figure out which one worked best:
- Cardstock: Plain white cardstock is easy to find and inexpensive, making it a good choice if you’re doing this as a fun project with kids. However, the water causes it to buckle quite a bit when it dries, so it won’t look great if you’re planning to frame and/or display the finished project.
- Mixed Media paper (98 lb, order here on Amazon or find at Walmart for quite a bit cheaper): This paper is nicer than cardstock because it’s thicker and has some texture, which looks pretty. It buckles less than cardstock but it’s still hard to get it completely flat. If you use this paper, try leaving it under heavy books for a couple of days after it dries to flatten. NOTE: this paper is 9×12, so you’ll need to trim it before printing on it.
- Watercolor paper (140lb, order here on Amazon or find at Walmart for around $5): This paper is quite thick and has a really beautiful texture, making it my top choice for this project. It will buckle just slightly from the water, but if you leave page under heavy books for a day or two after it dries it will end up flat enough to look nice on a clipboard or in a document frame. It definitely gives the most professional looking result, and it’s what you see in the photographs in this post. However, because it is so thick it will jam in some printers. If your printer has a top feeder that allows the paper to go through the printer with a gentle bend, it will probably work fine. But if your printer pulls from the front and rolls the paper 180 degrees to come back out the front, chances are this thick watercolor paper will not work. NOTE: this paper is 9×12, so you’ll need to trim it before printing on it.
Printer. If you want to download one of my printable quotes (or use another favorite one) for this project, you’ll need a printer. I tried this project using pages that had been printed with both an inkjet and a laser printer, and both worked just fine! NOTE: I was able to iron the quotes that I printed on my Inkjet printer, but when I tried ironing the quotes printed on a laser printer they smeared.
Markers. I used regular Crayola Markers. I haven’t tried other brands, although I’m guessing they’d work as well. I also haven’t tried using washable markers.
Plastic. I used a gallon zip bag for my plastic surface because nearly everyone has those on hand, but I’m guessing you could also use a plastic page protector. After each use, you can just wipe the plastic surface clean with a paper towel and use it again!
Spray bottle. Make sure your spray bottle is on the “mist” setting, and fill it with water.
Paper towels. These are helpful for cleaning up any overspray and for blotting excess color.
How to make a Watercolor Print using Markers
First, print whatever quote you’d like to use on one of the papers I mentioned above. Next, lay a gallon zip bag over the quote. If the zip bag has an opaque area that you can write on, make sure that’s facing down.
Scribble on the bag with markers. I like to use two different colors that I know will blend well together, maybe three. Do not use colors that will make brown when combined together. I start by scribbling with the first color in four or five different spots, then scribbling with the next color. It will take some experimentation to figure out how much marker ink you want to use, but you really don’t need that much. I like to keep the scribbles contained within the area the quote covers.
Next, use your spray bottle to spritz water on the scribbles. You’ll see the marker ink bead up when it gets wet. Again, you’ll want to experiment to see how much water you like to use, but I find that 5 or 6 sprays is generally sufficient.
Pick up the zip bag and quickly flip it over, then place it back down, centering it over your quote. Depending on how much water you used, some of the ink may run off the bag as you flip it. Rub your fingers over the bag, blending the colors beneath it. You can blend a lot or a little to get a look that you like.
When you’re done blending, slowly peel the bag off your print. At this point you may have some pooling colored water. You can either leave it to dry (it will dry darker in those areas) or you can use a paper towel to blot some of it up. If you blot right away, it will pull more color off. If you wait a few minutes to blot it will pull less color off.
If you don’t like how it looks, blot it up right away and pull off lots of the color, then just repeat the process. You can also repeat the process to add more of one color. Please note that you may get color on your fingers during this process unless you are careful.
You can experiment: blot up more color, layer on more color, spray the finished print with water for a speckled look, etc. I actually recommend experimenting with colors and techniques using plain paper to see what you like best before you start working on the actual prints. It’s tons of fun!


Kristina says
Hi! How did you print these in order for them to not bleed? I’m using watercolor and the ink is bleeding badly.
Thank you!
cnm says
What a great, simple, beautiful idea! Thanks for providing downloads of these great quotes.
Grace says
off-brand markers work I have off-brand at my house, tried them, and it works just fine.
Pearl says
Love this! Fun and easy and kid-friendly too!
Jersey says
So I was going to start this and make something for my mom but I realized that all our markers we have a off-brand markers will these work or do I need to buy the kind you used?