In today’s post: Use up some of that old scrapbook paper making these pretty paper strip ornaments! Free template included.
Alright, I want to know: what kind of Christmas tree decorator are you? The kind that plans out new decorations every year and then distributes them so evenly it may or may not actually require a measuring tap to do so? The kind that cherishes every kid-made handprint and popsicle stick ornament and displays them proudly on a mismatched tree? Or maybe you have toddlers, which means you’re the kind that’s forced to leave the bottom half of the tree undecorated.
As for me, I’m the lazy kind. I like my Christmas tree up early, and I like the lights on all the time, but as for the rest I pretty much let my kids go to town and decorate it however they want. Sure, I might rearrange a few things – I mean no one wants clumps or ornaments on one side and bare patches on the other, right? I may be lazy but I’m not a complete Scrooge.
Anyway, I do like to let the kids be involved in the Christmas decorations, so these paper strip ornaments were a fun little project.
I saw a similar idea at Fireflies and Mudpies where she used paper strips to make pumpkins and I thought I could probably use some of the old scrapbook paper I’ve had laying around forever to make Christmas ornaments!
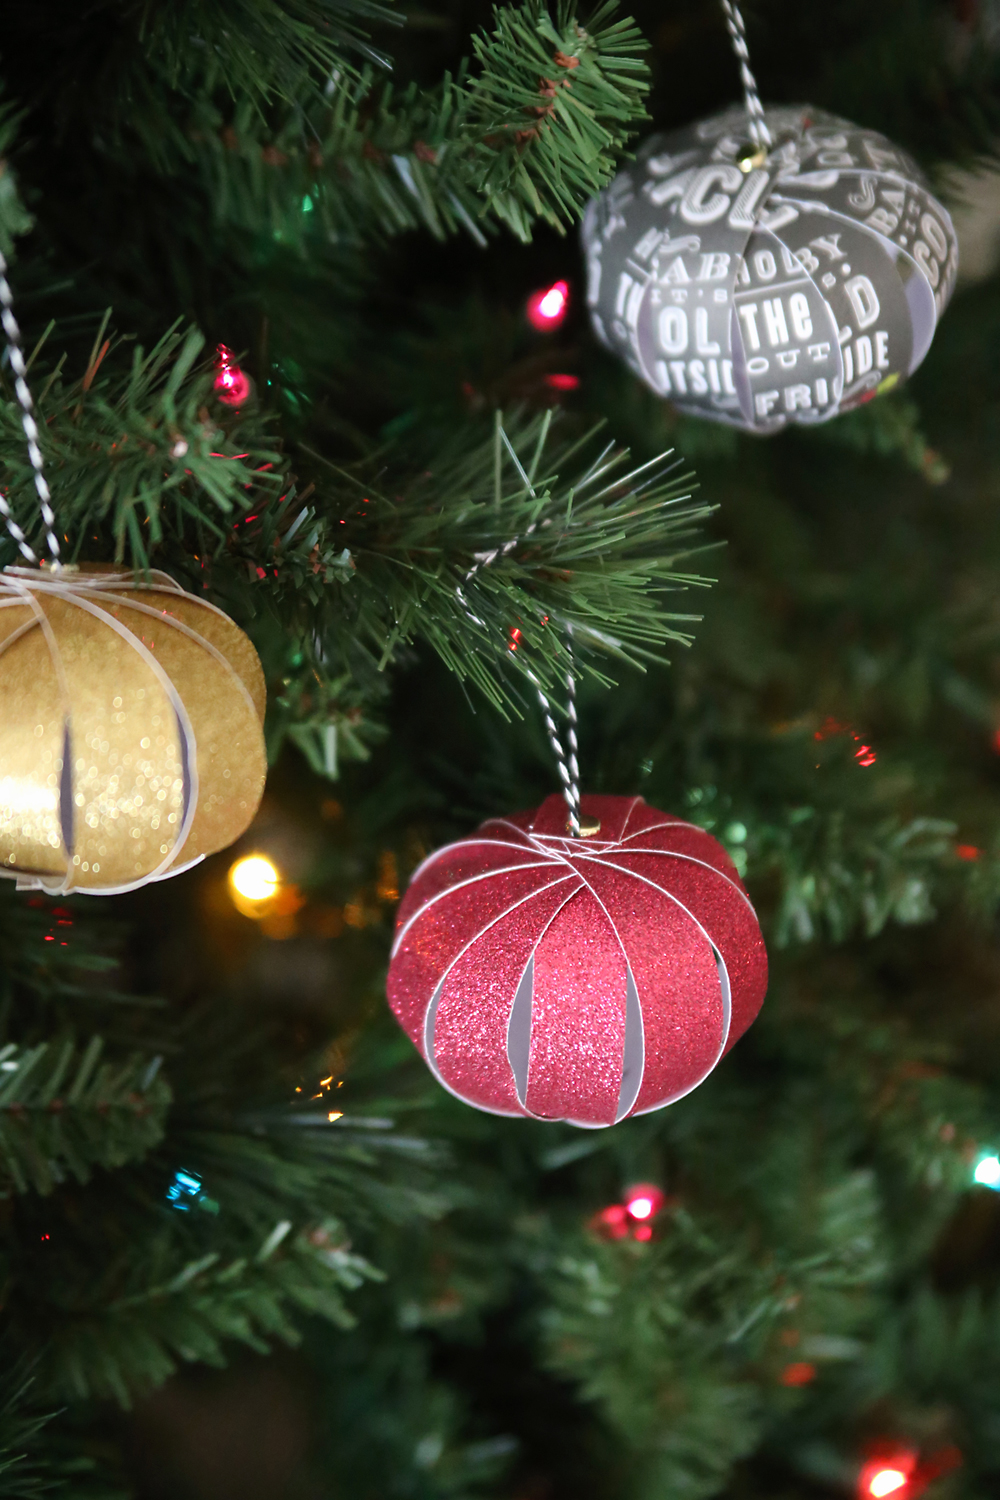
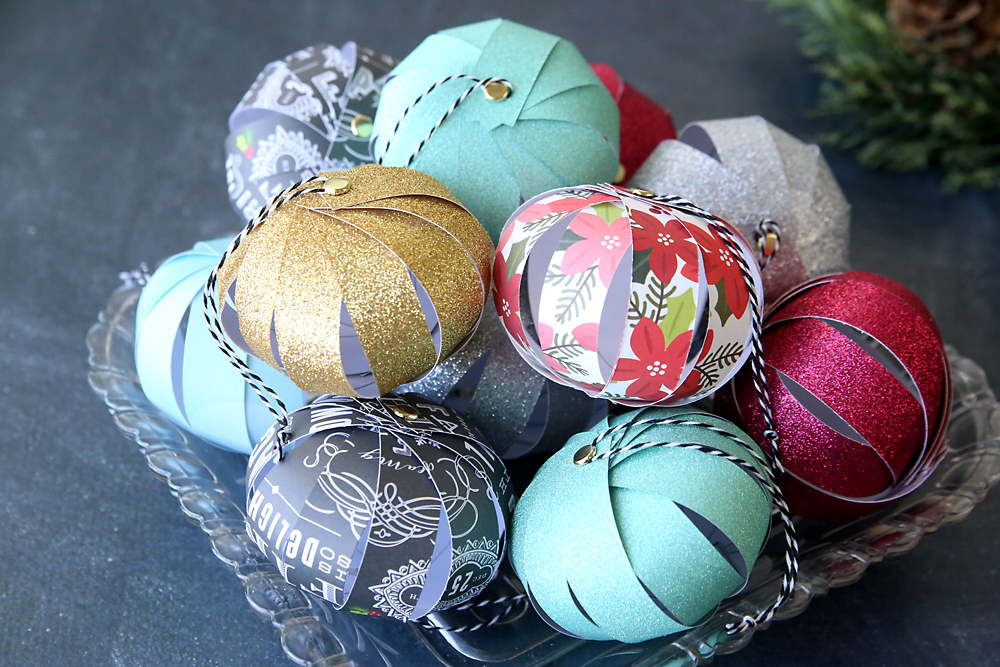
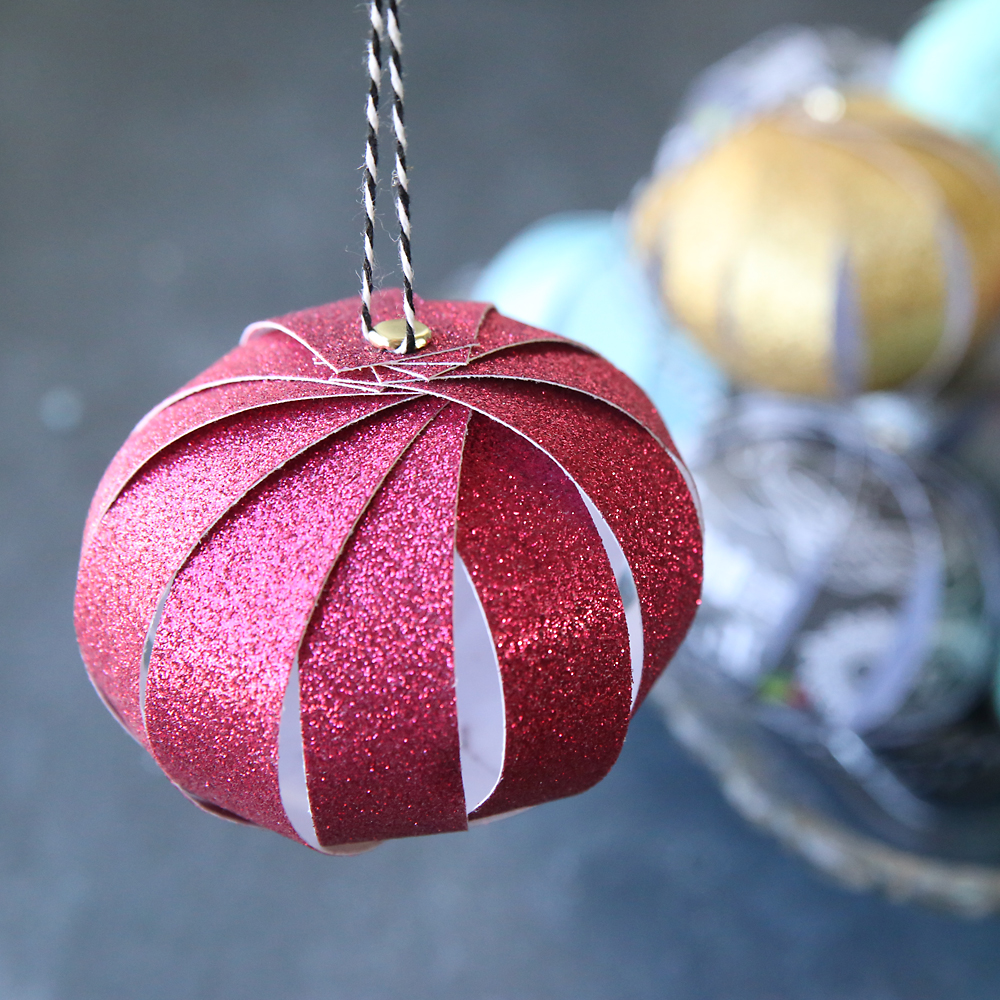
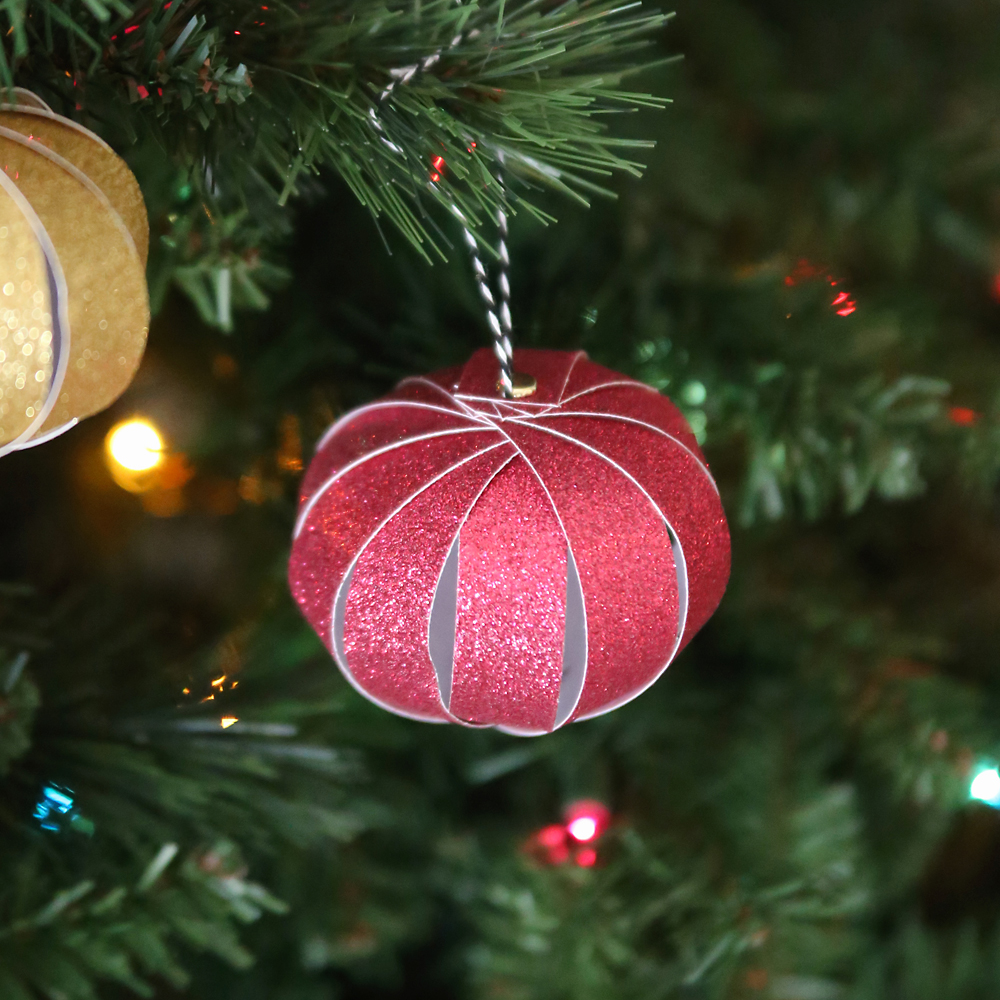
They turned out pretty cute! I especially like the ones made from sparkly paper. Here’s a quick video that shows how to make them, and written instructions follow.
How to make paper strip Christmas ornaments
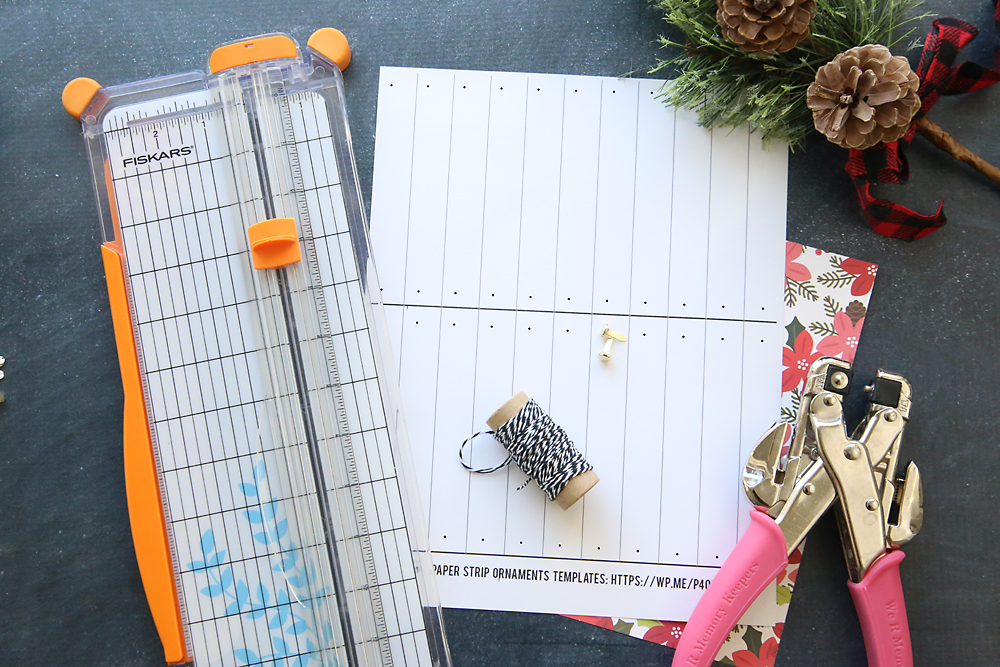
You will need:
- paper
- paper trimmer or scissors
- hole punch
- brads (paper fasteners)
- twine or string
If your paper is larger than 8.5×11, start by cutting it down to that size. You can use any weight paper you’d like. Lighter weight paper is a little easier to work with, so might be better if you are doing these with kids. Heavier weight paper will result is sturdier ornaments.
Next, download the template by clicking here. Print it out at 100% or full size on the back of your piece of paper.
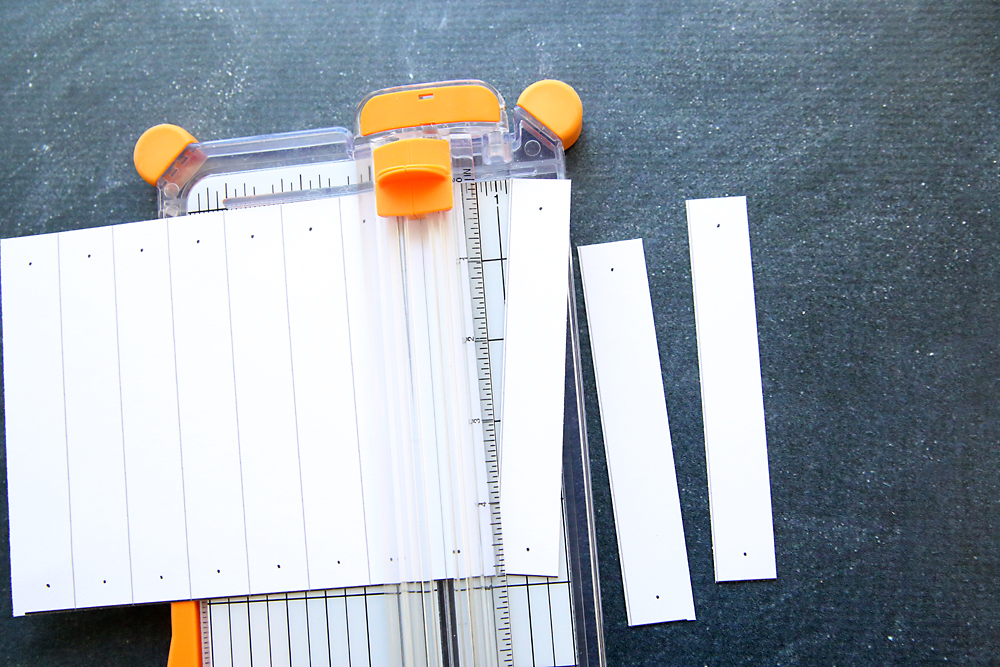
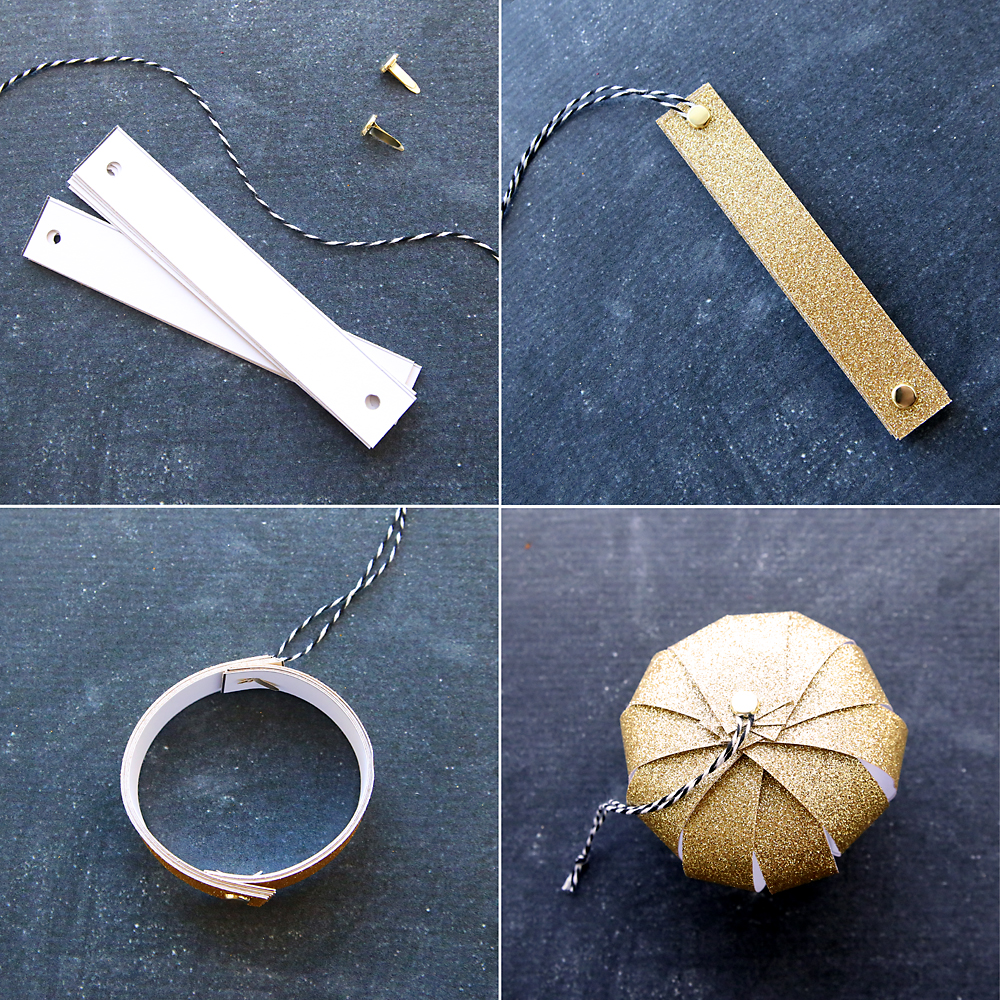
Each piece of paper will make 2 ornaments. Use a paper trimmer or scissors to cut along all the lines. You’ll end up with 2 piles of 11 paper strips each.
Punch a hole at the dot at both ends of your paper strips. Please note that the hole must be smaller than the top of your brads. If you are using a standard hole punch you may need to punch all the holes separately. I use the Cropodile for punching holes because it can punch through all the strips at once.
Stack 11 paper strips on top of each other. Push a brad fastener through the holes at one end and open to secure. Cut a length of twine (about 9 inches) and knot the end. Place this loop under the brad fastener in the holes at the other end of the paper strips. Secure that brad as well.
Grab the paper strips in the middle and pull half of them one way and half the other way to create a circle. Then gently pull each paper strip apart to create a ball.
Depending on the type of paper you are using, it can be a little difficult to pull each paper strip apart, so plan to help kids with this step. Once that’s done, you can hang your new ornament up on your tree!
Looking for more Christmas fun? Check out these posts:
25 handmade gifts you can make in 15 minutes or less
25 adorable Christmas treats you can make with your kids




Rebekah Purnell says
Cute Idea! My kids would love Christmas paper strip. I especially love your paper strip color combination. It’s really beautiful!