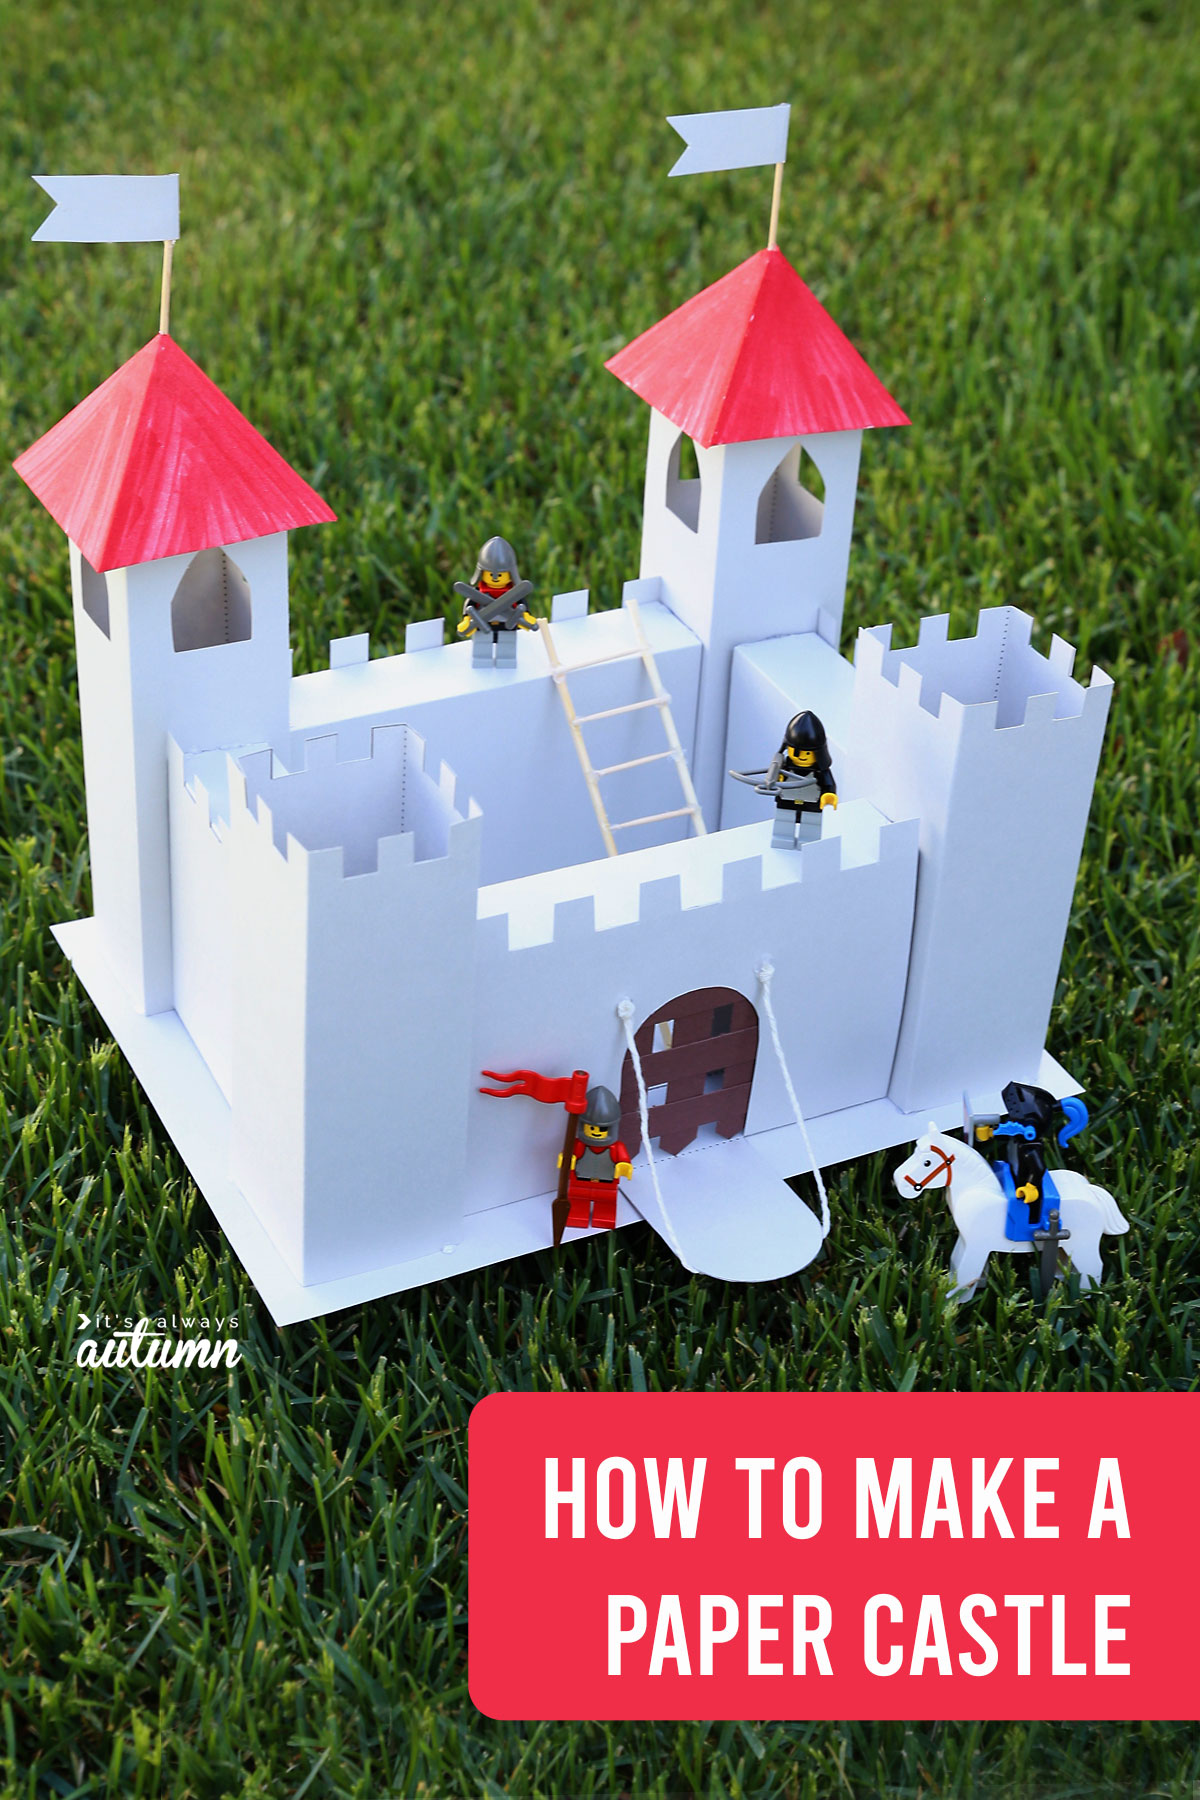
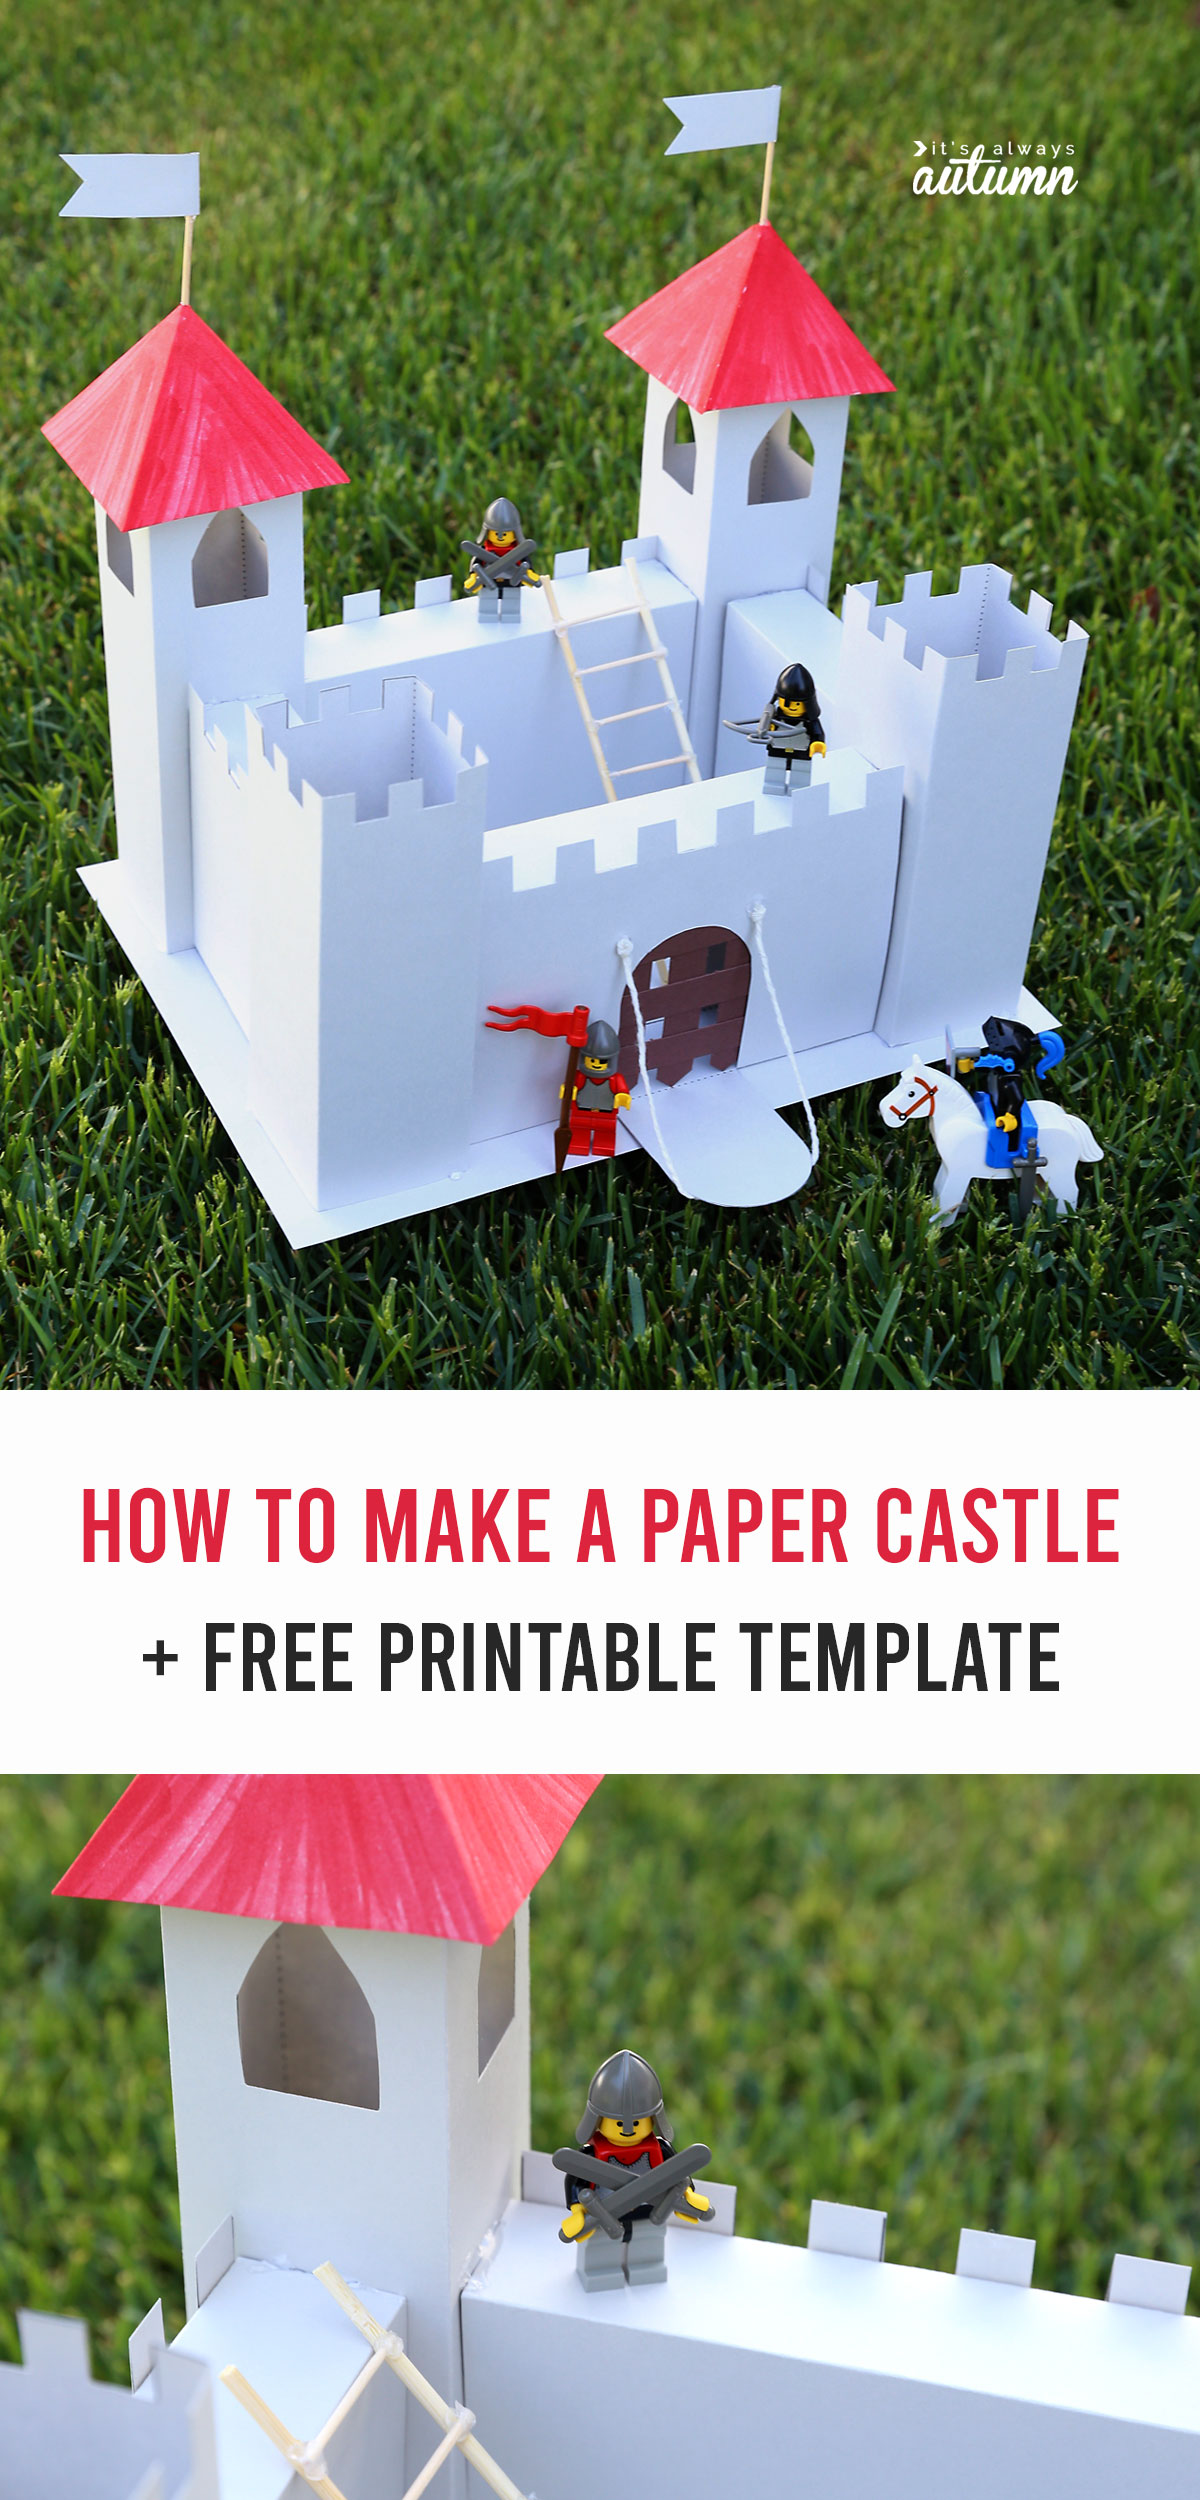
In today’s post: Use this free printable template to make a paper or cardboard castle with your kids!
So it turns out that people respond to prolonged periods of staying at home in different ways. My sisters, for example, have apparently organized every corner of their homes, even down to sorting the kid’s construction paper by color. My neighbors have spruced up their yards with new flowers and new bark, working until there’s nary a weed in sight. I, on the other hand, haven’t organized one darn thing. Or weeded. Instead, I figured out how to make a castle out of cardstock.
Because that’s totally normal. 😂
Cardstock Castle Template
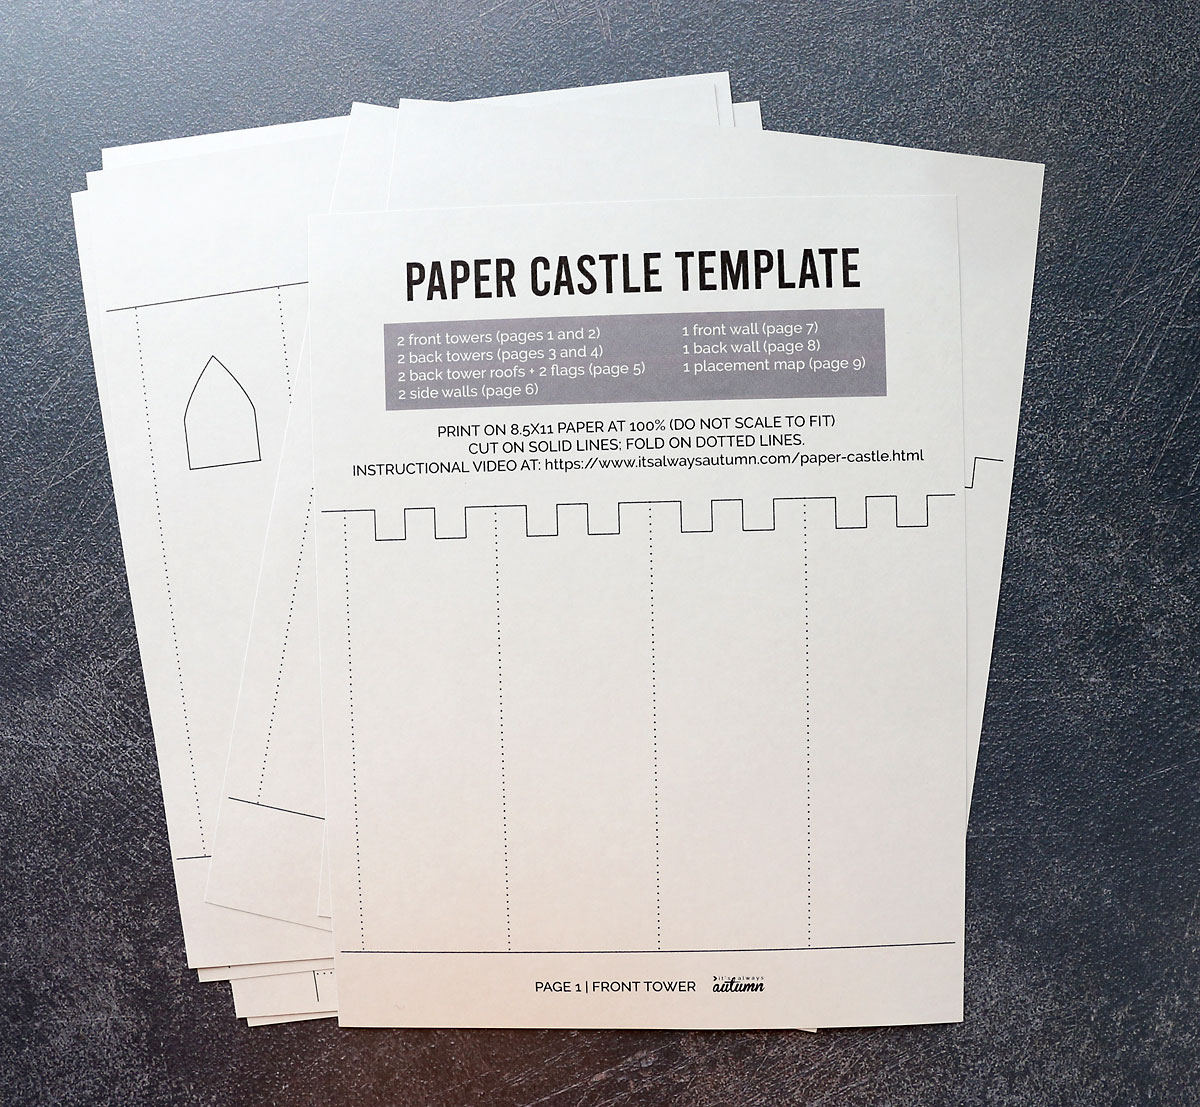
I’ve made a printable template so you can make your own castle from stiff paper (cardstock) or cardboard.
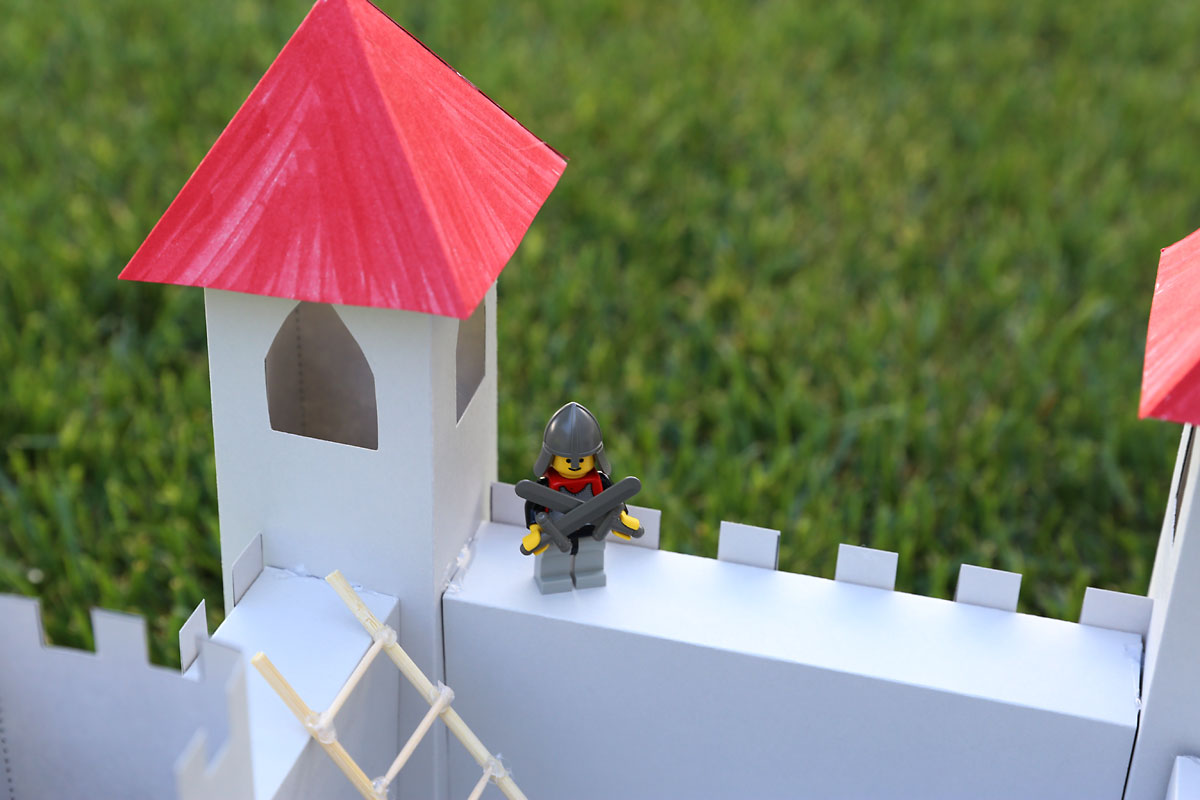
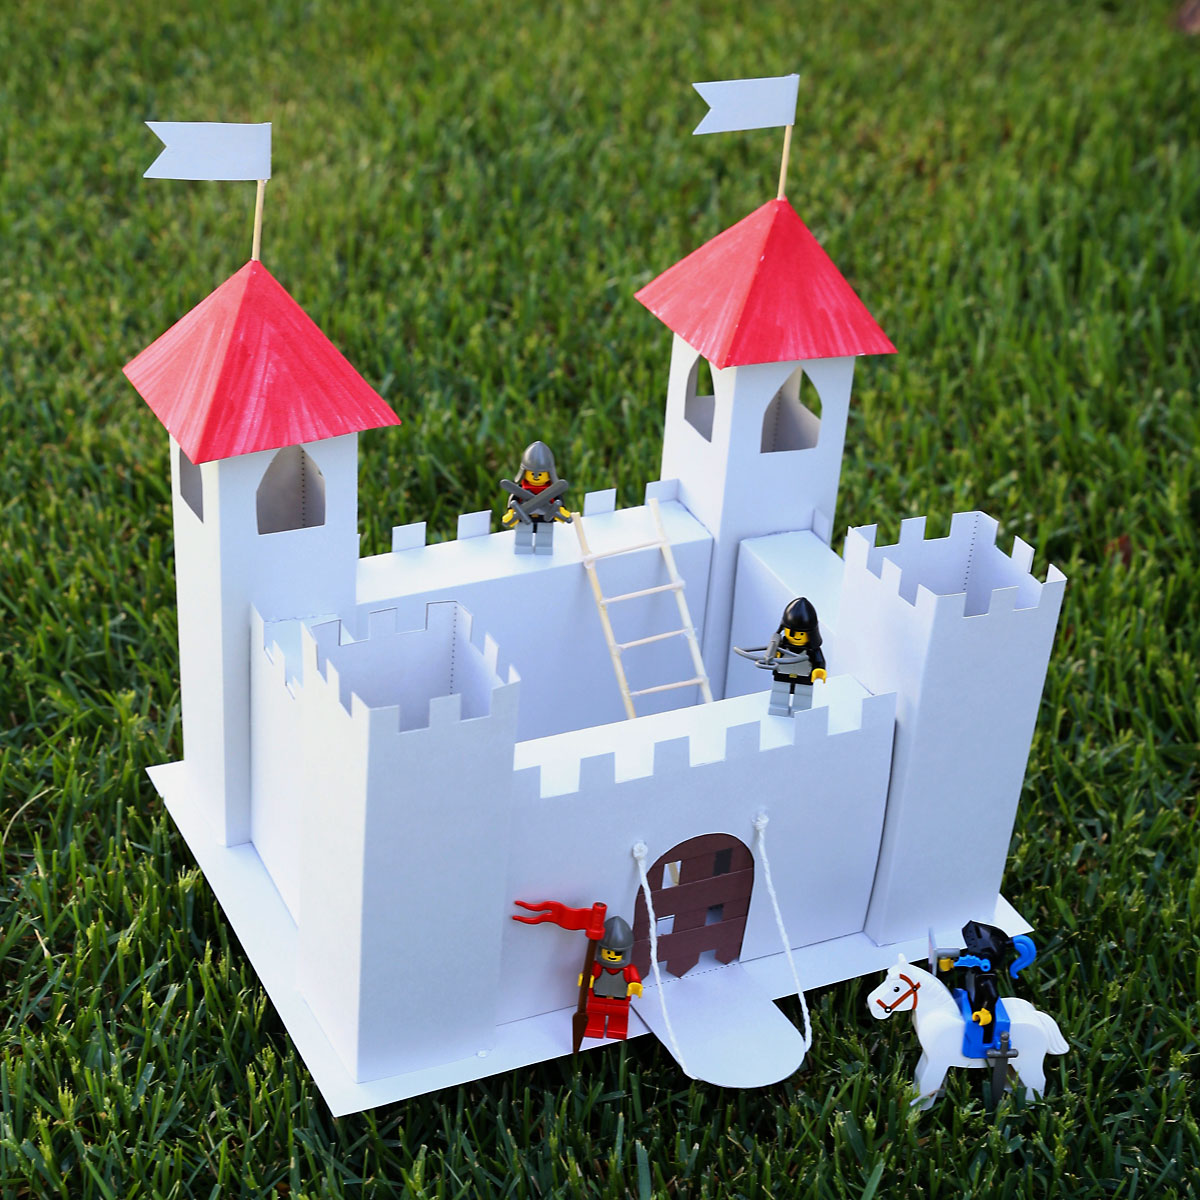
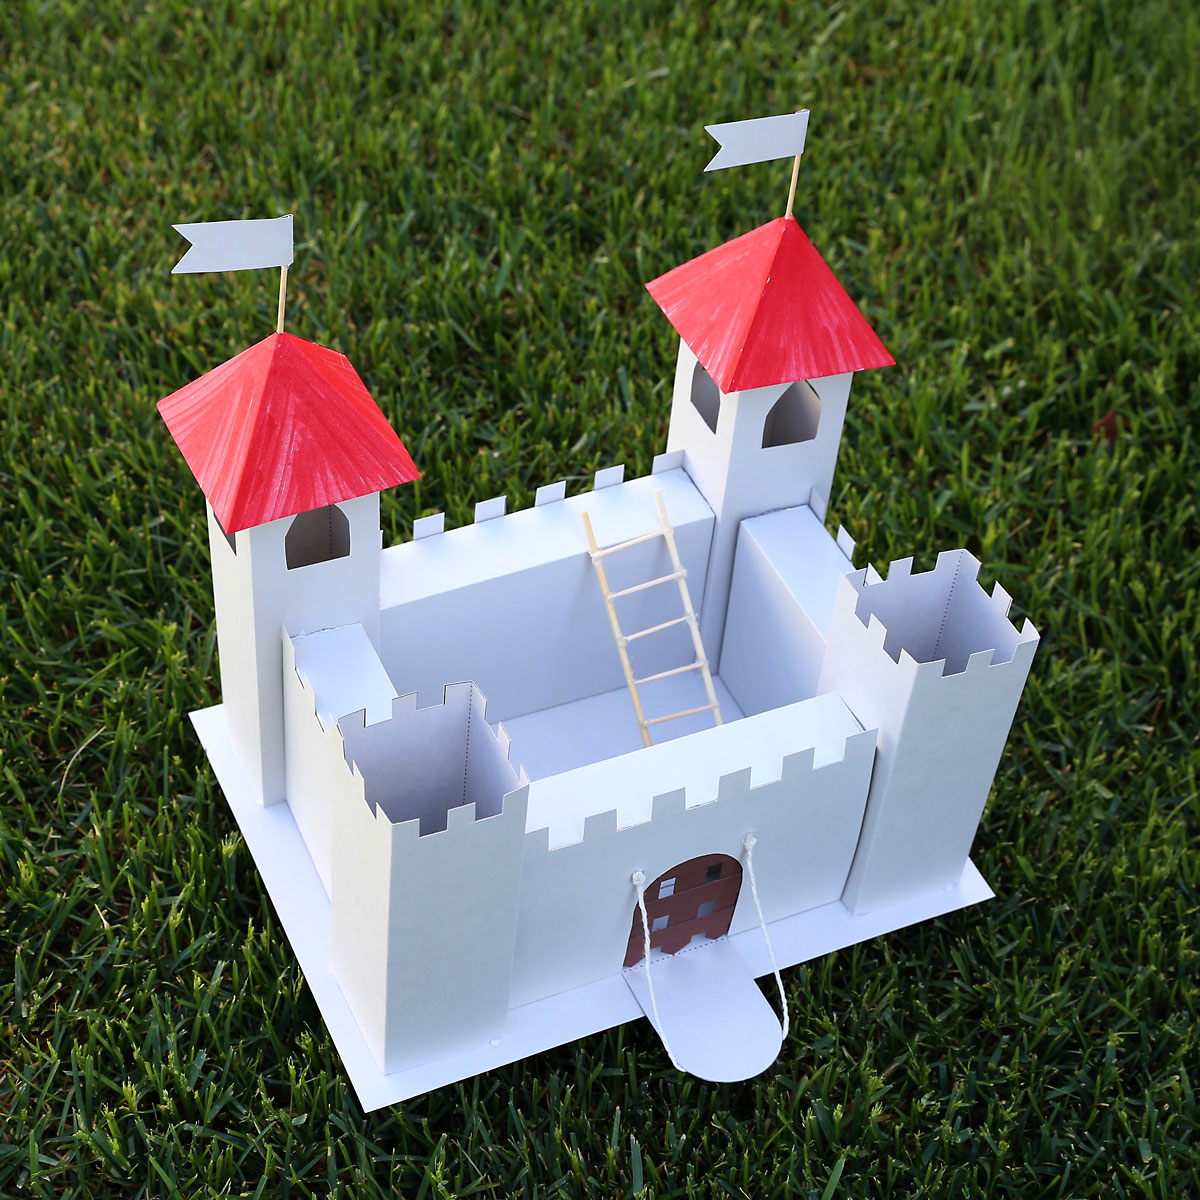
First off, why might you want to make a paper/cardboard castle? Well…I will say that my elementary school age kids have had a great time playing with their LEGO knights in this castle. My sixth grader actually had to make his own castle for school earlier this year, so he knows all about the portcullis (that’s the brown thing that blocks the entryway) and the parapets (the notches on the top walls that archers can hide behind).
This could be a fun project to work on with your kids when you need an activity that will keep everyone off electronics for a while. It will probably take 30-60 minutes to cut out and build (or maybe longer if the kids do all the cutting on their own).
Paper/Cardboard Castle Supplies
You can make this castle from paper or cardboard. I used cardstock, which is a thick, stiff paper. Cardstock is a great option because it’s flexible enough to go through a printer, meaning you can print the template directly on it, and it’s thin enough that you can cut it with normal scissors. Additionally, it’s easy to fold and fairly sturdy once it’s all glued together. If kids will be involved in making this castle, I definitely recommend cardstock. I ordered this package of gray cardstock from Amazon and now we have enough to make a whole country full of castles…if we ever wanted to do such a thing. You will need 9 sheets of cardstock for each castle.
If you want a really sturdy castle, you could also make this from cardboard. I would not recommend encouraging kids to do that though because cardboard can be a pain to cut and fold. If you would like to use cardboard, you’ll need to print out the templates and then trace them onto your cardboard.
Click here to download the template. Download it to your computer then print it out at 100% or full size on 8.5×11 sheets of paper. At the bottom of page 1 you will see a test line that should measure exactly 1 inch long when printed at full size.
To make the castle, you will also need:
- A way to cut straight lines, such as a paper trimmer or exacto knife and ruler. If you don’t have a paper trimmer and don’t want your kids using an exacto knife, they can absolutely do all the cutting with scissors. The lines may not end up completely straight, but that’s ok.
- Scissors for cutting out the notches in the parapets
- Hot glue gun
- Optional: you can also make a portcullis from strips of brown paper and a ladder from skewers and toothpicks if desired
How to Make a Cardstock Castle VIDEO
It’s easiest to understand how to put this together if you watch the video below. Please note that if there is no video showing beneath this paragraph that means you are using an ad-blocker. Please disable your adblocker or whitelist this site in order to view the video. I know that no one likes watching ads on videos, but ads are what allows me to create free content for you. Thanks!
Additional Castle Building Tips
Please remember that you will CUT ON SOLID LINES and FOLD ON DOTTED LINES. It’s easiest to get even folds if you score along them first. If you don’t have a scoring tool, simply use the back edge of a butter knife to score, as shown in the video above.
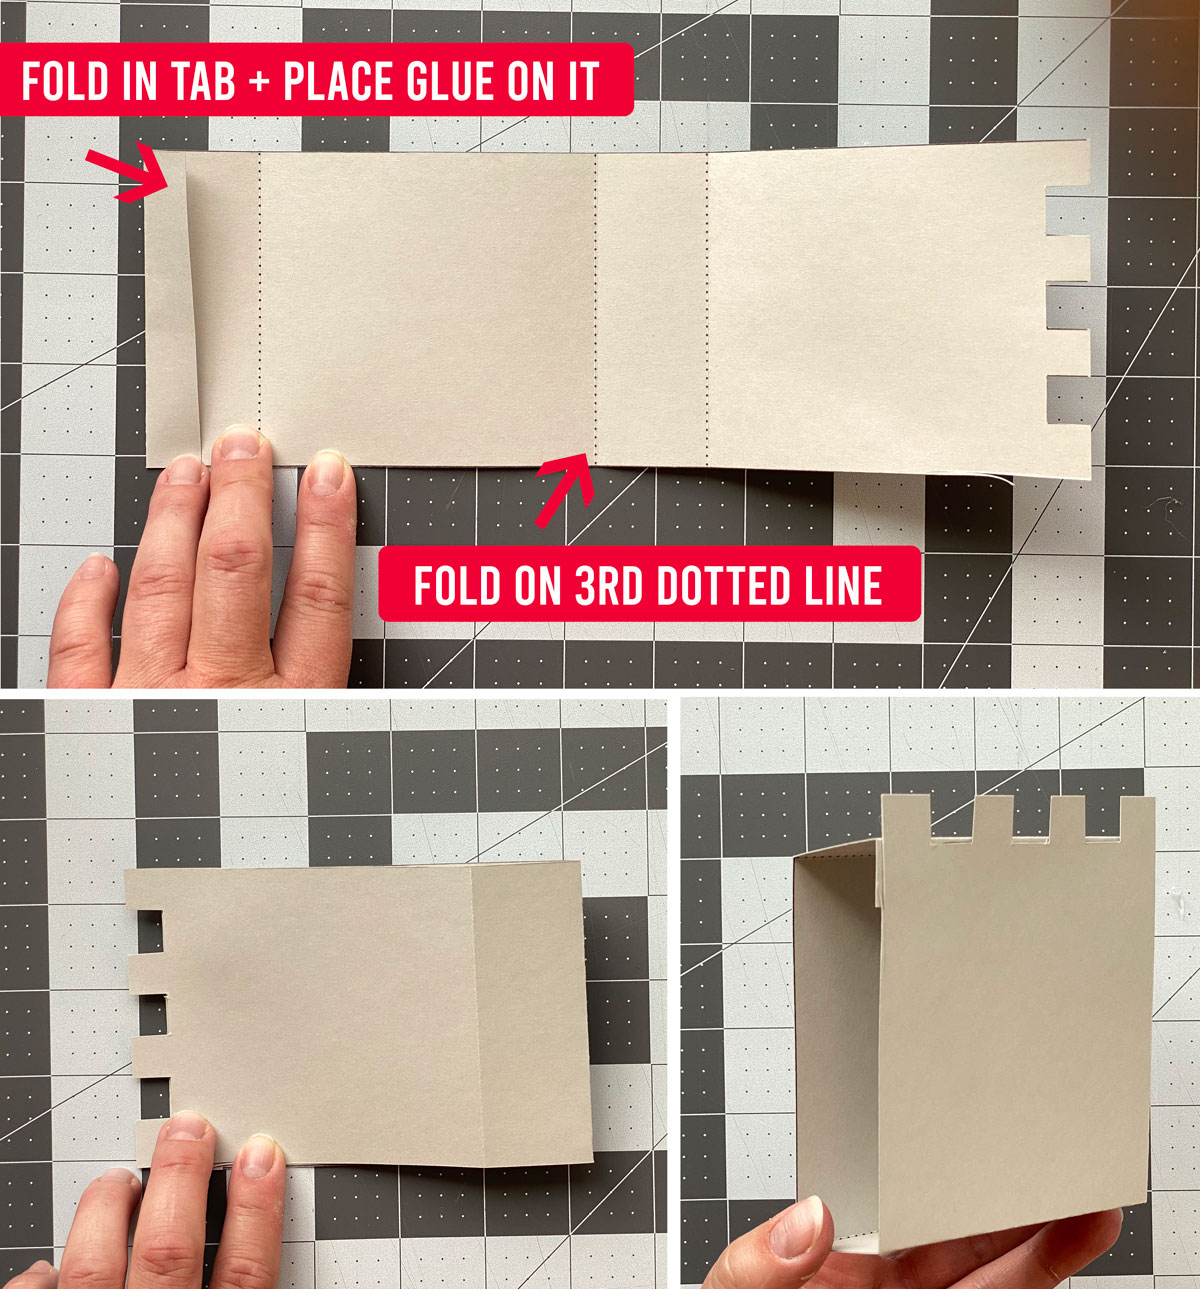
Additionally, all of the pieces have a TAB where you will place glue. Once you have cut and folded each piece, keep the side with the dotted lines facing up toward you. Fold up the tab and place glue on it (as shown in the photo below). Then fold on the 3rd dotted line to glue the piece together. This creates a box (all the walls and towers are made using these box pieces).
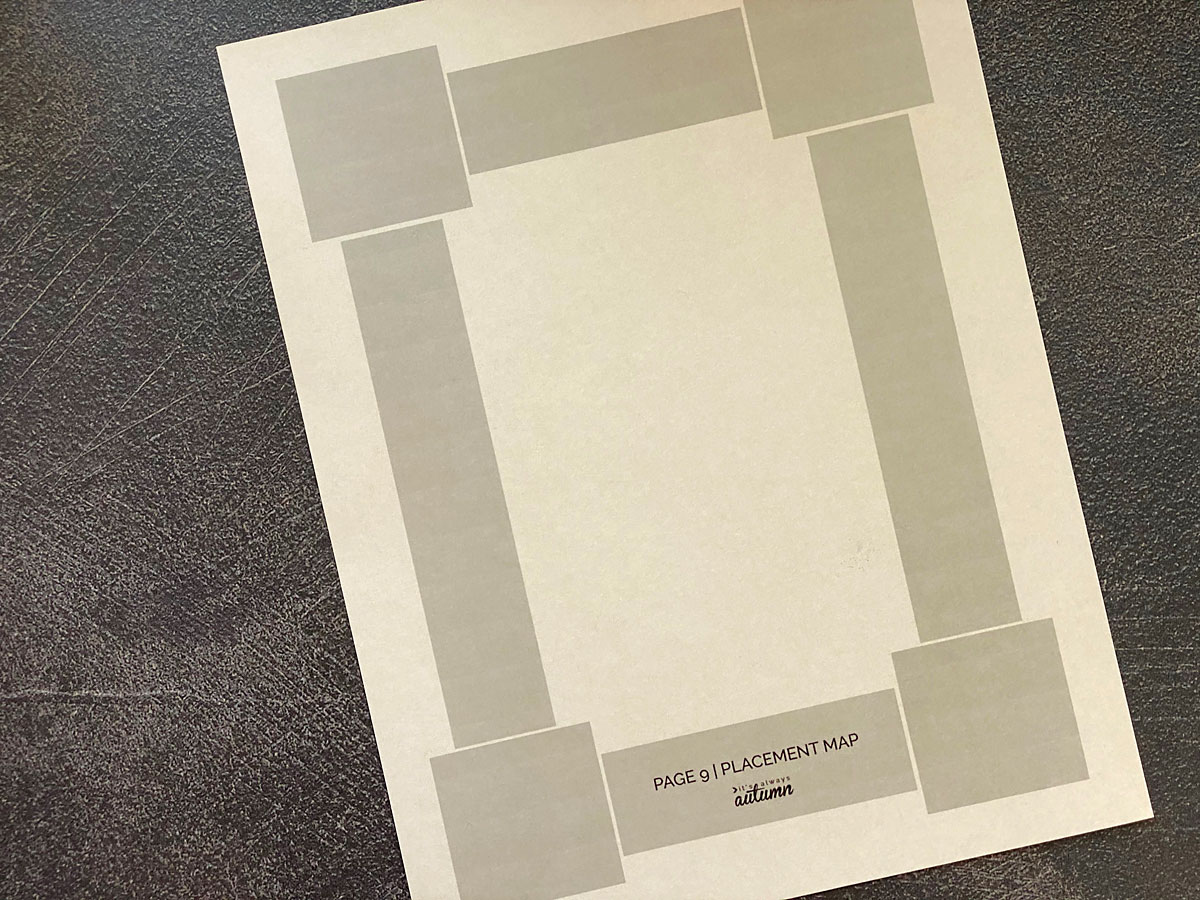
Once you have created all four walls and all four towers, you will glue them down on the placement map, as shown in the video. Glue down each wall first, then glue down the towers. Finally, glue the towers and walls to each other for stability.
And that’s how you make your cardstock castle! The video shows how to add the flags, drawbridge, and portcullis (there is no pattern for the portcullis, just make one from strips of brown paper if desired).
Kids could also decorate the castle, drawing in more windows or coloring the sides to look like stones. My son didn’t like that I glued the portcullis on (because it blocks the entry) so he’s already made some adjustments. You gotta love craft projects that even 11 year old boys will get excited about!
More Craft Projects for Kids
The MEGA list of Perler Bead Patterns


Tissy says
Thank you for the idea and the template! We want to make this for a school project. What weight card stock did you use? Do you think rubber cement would work in place of the hot glue gun? Trying to think of a glue my son can use on his own…. Thanks!
Dana says
Thank you for providing this template. We had an awesome time building and discussing what castles were like. Super easy to cut out and put together.