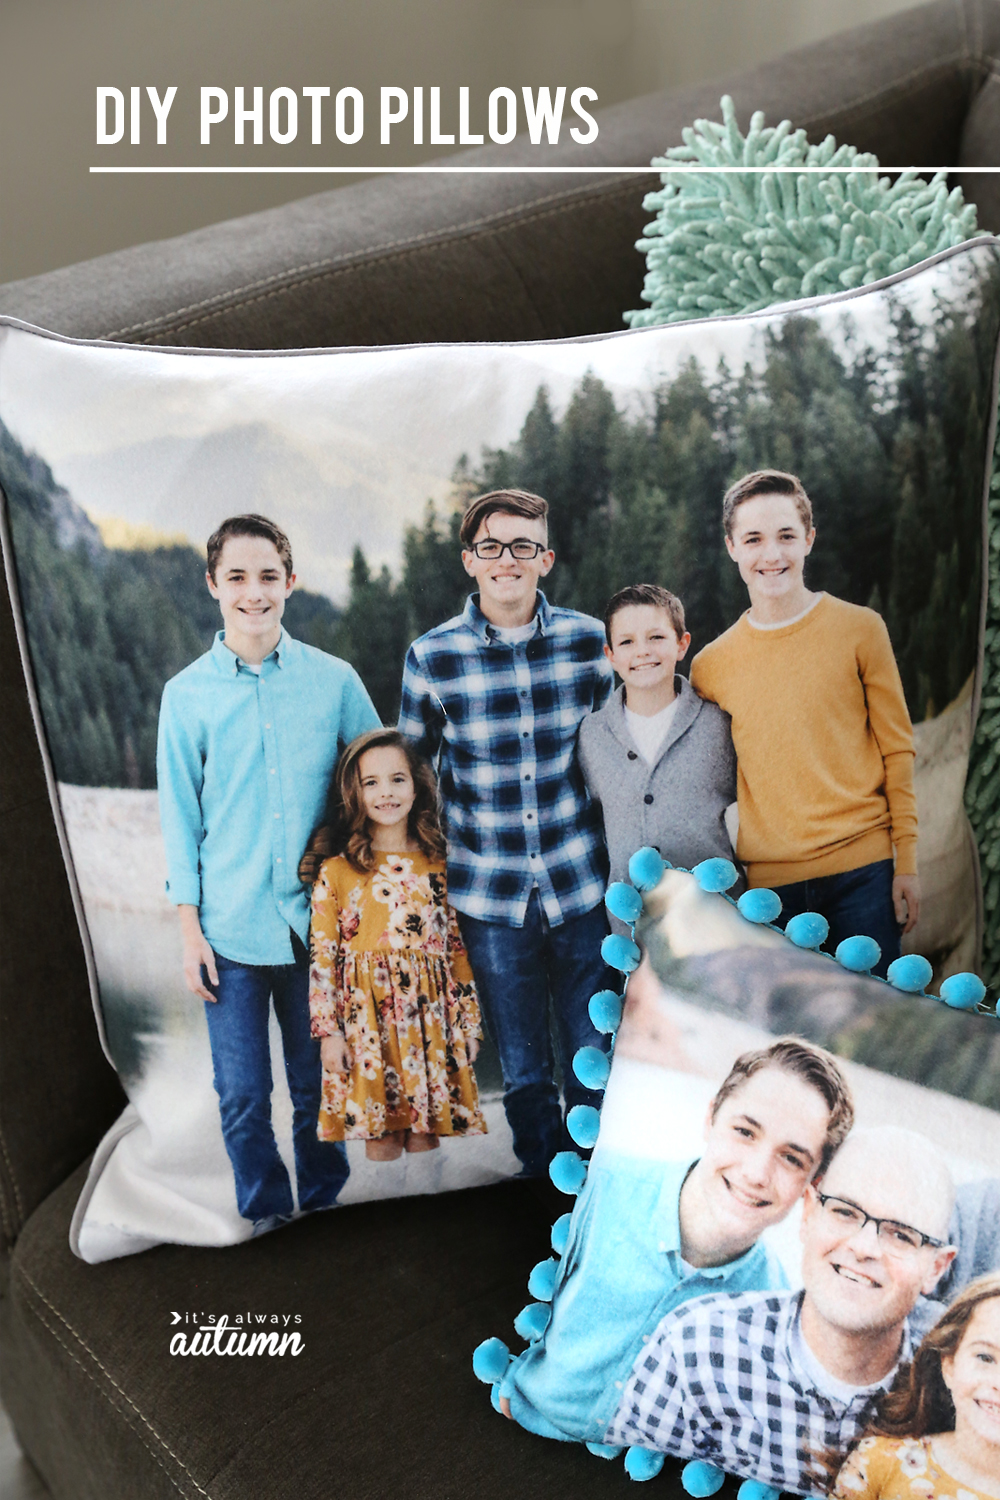
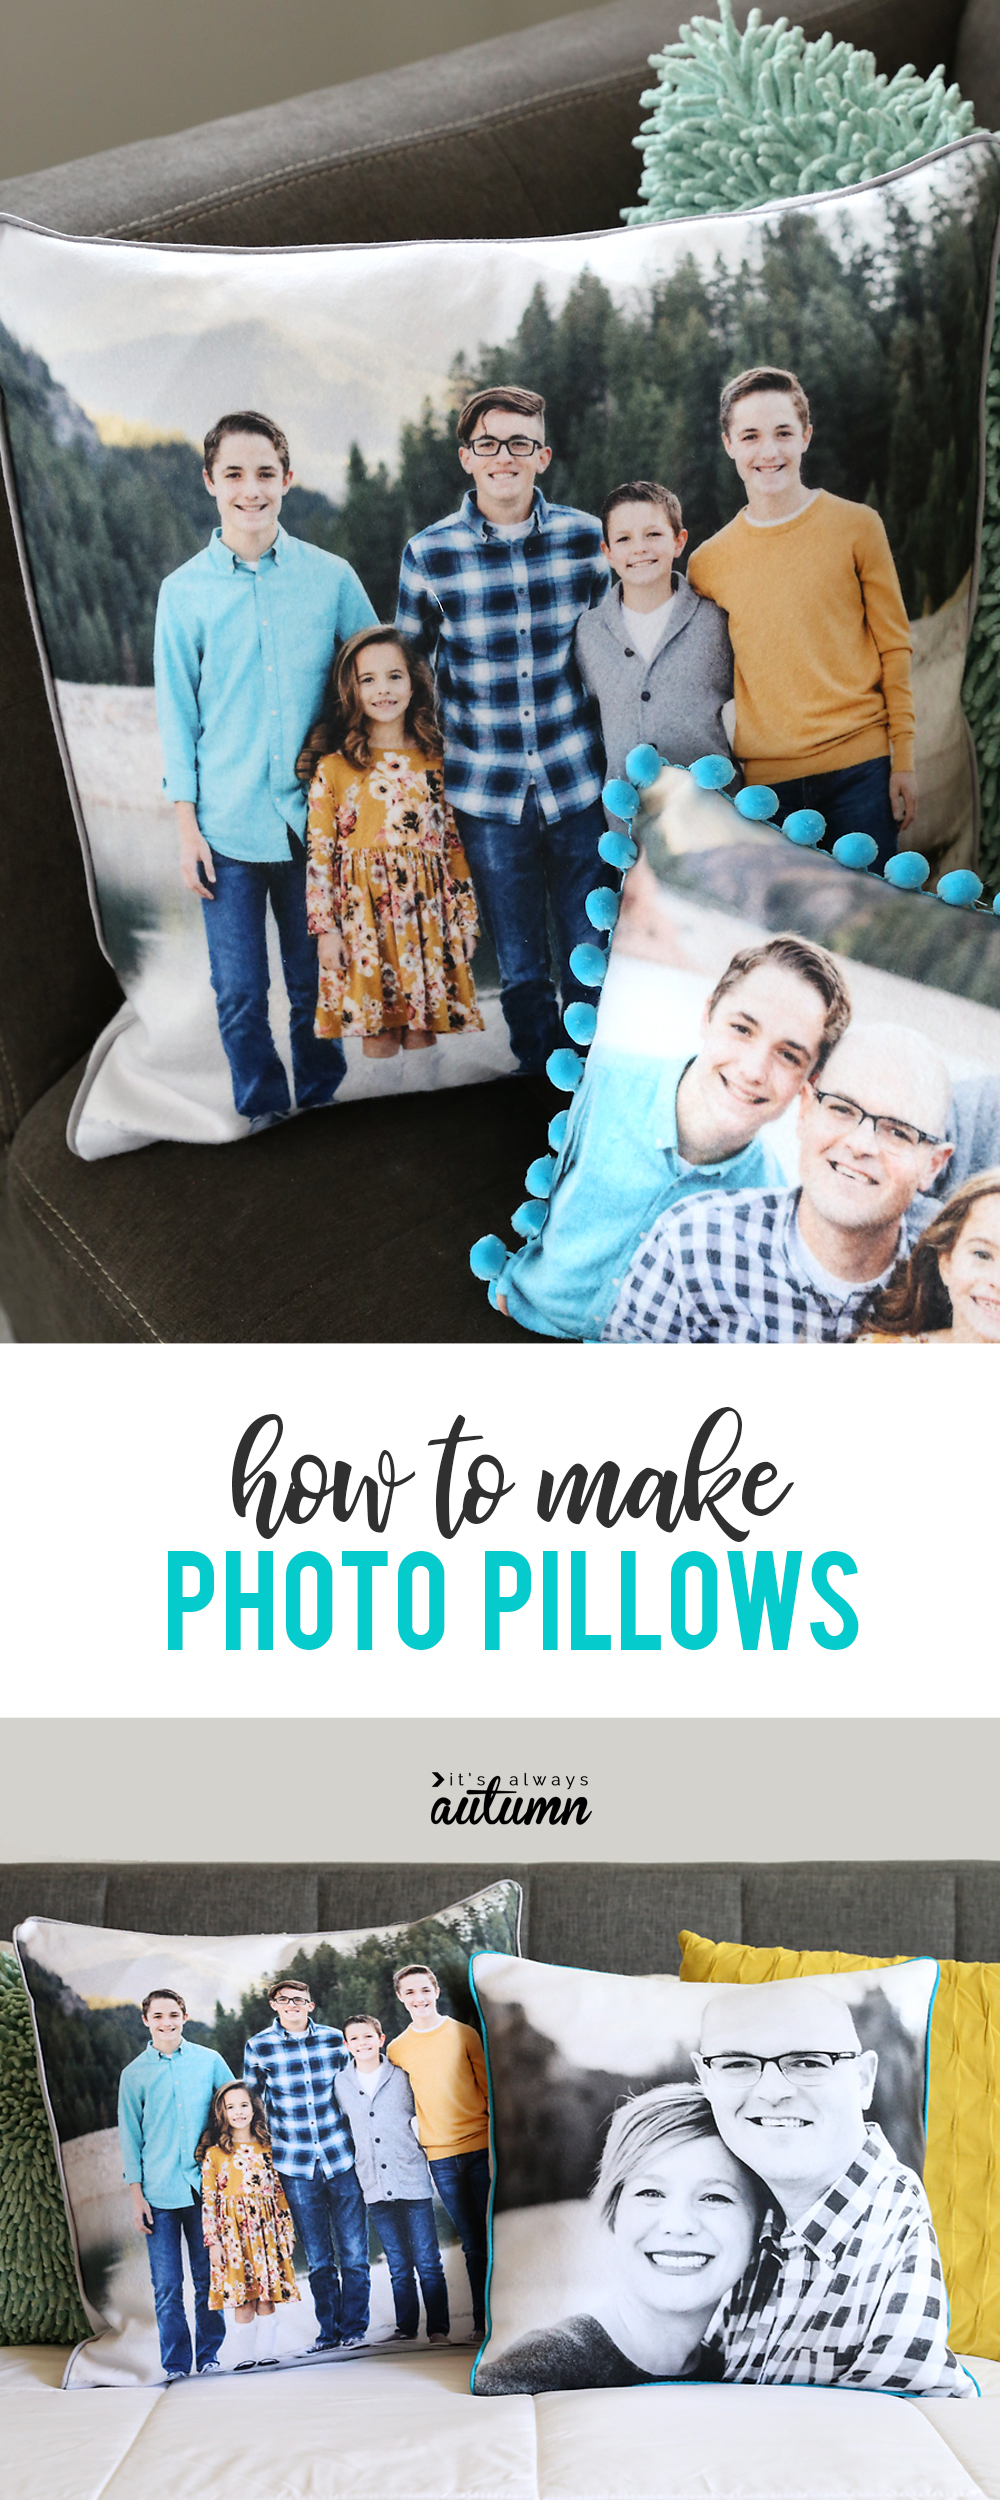
In today’s post: Learn how to make personalized photo pillows with your favorite pictures. Great homemade gift idea!
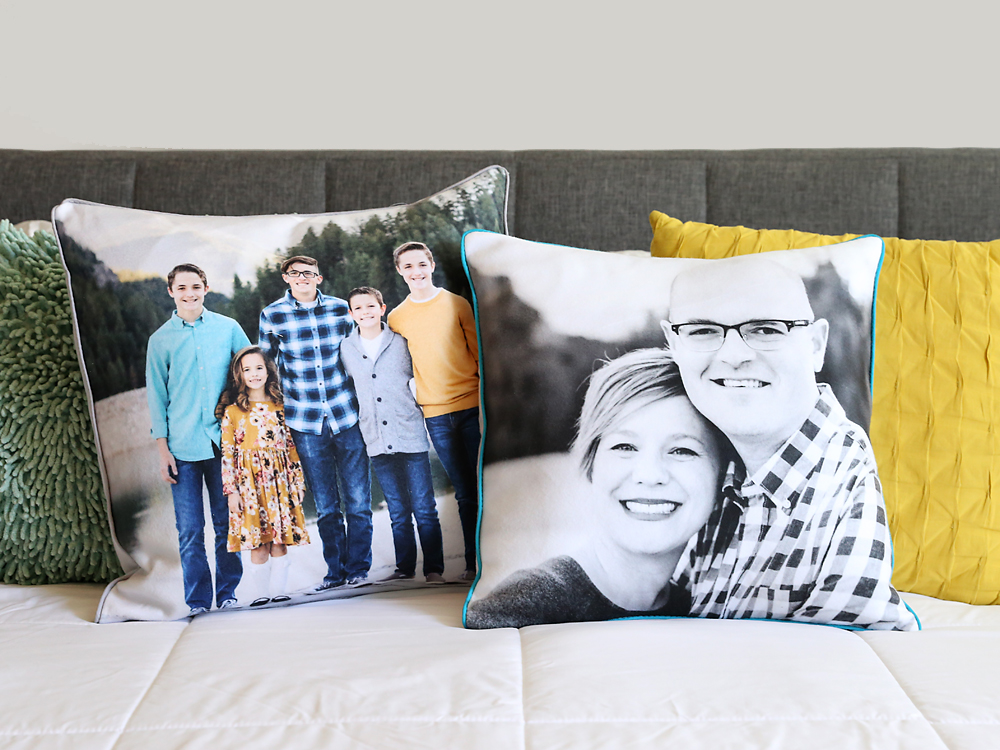
I’ve been looking into making photo pillows for a while and I’ve finally figured out a great way to do it. You can upload photos and order pillows from a number of different photo sites, but they end up being kind of expensive if you want to make multiple pillows. I’ve found a DIY method that’s cheaper for multiple pillows, plus making the pillow covers yourself allows you to add piping and trim and customize the color of the backing fabric. These DIY photo pillows make a great gift!
Now, if you only want one photo pillow, you may just want to save yourself the trouble and order it from an online service. I’m not gonna lie – this isn’t my easiest photo project (this photo candle is!). I’d consider this more of an intermediate to advanced project. But if you like to DIY projects like this, or you want to make multiple pillows for Christmas gifts and you’re ok with very basic sewing, read on!
Before I started I searched for photo pillow tutorials. All the DIY versions I found involved printing your photo on fabric using a home printer. There’s two problems with that method: 1 – your photo can’t be larger than 8.5×11, and 2 – ink from inkjet printers will run if it gets wet. I wanted nice big photos (the largest one I made is 20×20) on removable pillow covers that I could wash if needed.
How to make photo pillows
To meet the criteria above, you’ll need to get your photos custom printed on fabric. I use Spoonflower to do this. You can make six 18 inch pillows from one yard of fleece fabric (or cotton twill). Cost plus shipping is around $30, and then you can use inexpensive backing fabric, meaning you can make six pillow covers for under $40. (Note: I purchased pillow inserts from Walmart. I was very impressed with the quality of the Crafter’s Choice brand inserts, which were only $3 or $4 each!)
Note: when you print your photos, print them the same size of the pillow insert you’d like to use. For example, to make a cover for an 18×18 inch pillow, you’ll want your photo to get printed at 18×18 inches. When you sew the cover together it will end up slightly smaller than 18×18 inches, but that’s ok because it ensures the pillow cover fills it out nicely.
How to make multiples of the same photo pillow
Making multiples of the same photo pillow cover is going to be the easiest way to do this project and won’t require that you do much work on your photo beforehand. This is a great idea if you’d like to make pillows to give as gifts. Here’s how:
Choose a photo. Note that it will need to be a photo with a large file size in order to be able to print it out at 18 inches and have it look good. Crop your photo into a square, keeping the resolution as high as possible. If you are using a photo processor, go ahead and crop it to 18×18 inches at 150 dpi. Save it as a .jpg.
NOTE: If you are using pictures of people, make sure their faces are in the center of the photo after cropping. If faces are too close to the edges or corners they look a little weird once the pillow cover has a pillow in it.
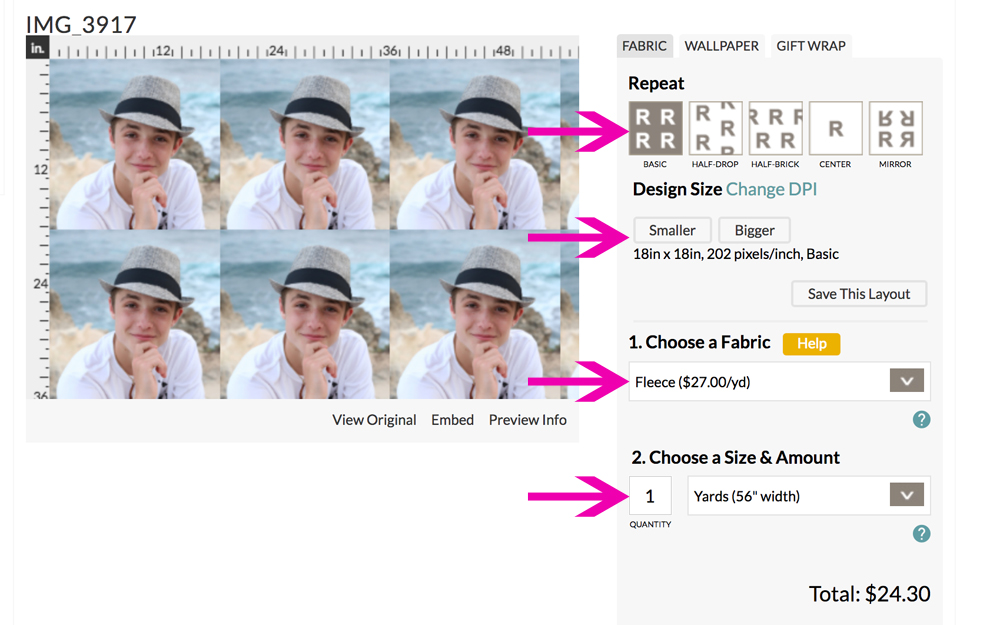
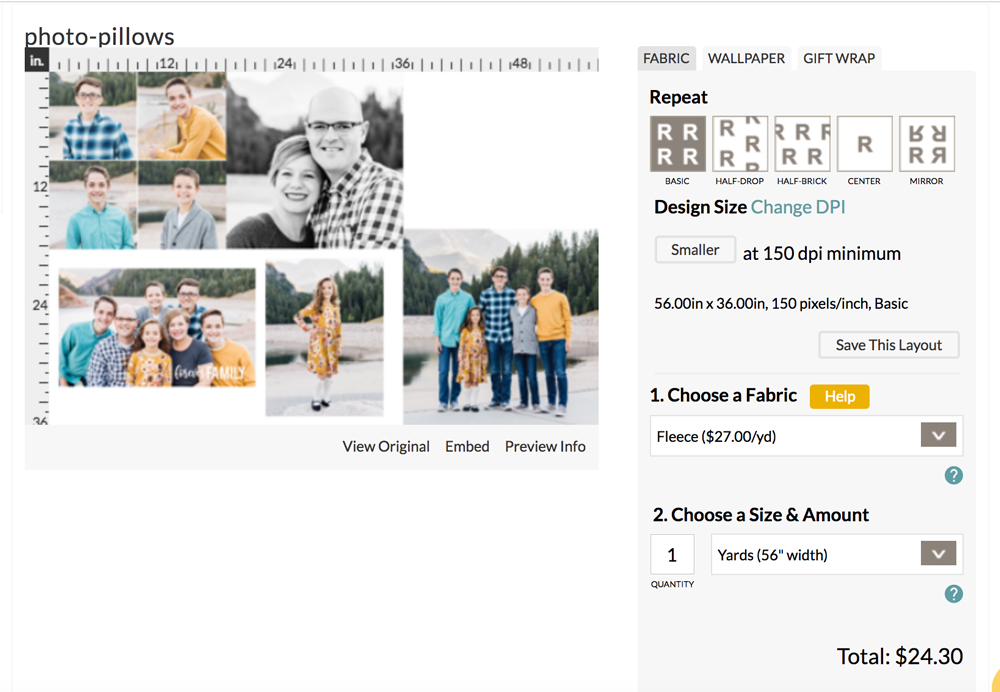
Upload your cropped photo to Spoonflower. Choose fleece for your fabric and 1 yard for the size. Click the “basic” repeat option. Then click “smaller” or “bigger” under design size until it says your photo is roughly 18×18 inches. (See photo below)
ETA: As we use the pillows I made I’m finding that the fleece pills more than I’d like, so I’d actually recommend ordering lightweight cotton twill instead!
This is going to give you 6 copies of your photo, so you can make 6 of the same pillow cover to give as gifts. You could use a family photo and give one to each child to keep in his or her room.
How to make 5 or 6 different photo pillows
If you don’t want multiples of the same photo pillow, but lots of different photo pillows, you have two options. If you aren’t familiar with Photoshop Elements or don’t have it, you can use the Fill a Yard option at Spoonflower. This will let you upload different photos and fill up your yard of printed fabric with them.
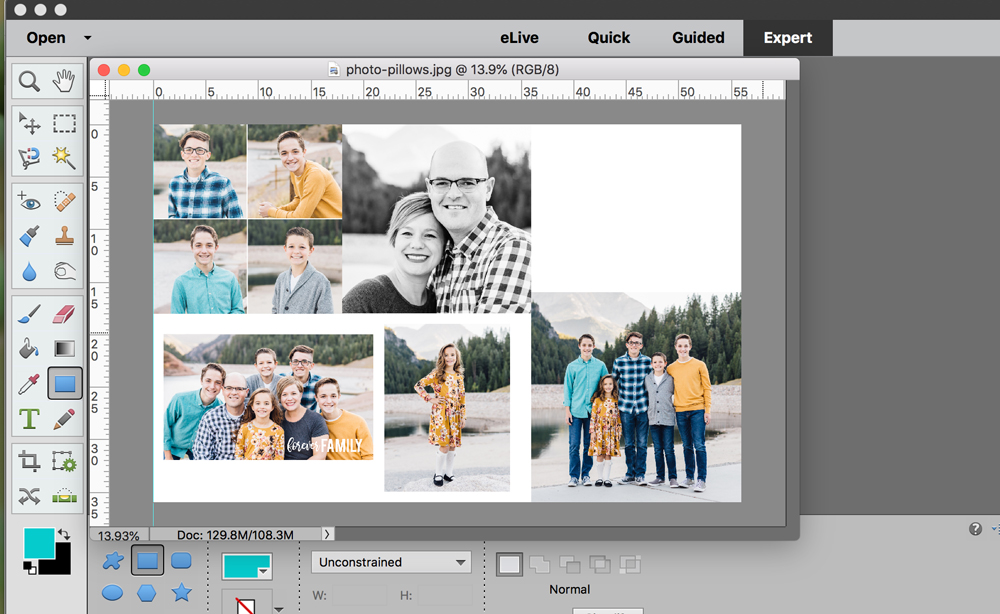
If you are comfortable using a program like Photoshop Elements, you can mix and match different photos and different pillow sizes. Open a new project that is 36 inches tall by 56 inches wide at 150 dpi. Then crop photos to the size of your pillow forms (at 150dpi) and arrange them on your project.
Flatten and save as a .jpg and upload that file to Spoonflower.
Order your fabric.
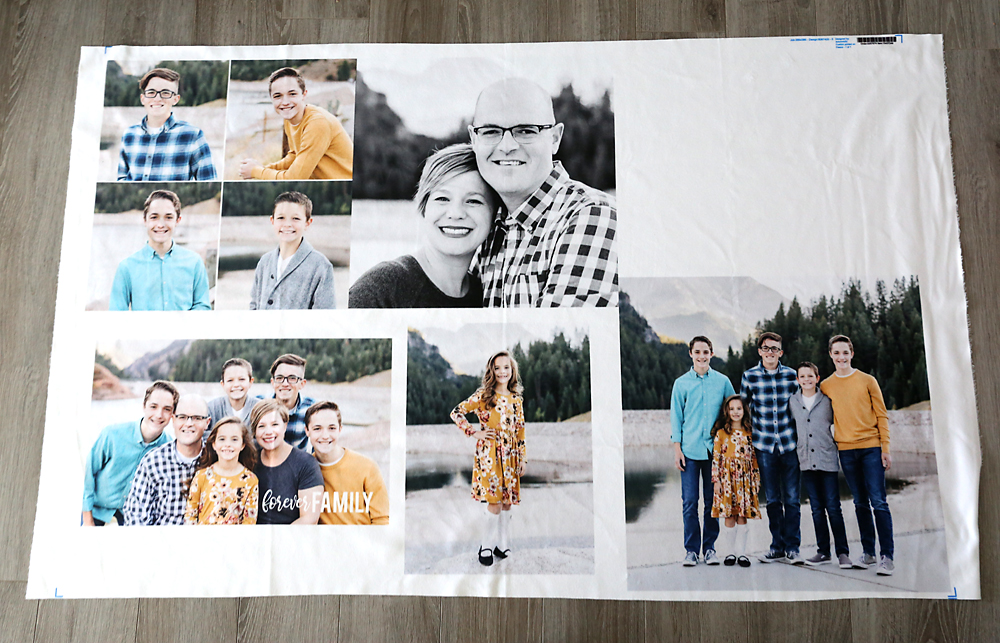
When your fabric comes, it will be a wide piece of fleece that is 36 inches tall. Here’s what mine looked like:
How to make photo pillow covers
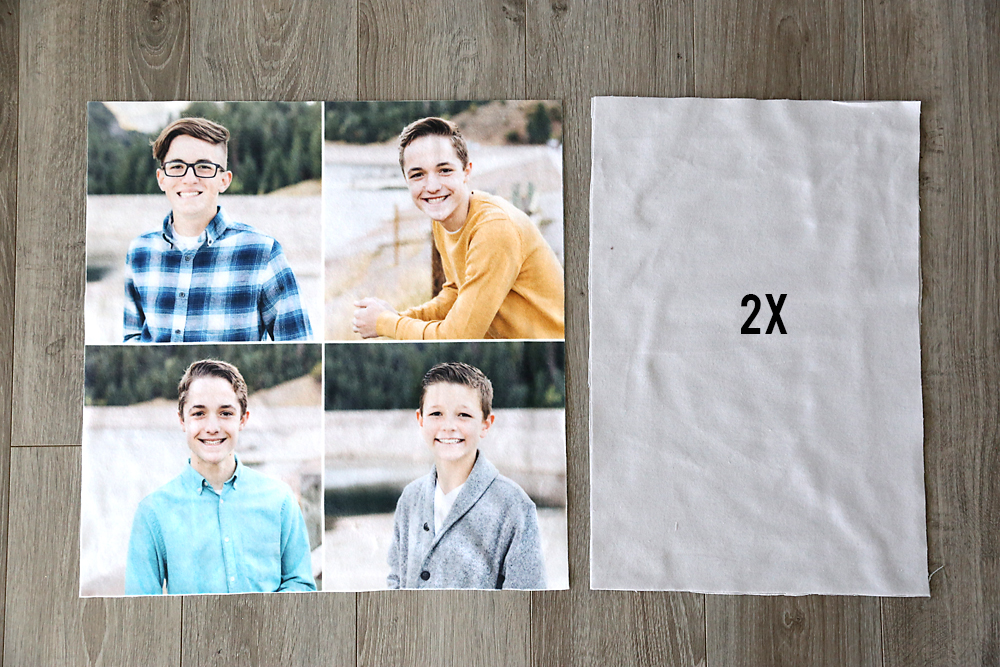
The first step is to cut out each individual photo (remember, each photo should be the size of the pillow insert you want to use with it).
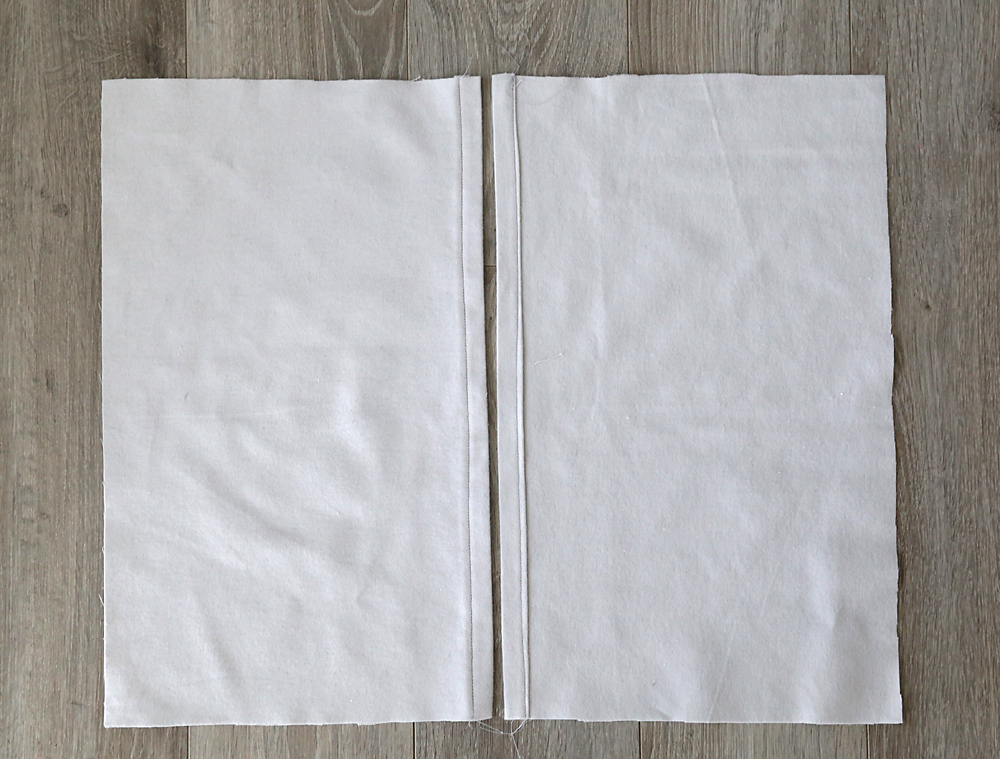
Next, you’ll need a backing fabric. I used flannel for the back because it’s soft and super inexpensive, especially with a coupon at Jo-Ann’s. However, flannel does pill after a while, so a plain cotton (like an inexpensive quilting cotton) might actually be a better choice. For each pillow cover, you’ll need two back pieces. The back pieces should be the same height as the front and a little more than half as wide. For an 18in pillow cover I cut my back pieces 18 inches tall by 11 inches wide.
On each back piece, hem along one of the long edges. Turn under 1/4 inch and press, then under 3/4 and press, then sew with a straight seam.
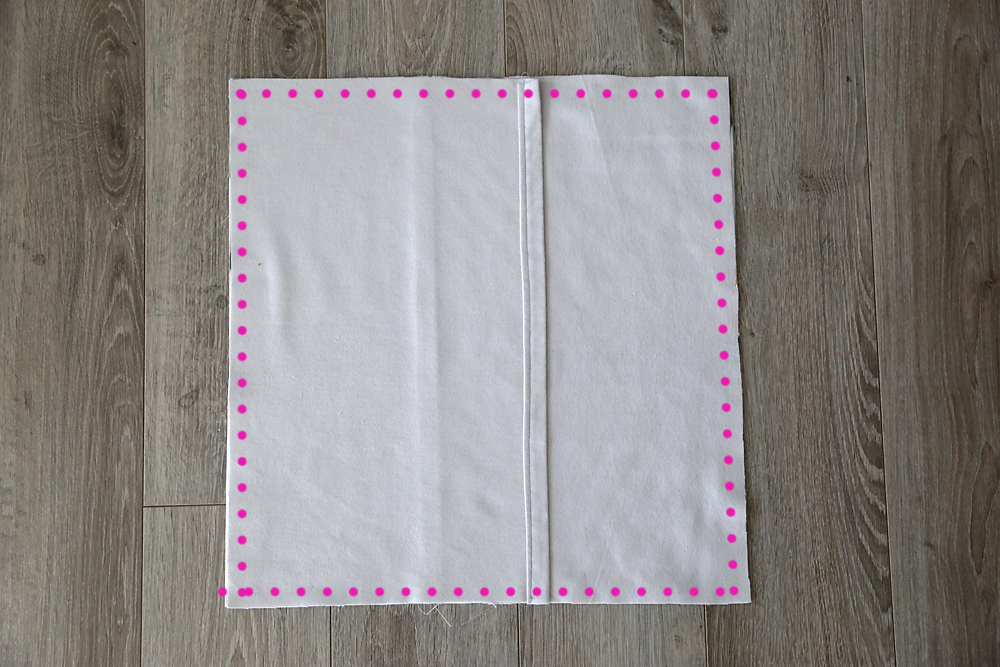
To make the pillow cover, place the pillow front (the photo piece) right side up. Then place both back pieces on top of it, right sides down. The finished edges of the back pieces will overlap in the middle.
Pin and sew all the way around the pillow cover, pivoting the needle at the corners. Use a 1/4 or 3/8 inch seam allowance. Once you’ve sewn all the way around, you can turn your pillow cover right side out and stuff a pillow form inside:
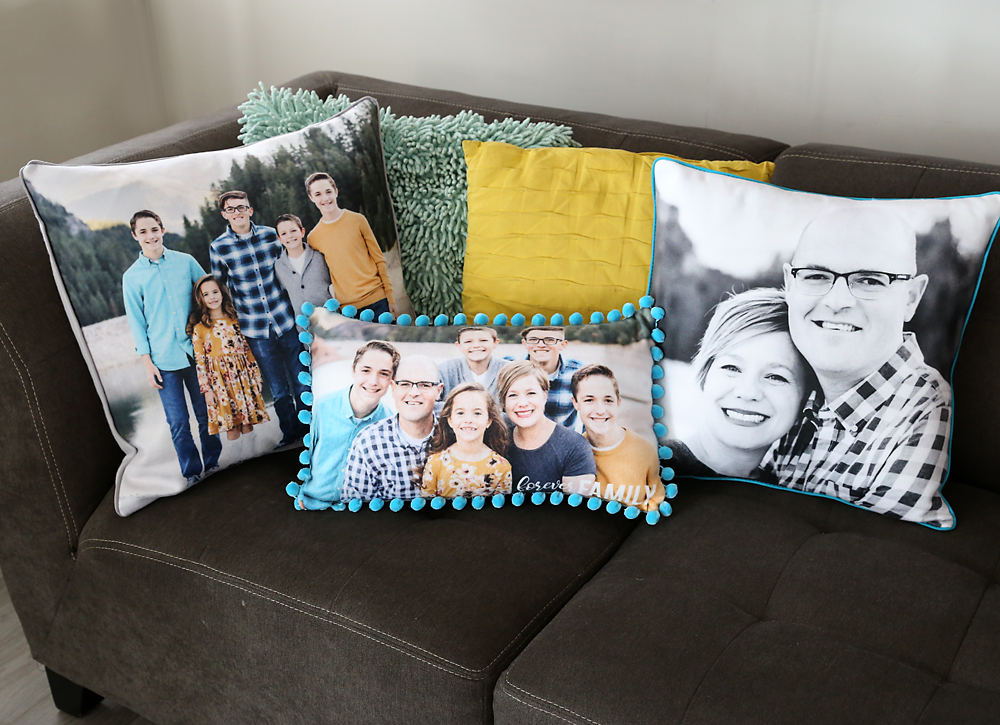
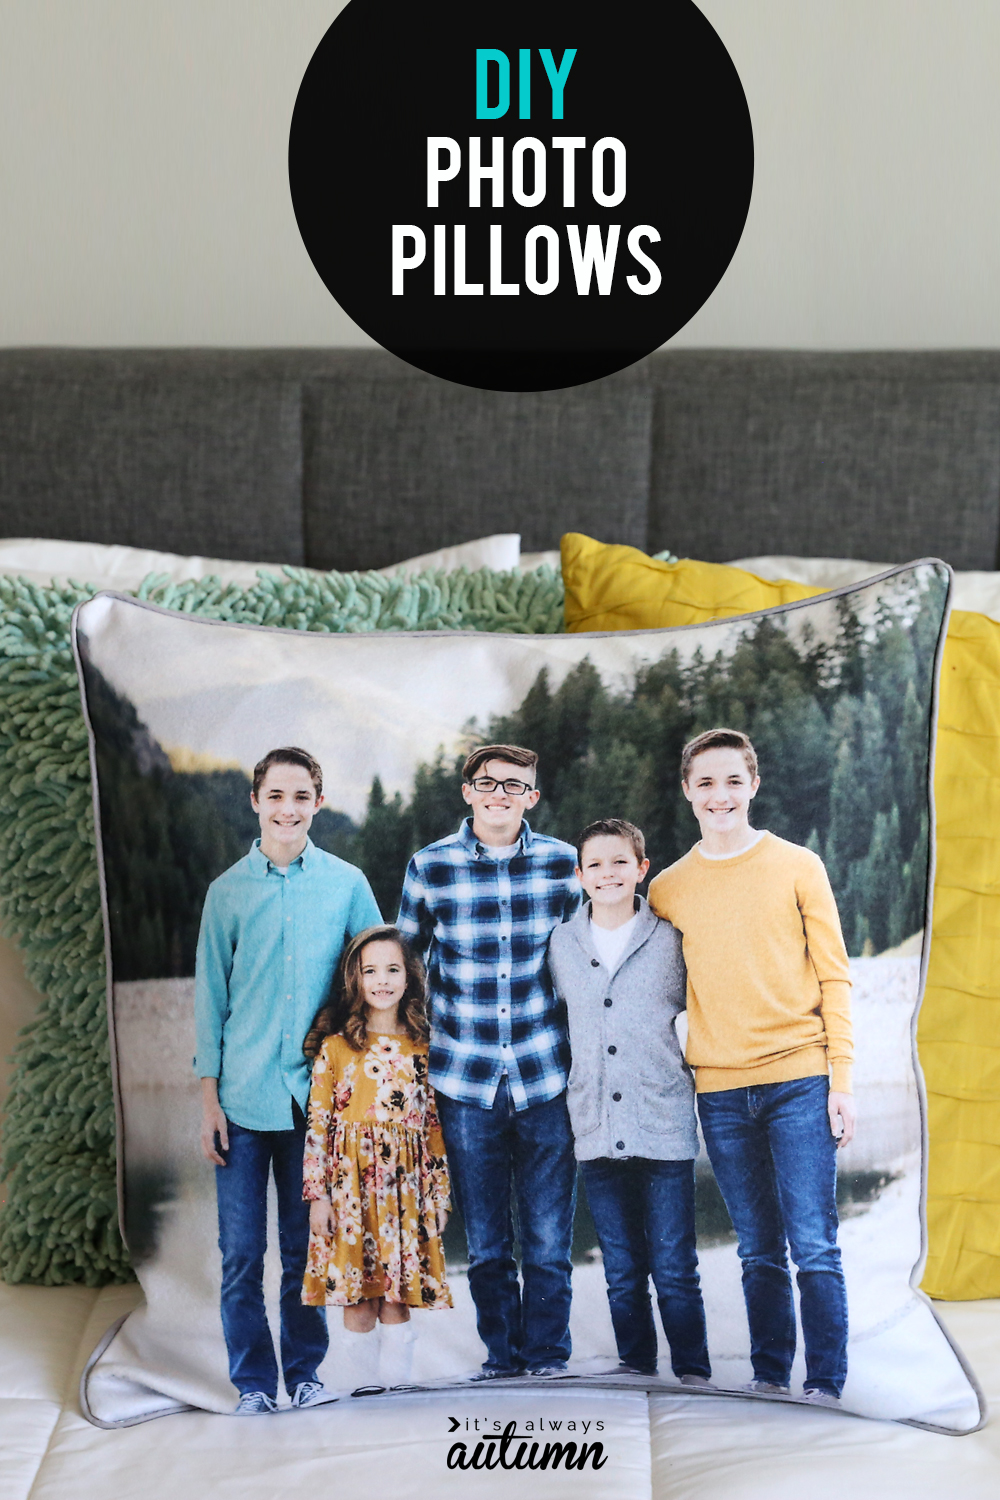
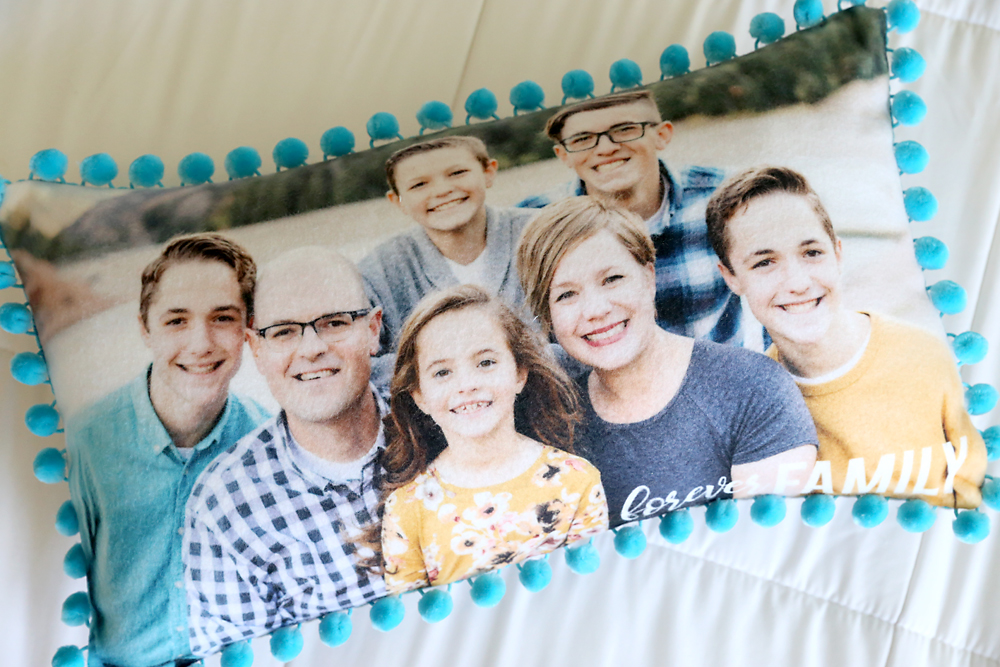
If you’d like, you can customize your pillow covers with piping, pom pom trim, or tassels. I added piping on the pillow above and pom pom trim on the pillow below:
You can see more about how to add pom pom trim in this post, and you can learn about adding piping from this video (note: I just purchased premade piping instead of making my own – it’s a little smaller than homemade piping might be but saves so much time!)
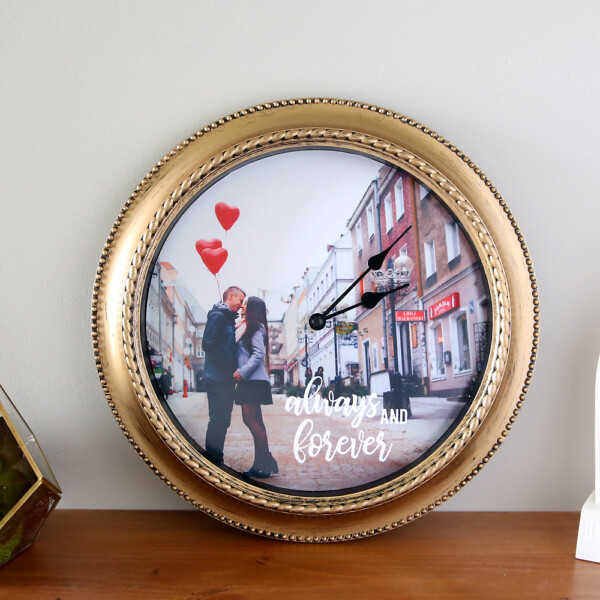
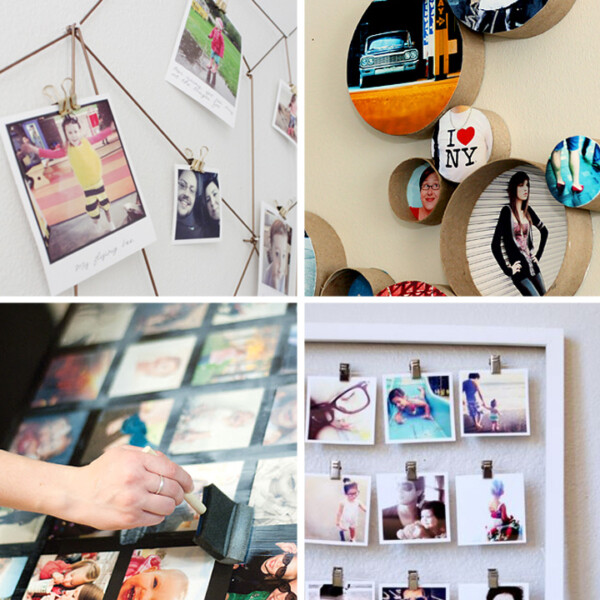
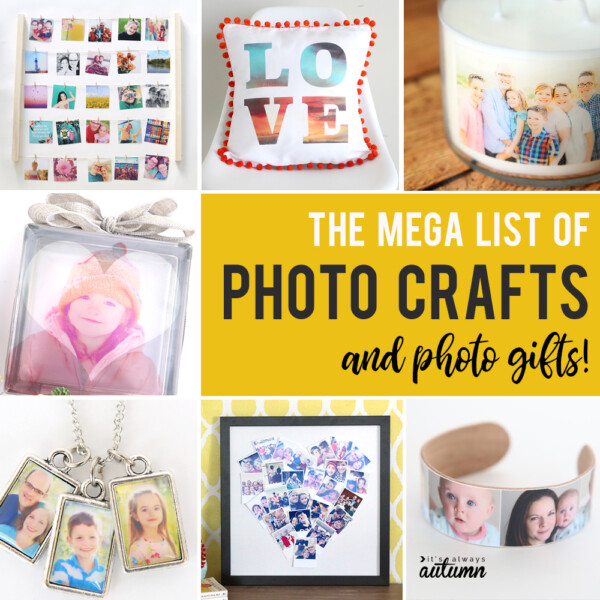
Love photo projects? Check out some of these posts:


Michelle M Blade says
This looks amazing. How is Spoonflower on color correctness?
Autumn Baldwin says
I think spoonflower is great for color correctness. However, if I made these again I would not use flannel for the front – after a year the pillows have pilled on the front.
Bonnie Davenport says
Your photo pillows are amazing…next Christmas, wouldn’t have thought of spoonflower. Thank you.