Home
Easy Crafts + Recipes YOU Can Make
Start here
Stay up to date on
Latest Crafts & Recipes

Meet Autumn
I believe that making beautiful + delicious things can bring peace and comfort into our busy lives. I also believe that anyone can learn to bake or sew or craft - all you need is a friend to show you how! Take a look around and see what you can learn to make today.

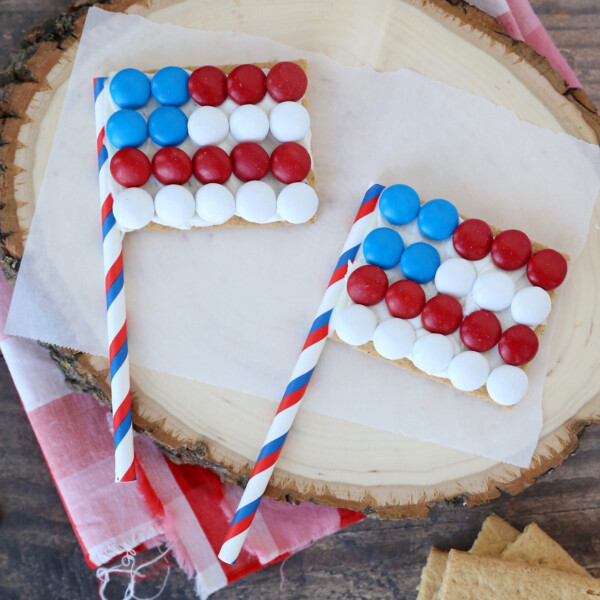
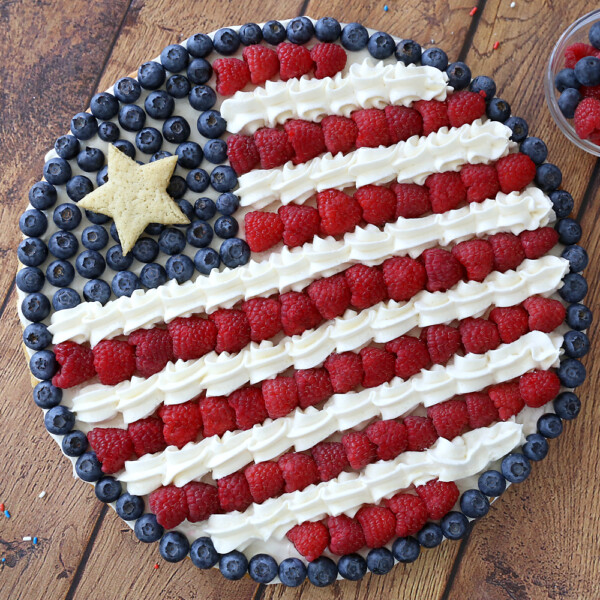
Easy
Crafts You Can Make
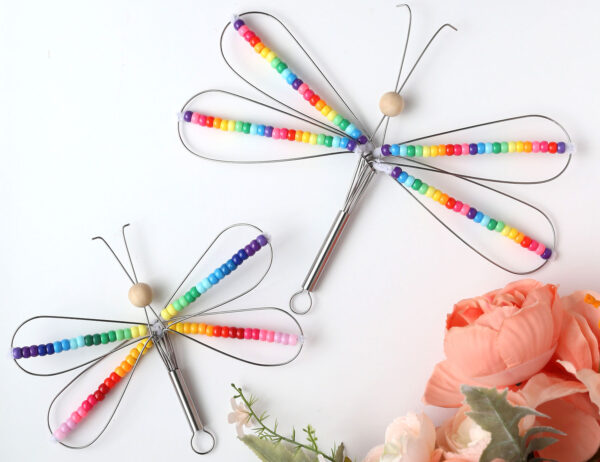
Whisk Dragonfly
View Tutorial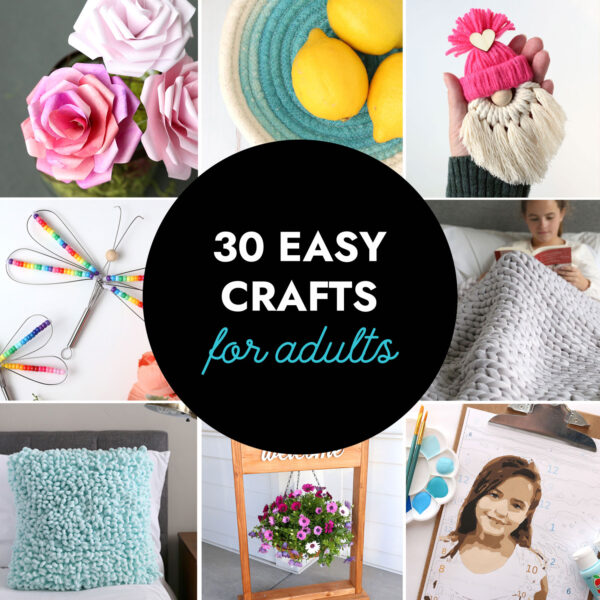
30 Easy Ideas
Crafts for Adults
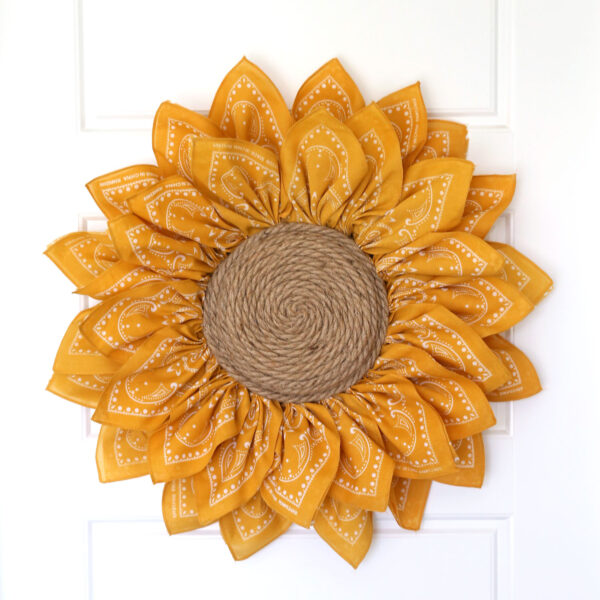
Easy + Cute!
Sunflower Bandana Wreath
Make it In 20 Minutes