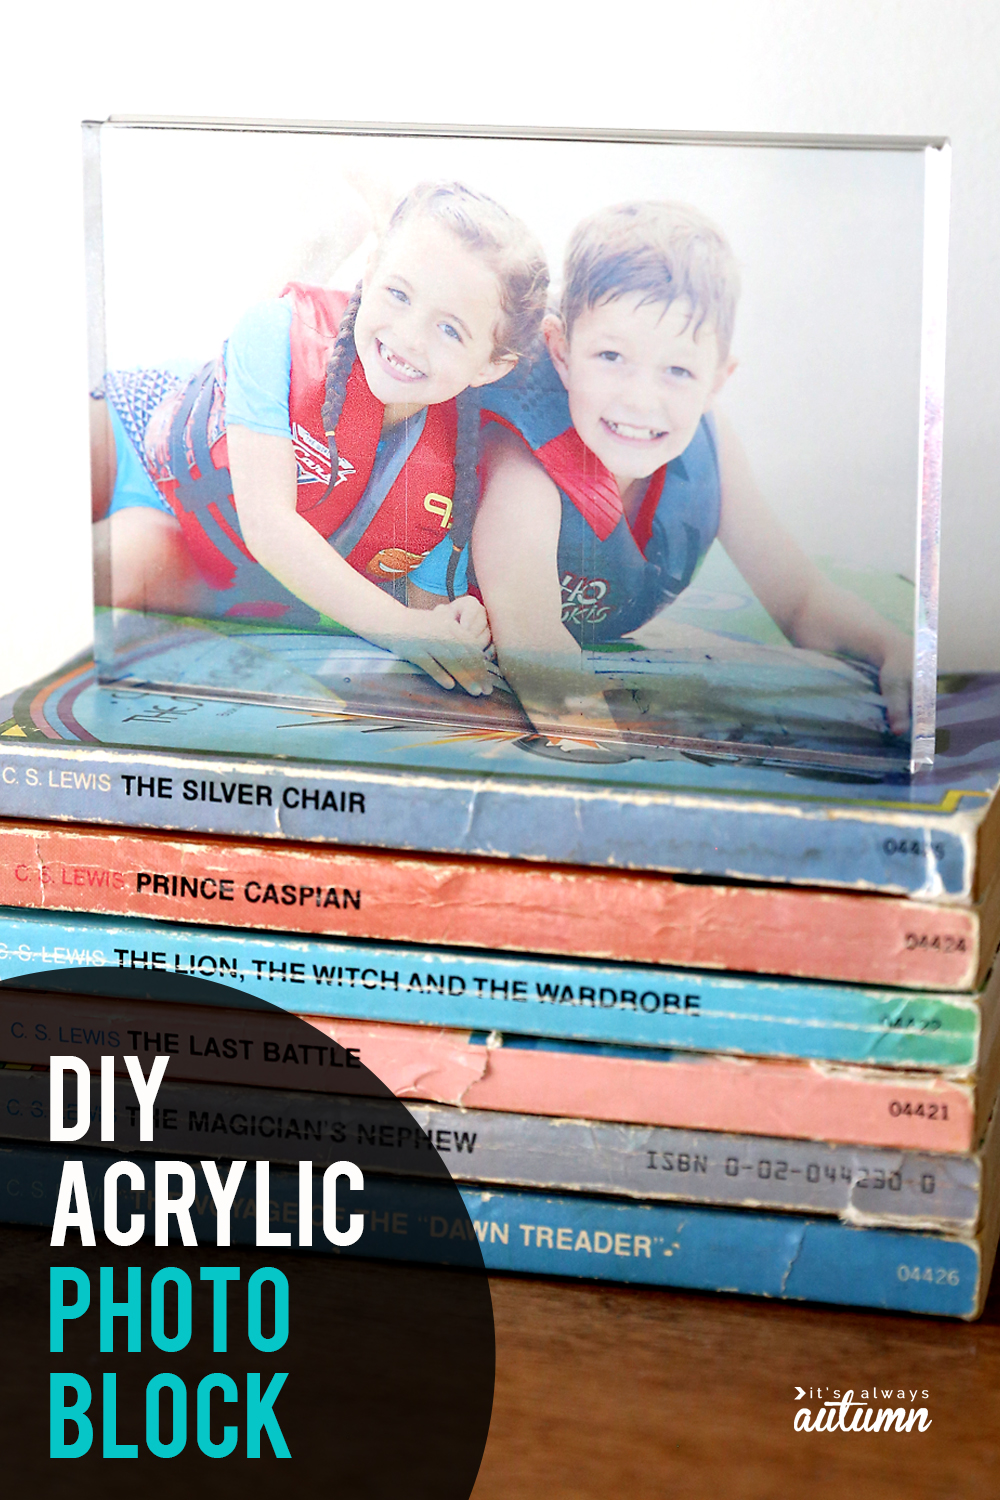
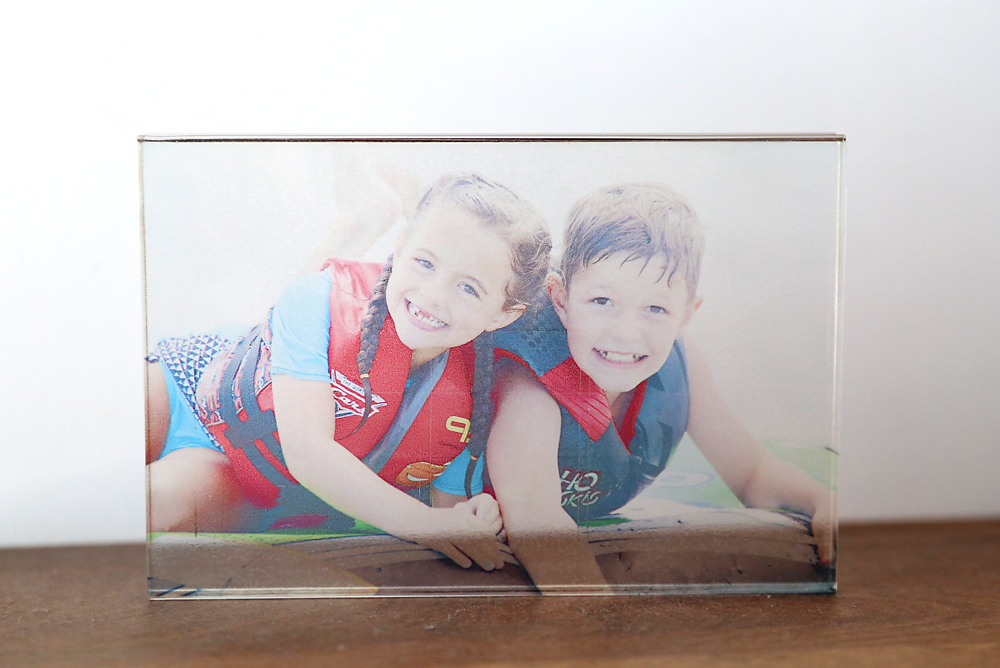
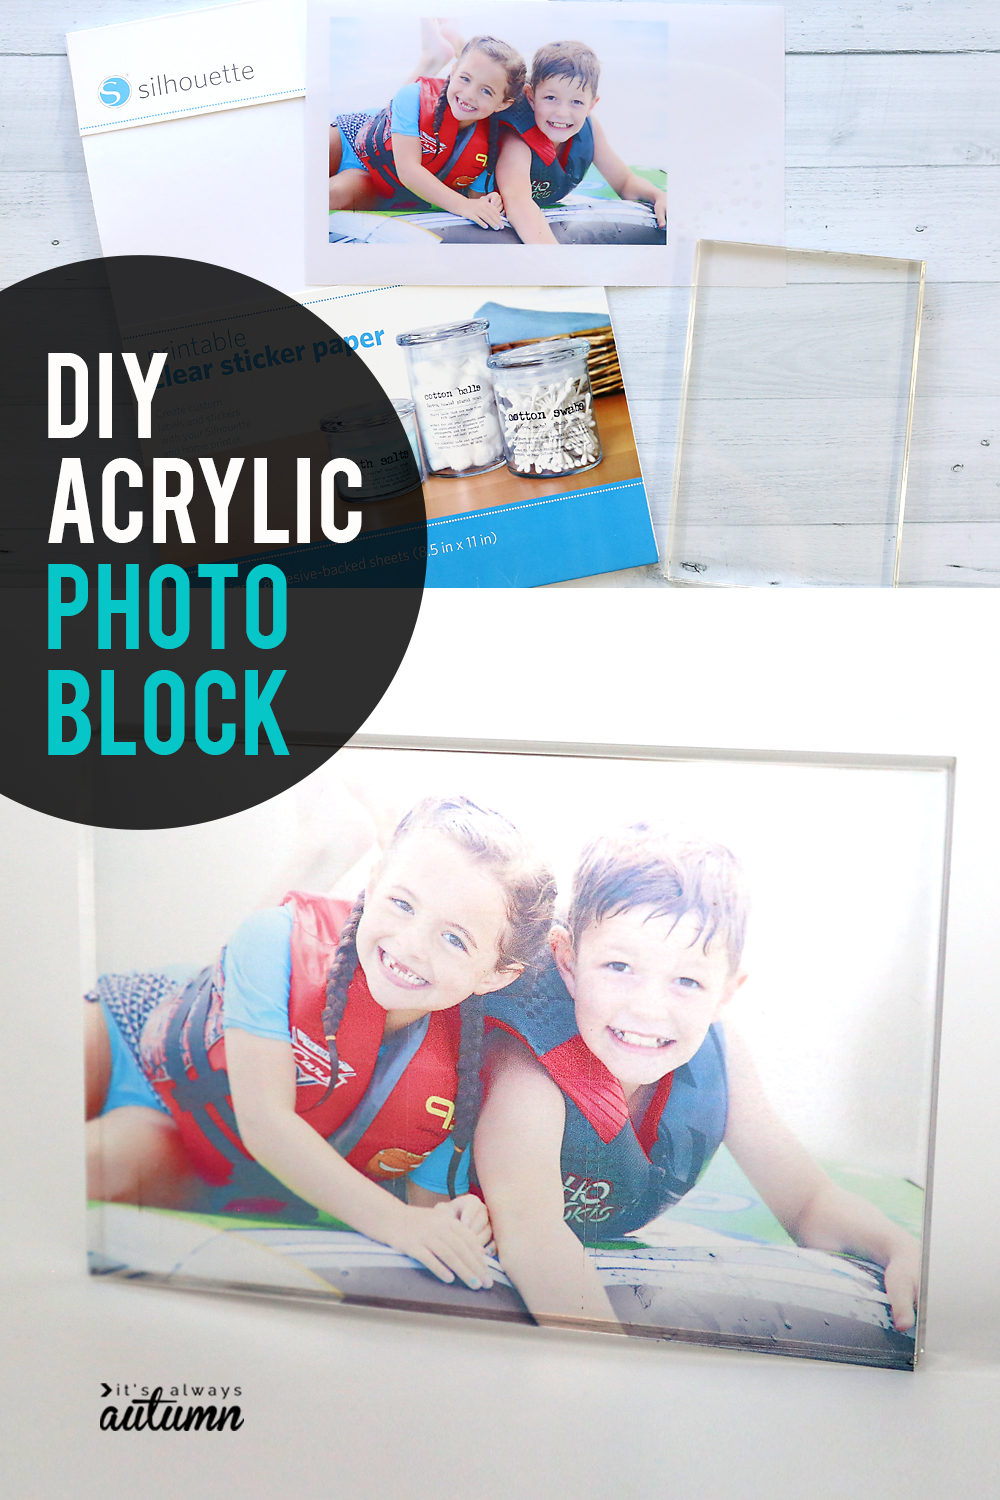
In today’s post: Learn how to make a DIY acrylic photo block in just a few minutes. Fun + unique DIY gift for Mother’s Day or Father’s Day!
You guys know how much I LOVE photo projects, right? It’s just so much fun to find a cool new way to display family photos, and photo projects make the best DIY gift ideas. Today’s post will show you how to make a transparent acrylic photo block – cool! – in under ten minutes.
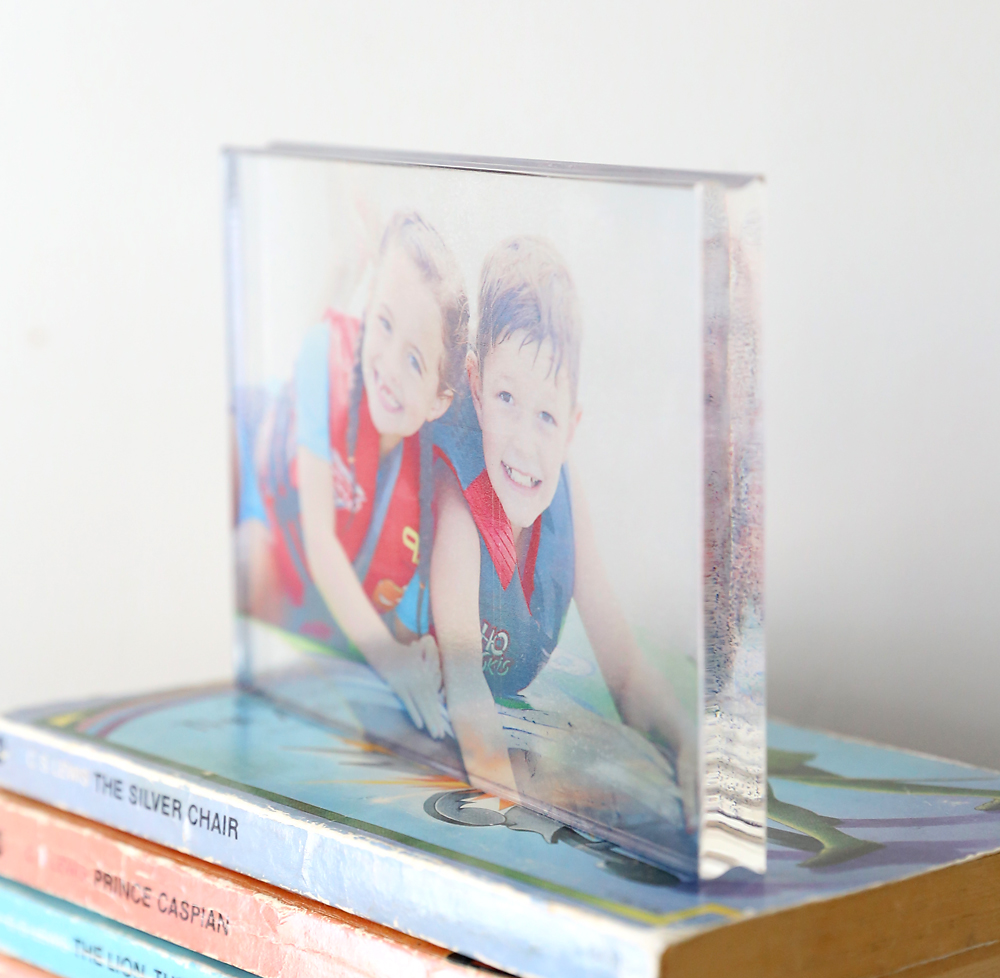
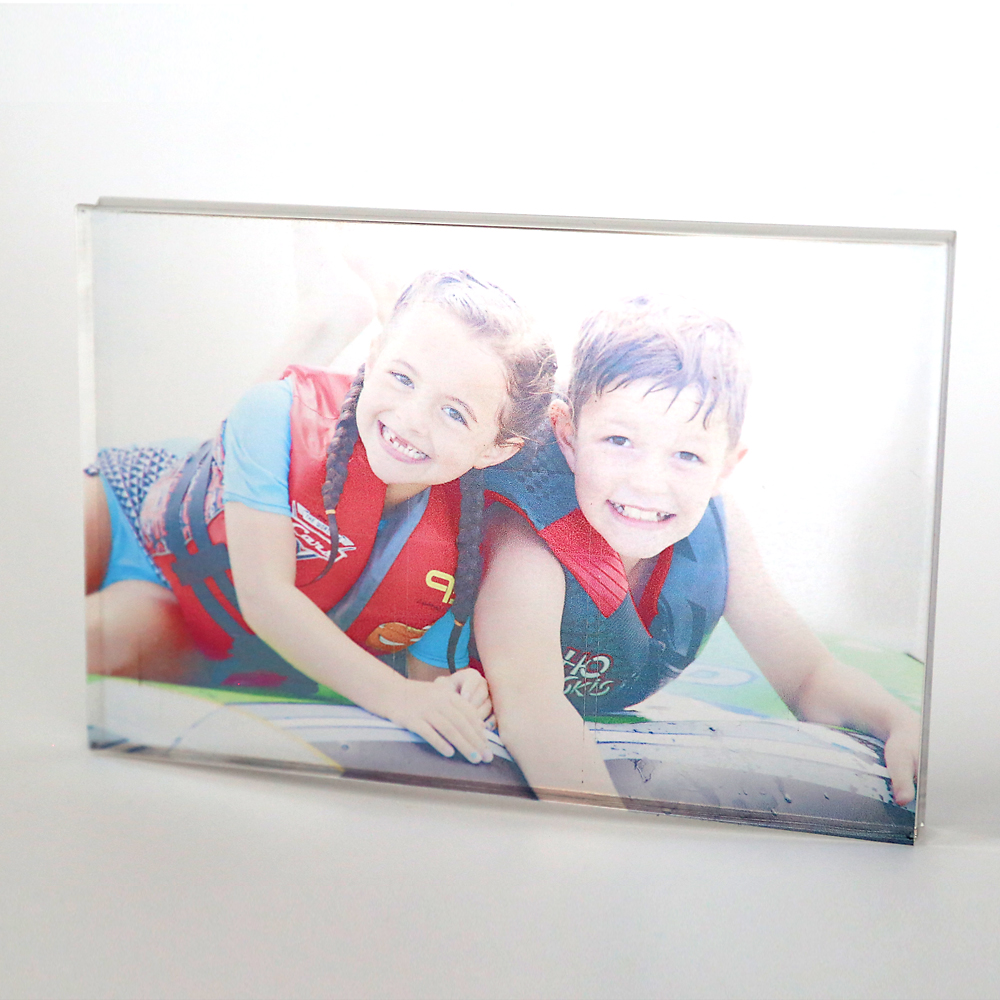
I’ve seen acrylic photo blocks on large photo product sites and always thought they looked so cool. Instead of being in a frame, your photo is printed onto a transparent block:
I’ve been wanting to figure out how to make my own acrylic photo block for years, but I’ve never been able to figure out where to get my hands on the acrylic block.
So I was super excited when I remembered that back in my scrapbooking days I used to use acrylic stamp blocks to hold clear stamps. Turns out they work beautifully as photo blocks! Now, I wasn’t able to find any great big stamp blocks, but I did find a 4×6 version on Amazon. That means my finished photo block is the size of a standard 4×6 photo print – the perfect size for displaying on a desk. *DIY Father’s Day gift idea!!*
How to make an acrylic photo block
You will need:
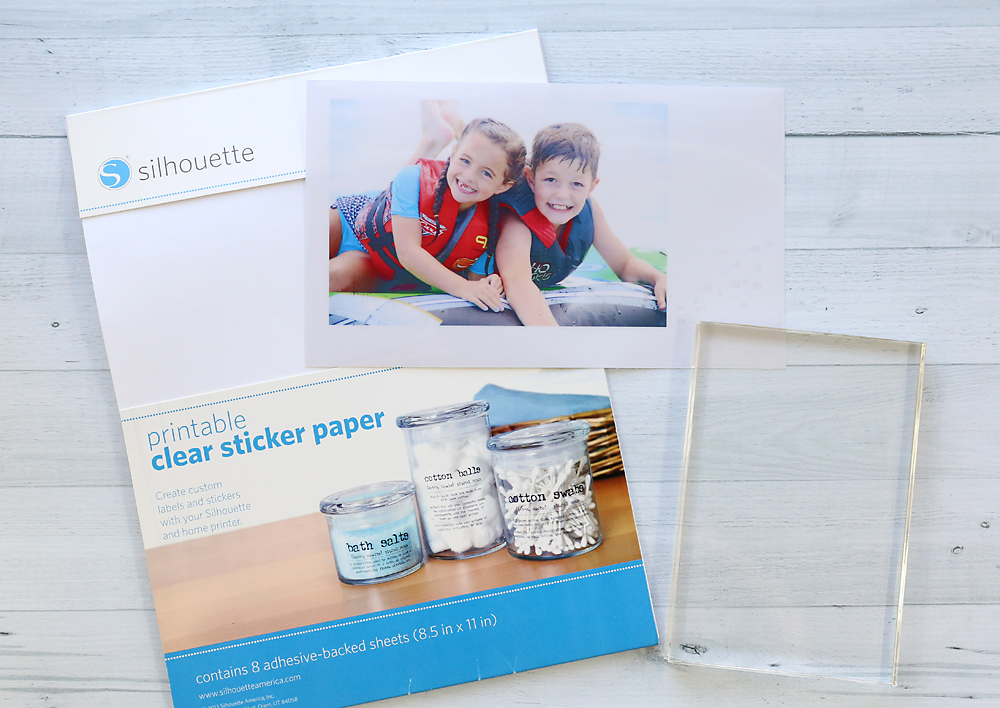
- 4×6 stamp block – this is the one I used from Amazon
- Clear sticker paper – this is the brand I used from Amazon
- printer
Watch this video to see how to assemble the acrylic photo block (written instructions follow):
This is dead simple! All you need to do is print your photo out at 4×6 inches onto a sheet of the clear sticker paper. I used the Silhouette brand shown above and an ink jet printer. I found I got the best results when I chose a high ink quality. Be sure to print on the shiny side of the paper.
Next, trim around the photo. Be sure the stamping block is clean and free of dust.
Pull the backing paper off the photo, then evenly apply the photo to the stamp block. I like to use a credit card to smooth the photo down.
That’s it!
A few last tips:
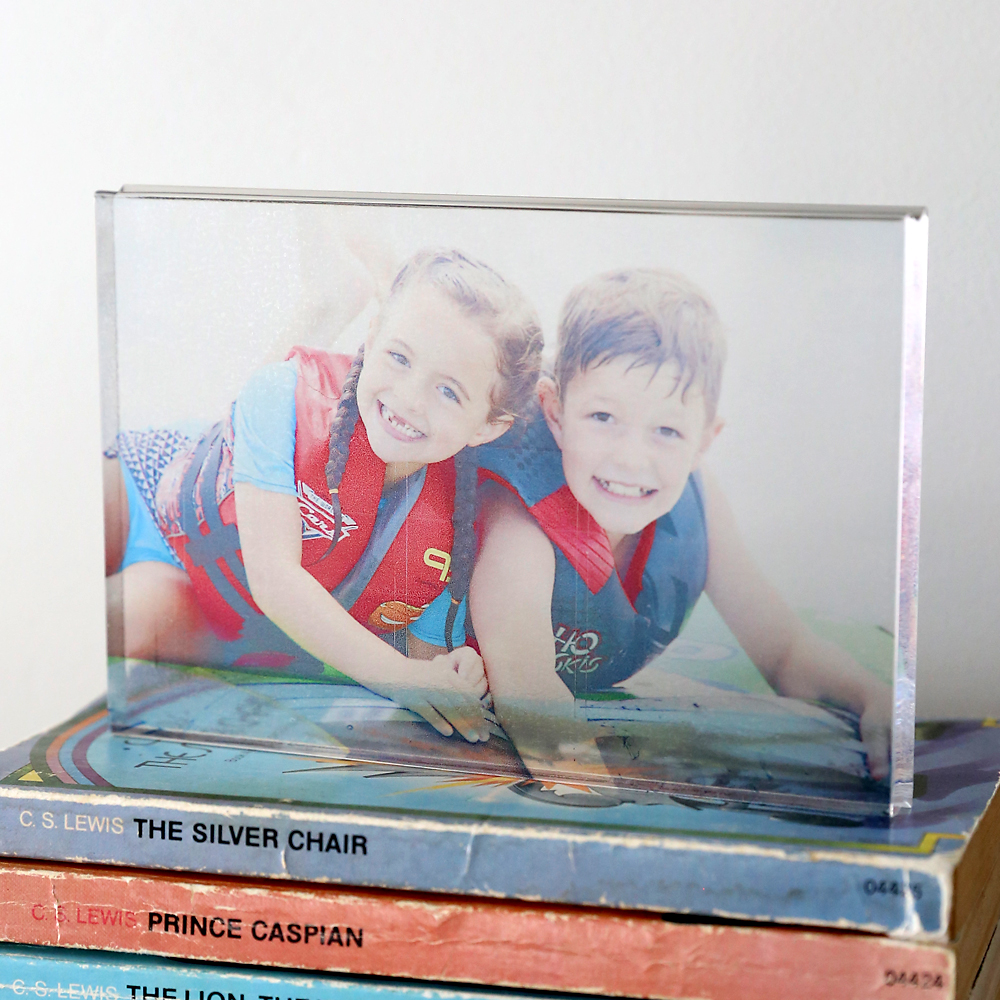
- Use a photo that has bright or dark colors in it, and consider bumping up the saturation before you print your photo. Because it’s going on a transparent block, light colors can be very hard to see on the finished photo block.
- When deciding where to display your photo block, consider what will be behind it. The block will look best in front of a white or light colored wall.
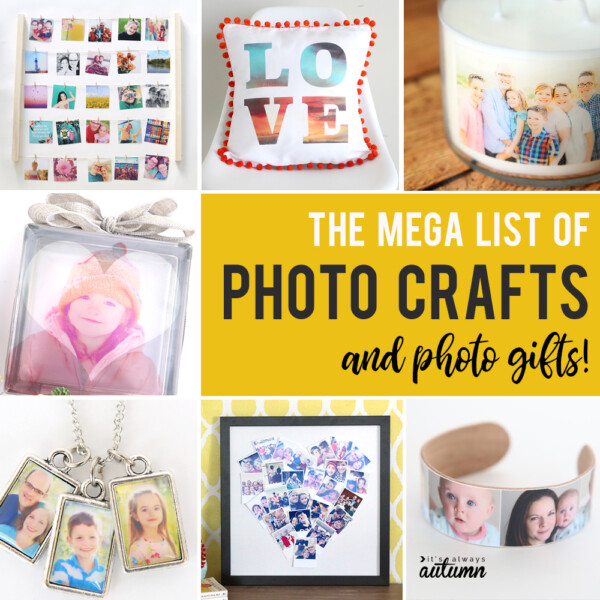
For more photo projects + gift ideas, visit these posts:
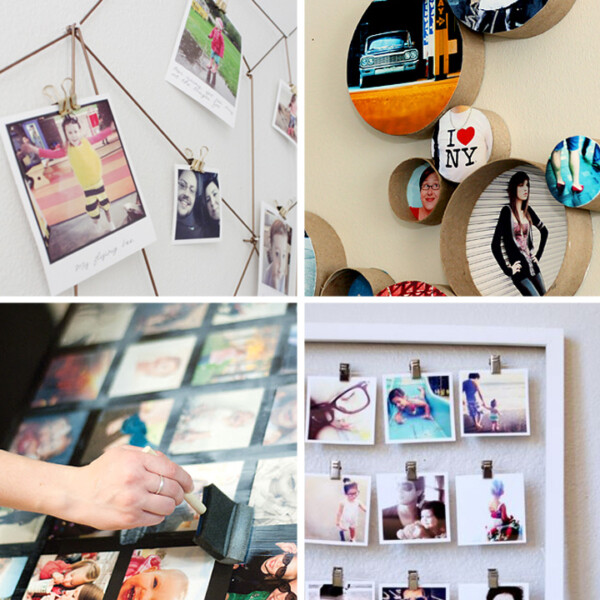
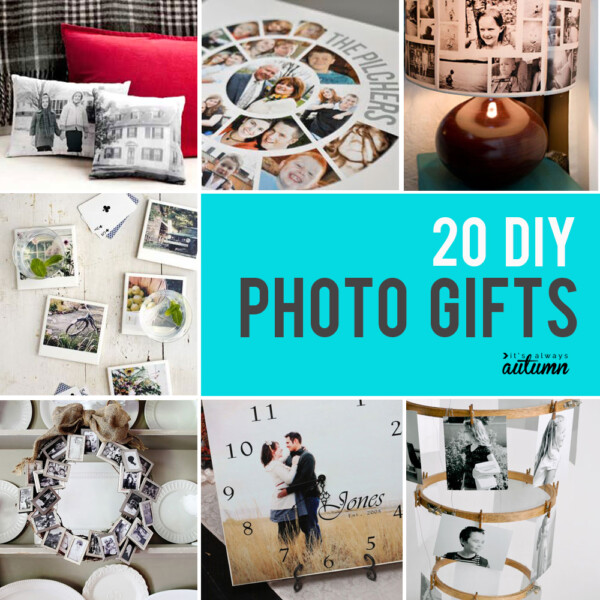
HUGE list of photo crafts and gifts
Mod podge photo transfer to wood pallet

Leave a Comment