
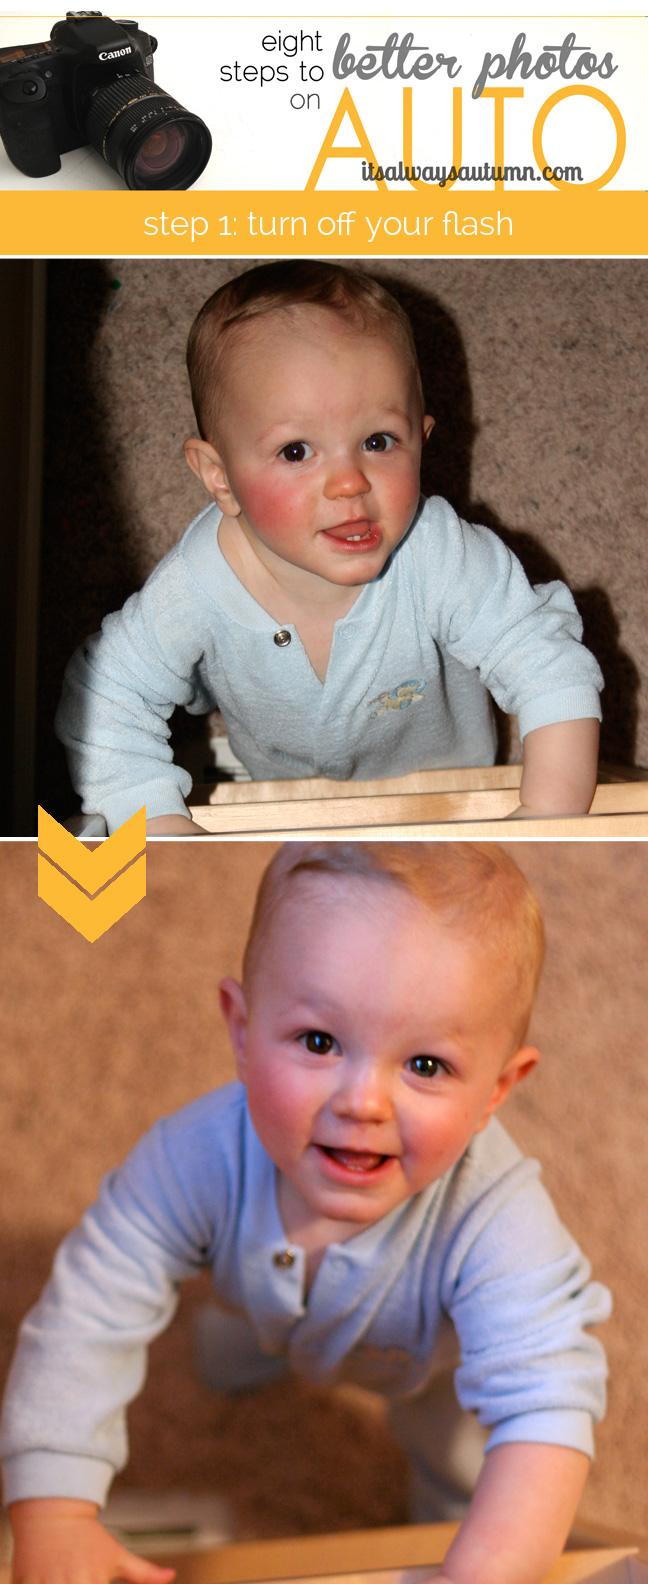
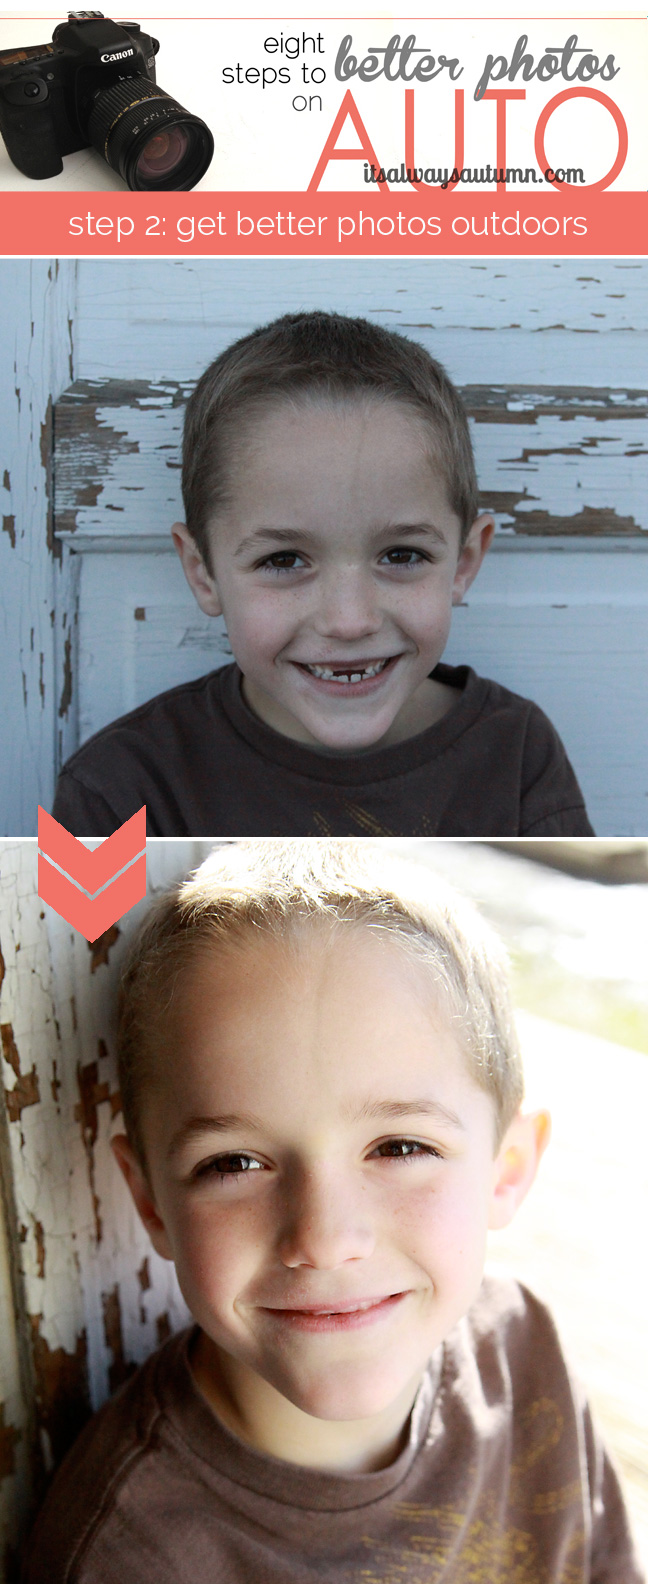
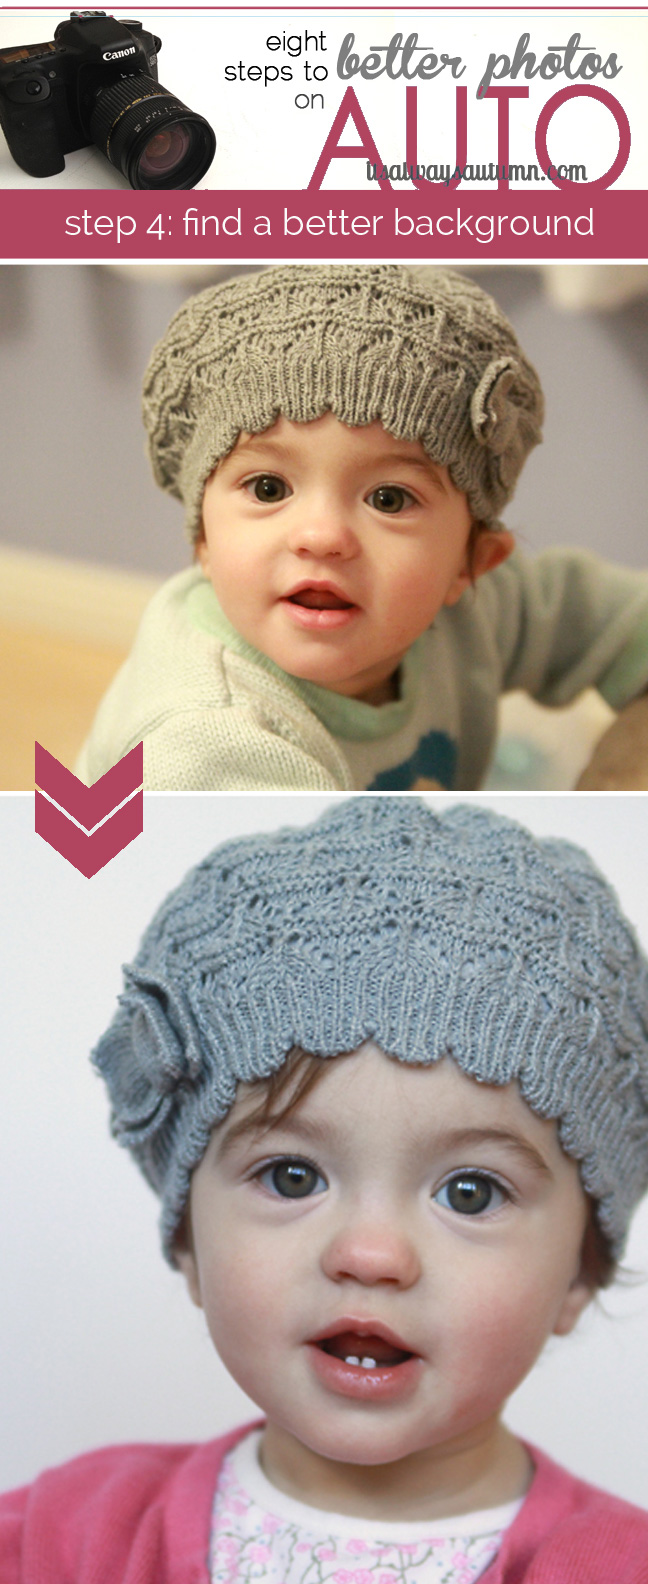
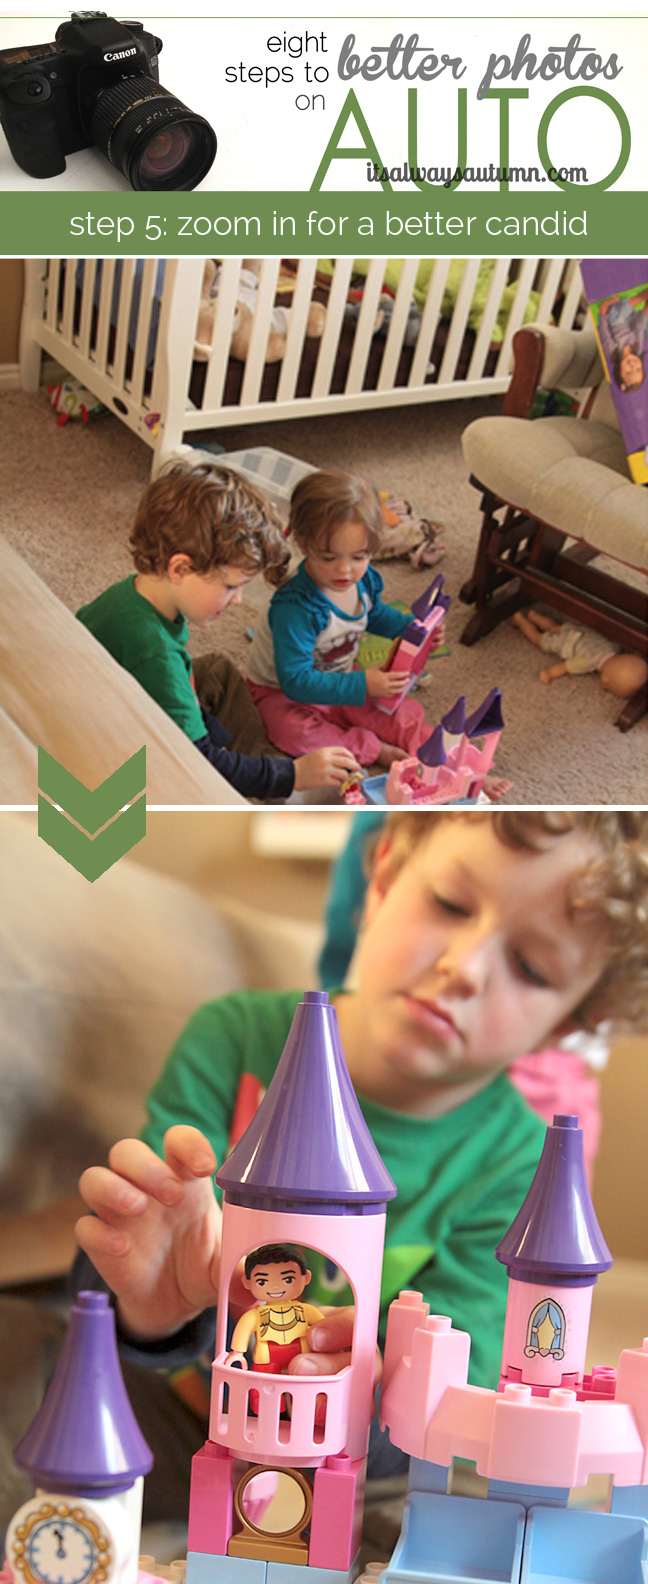
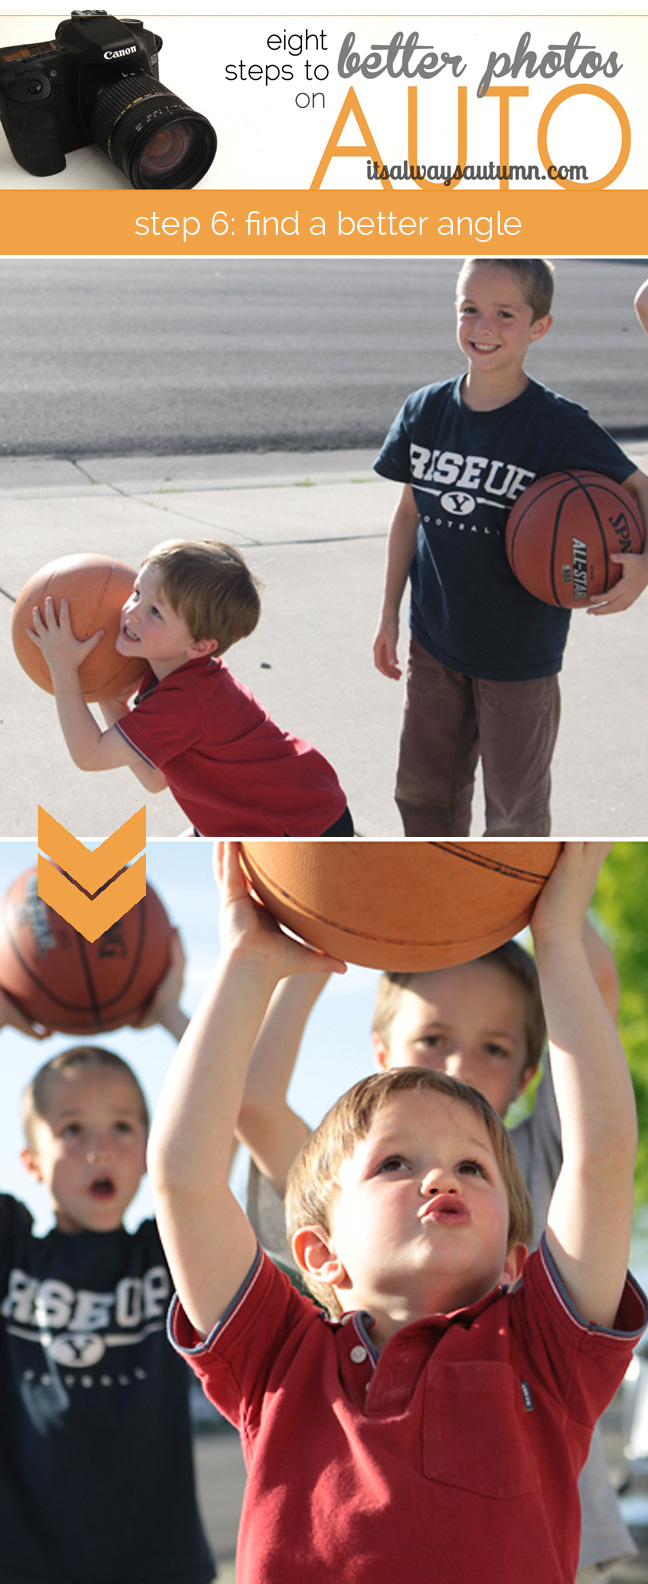
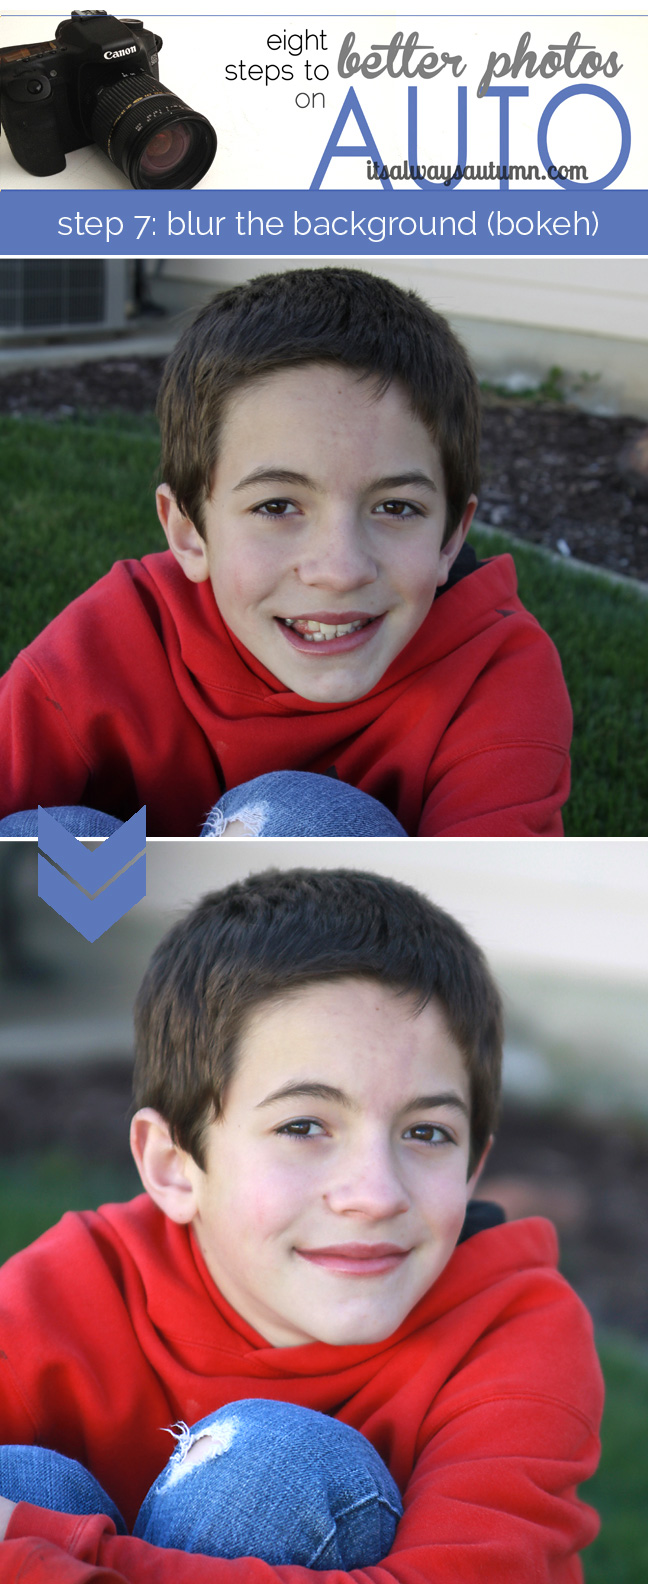
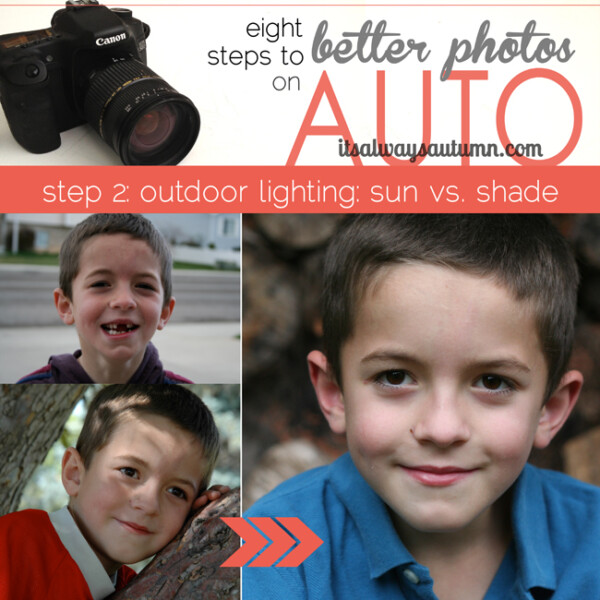
This is the third installment of Eight Steps to Better Photos on AUTO. Most people think the only way to really improve their photos is to learn to shoot on manual mode, and it’s true that using manual gives you the most control over the finished photo. But what if you don’t have the time or energy to invest in learning about exposure and aperture and all the other details of manual? That’s where this series comes in. There are plenty of things you can do to greatly improve your photos even when shooting on auto, and every Friday for the next eight weeks I’ll share one of them with you. Step one | Step two | Step three | Step four | Step five | Step six | Step seven | Step eight
Here’s a fun little story to start things off today: last summer I was visiting my parents and we decided to take advantage of their nice backyard to snap a family photo. It’s kind of a miserable process trying to get a good family photo when your family includes five kids under the age of 12, and we spent a good twenty minutes cajoling, bribing, and threatening kids to sit down and look at the camera while one of my sisters took 75 pictures of us. I figured I could do some head swapping and come up with something good enough, right? Well, I looked through all the pictures, focusing on finding the ones with the best expressions so I could start compiling things into one nice photo. That’s when I realized that due to the child on my lap pulling at my dress my bra was clearly visible in every single photo. Very visible. Visible in a I-don’t-think-I-can-fix-that-in-Photoshop way. It’s the only thing I see when I look at those pictures now. All that work to get a family photo and one silly but extremely distracting detail means it’s never going up on my wall.
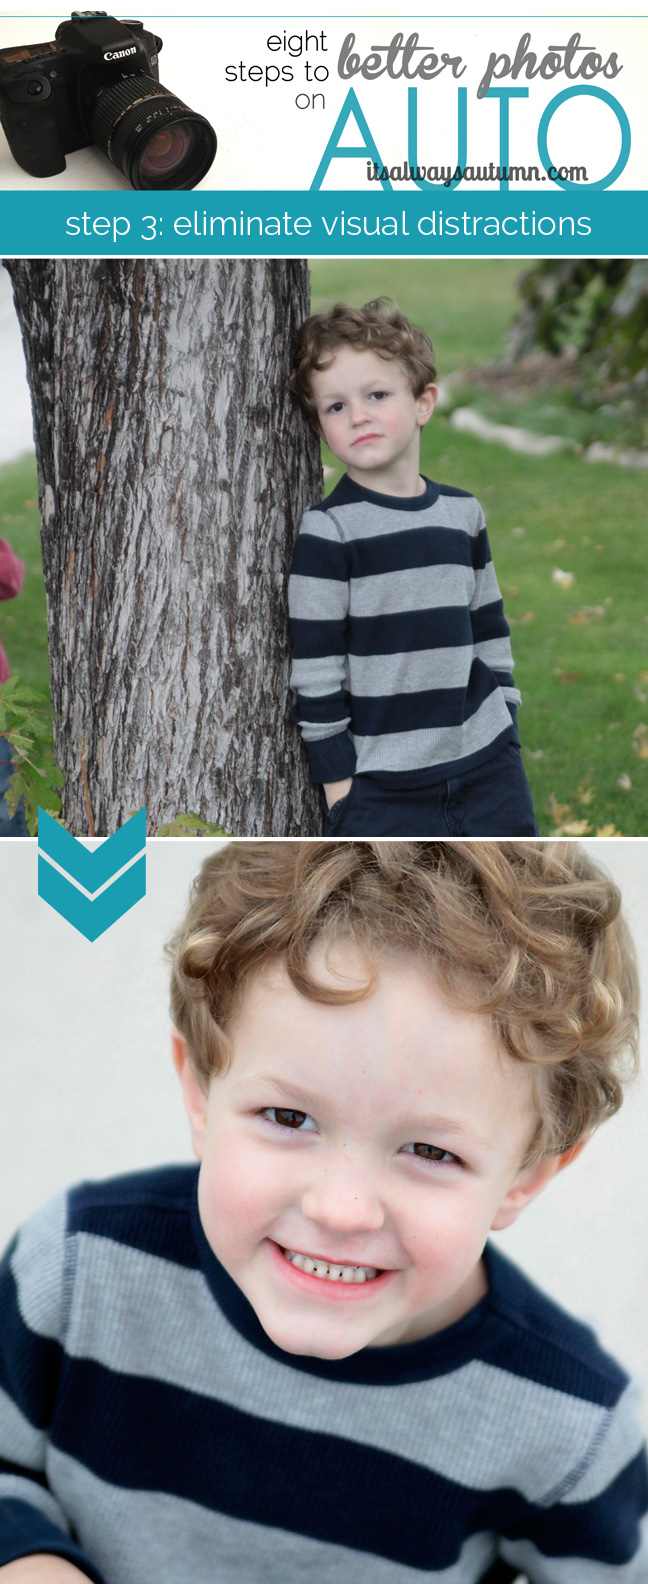
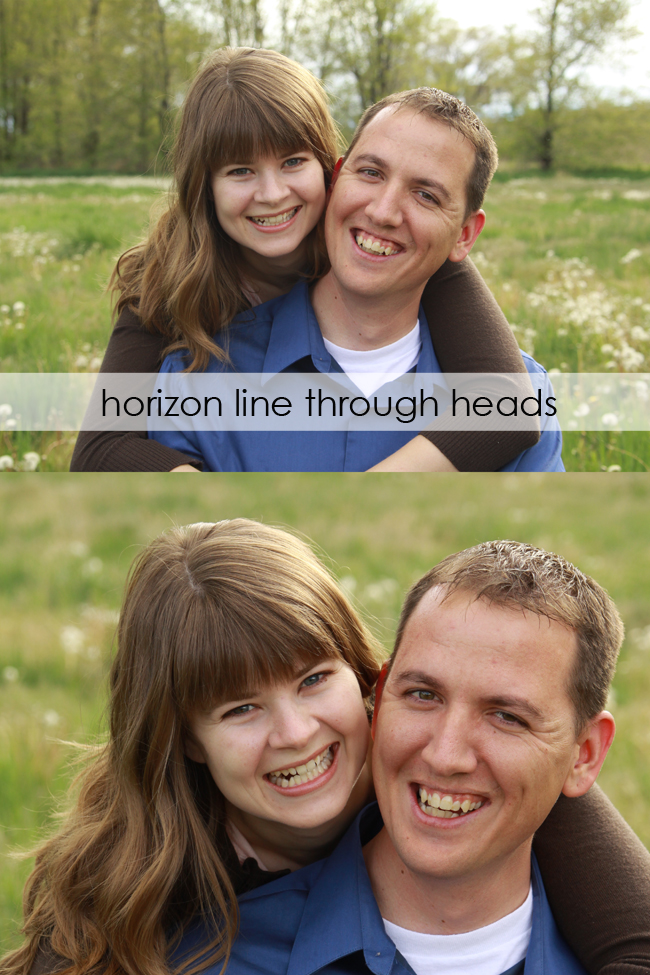
Today’s post is called “eliminate distracting elements” but it could just as easily be called “actually LOOK at what you are taking a picture of and make adjustments if needed before you waste a whole bunch of time and end up super disappointed because there’s a dumb tree/piece of trash/undergarment in the way that’s ruining the entire photo!” Take this picture for example:

I LOVE it. Well, I love the interaction between big brother and little brother – it’s adorable, right? When I was taking the photo I was so focused on the two boys that I didn’t notice the way the couch cushions in the background formed a big black line down from my older son’s chin. But as soon as I looked at the photo on my computer I noticed it, and it drives me crazy. It’s not a huge deal (not like someone’s underwear hanging out 😉 but if I had been paying a little more attention while I was taking photos I could have stepped to the left slightly – one little step and the distracting element would have been behind my son, not visible in the photo.
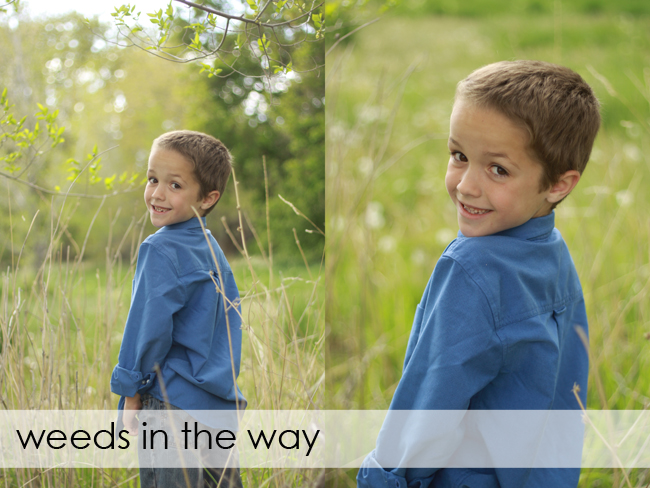
This happens all the time – we get so focused on the person or thing we are photographing that we don’t notice there’s a leaf in front of their face, or hair out of place, or a pole growing out of the top of their head. We don’t notice until we look at the picture later and it’s too late. Here are some examples to help you learn to start paying attention to distracting elements and eliminate them from your photos:
Hair & clothes: The photo below is adorable. The little girl’s hair is all over her neck, but who cares – she’s a cute little girl, right? But what if you take a photo of your teenage girl with messy hair? She’s going to hate you and make you vow not to let anyone see it. Check for stray hairs that go across the face, or errant bra straps, or a bunched up shirt that makes your subject look like she has belly rolls. Notice if your subject is sitting all slumped over, or is wearing a ball cap that shadows most of his face, etc. These are things you can’t edit out after the fact, so fix them before you take the photo.

Hands & arms: Pay attention to how peoples’ hands and arms look, especially when you’re photographing multiple people and some of them have their arms around each other’s shoulders. Sometimes it ends up looking like a disembodied hand is just hanging out on someone else’s shoulders – it can look kind of creepy. Also pay attention to hands in pockets – it looks weird when some fingers are in the pocket and some are out – you can get the feeling that some of the fingers are actually missing, like in this sweet photo below. It’s another photo I really love, but that missing pinky finger kind of drives me crazy…

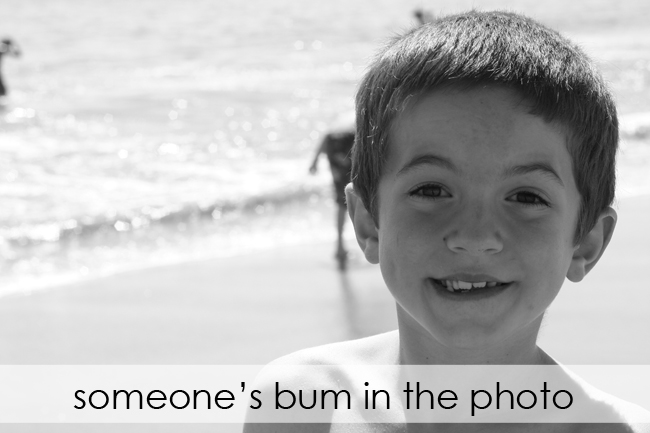
Distractions in the background: no one wants a tree growing out of their head in a photo, and I’m pretty sure no one wants someone else’s bum right by their head either. If you get in this situation you DO NOT NEED TO MAKE YOUR SUBJECT MOVE. Just take a step to the right or the left so the background distraction is no longer visible.
When you have your son pose for a photo on a bridge, try not to position him right next to the bird mess…

Wrinkled backdrop: I’ve recommended before using a plain blanket as a backdrop for photos – and I’ve even shown you how to use Photoshop to get rid of the wrinkles in it. You can do lots to fix your photos in Photoshop, but it’s so much easier to just fix them before you take the picture! Smooth out your background blanket before you start shooting and you’ll save a lot of time after the fact.

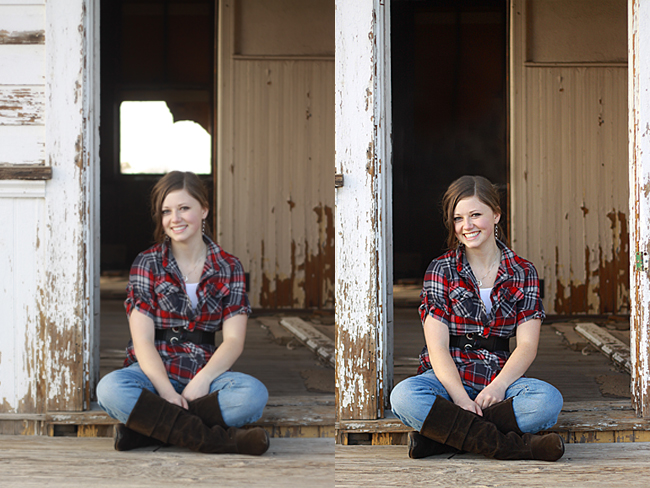
Very bright areas in the background: Bright spots in a photo grab and hold our attention. Look at this photo:

The first thing I see is not the person in the photo (which is a shame since she’s so unbelieveably gorgeous, right?) It’s the patch of neon green grass in the top corner. The girl and/or photographer should have moved so that all the grass in the background was in the shade. That way there wouldn’t have been a big patch of bright neonness to distract from my, I mean that nice girl’s beauty. Here’s another example:
When I was taking the photo I didn’t even notice the window behind the girl’s head, but it’s so distracting in the photo. I was able to photoshop it out, but it took a LONG time and it’s not perfect.
Here are a few more examples to help you see how easy it is to eliminate distractions and what a big difference it can make. Often all you need to do is change your position slightly:
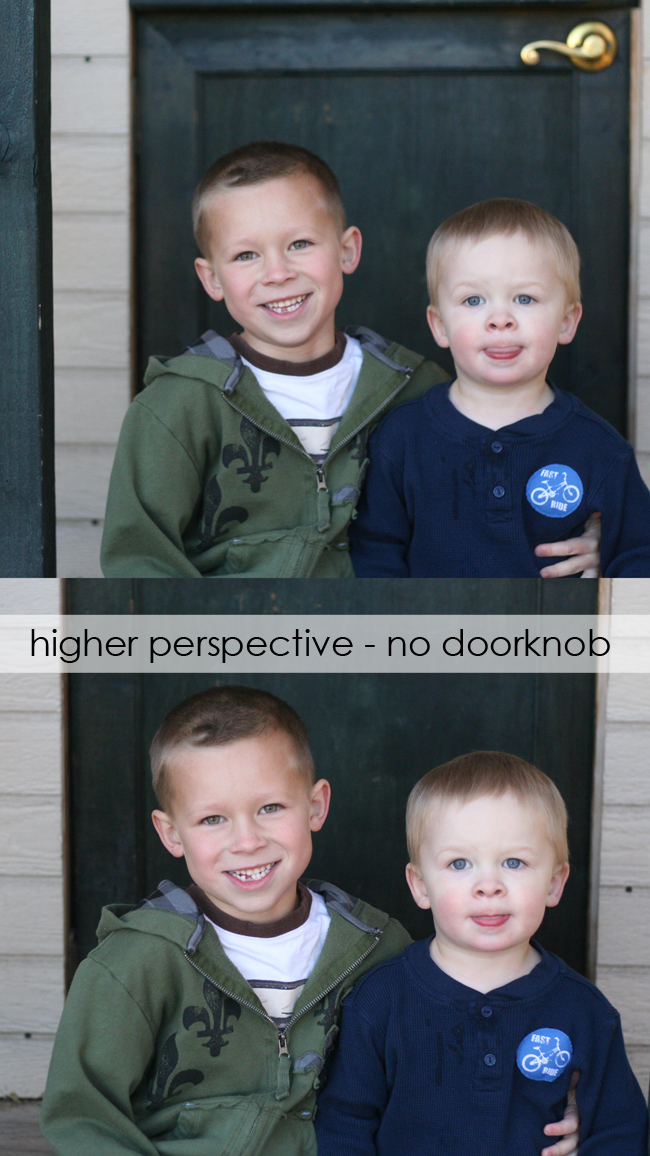

Or ask the person you’re photographing to move slightly.

Often small distractions don’t totally ruin a photo, but removing the distractions almost always improves it.
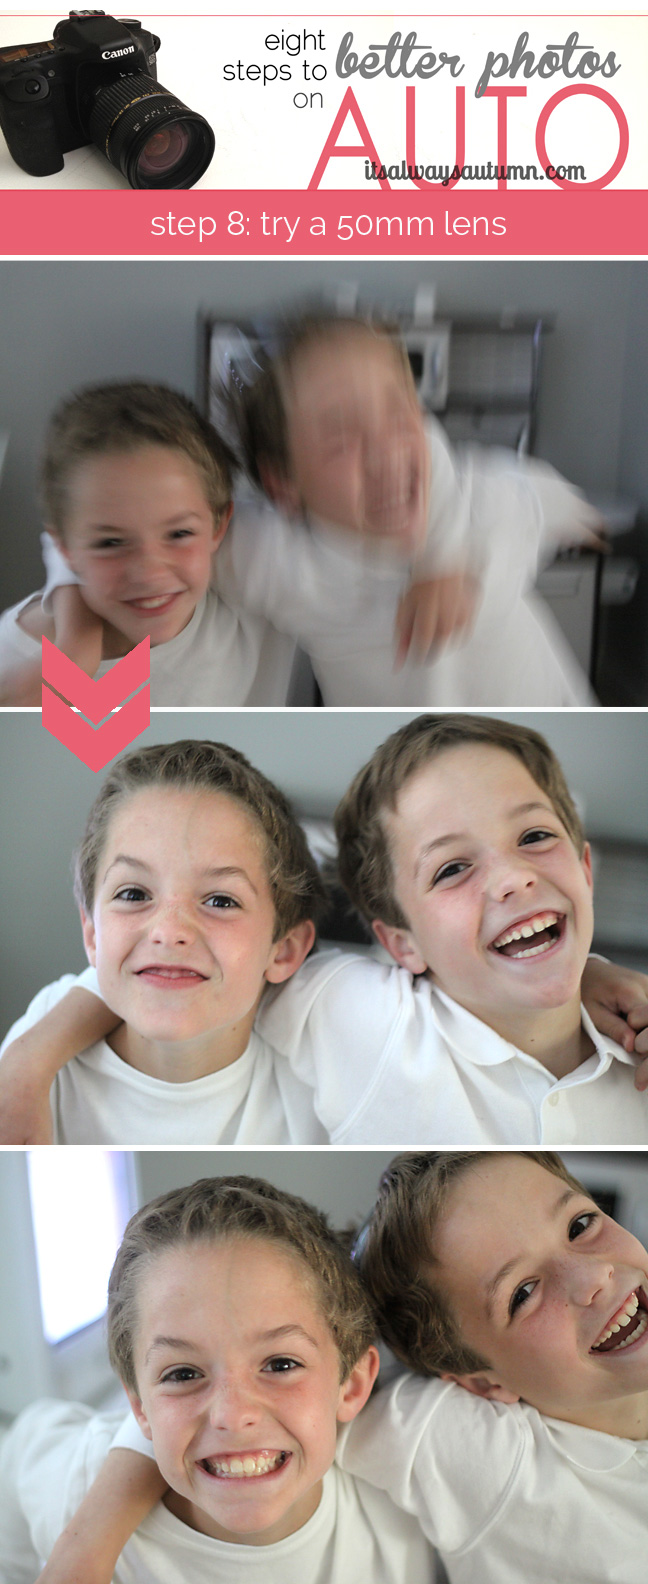
That’s it for today – if you’ve missed any of the other installments, click on the photos below to see all the other posts:
Rachel says
Your tips are great and super easy to follow and understand. My family and I are headed to Europe next summer. Do you have any tips for taking pictures in low light ie. Cathedrals etc. Also tips for still taking decent photos in rainy or less than ideal weather. I’d like to think we can go back someday but trips like this have a way of being once in a lifetime and I don’t want to miss a shot. Thanks
Annika says
I just wanted to say that I truely love all your posts on photography. They are clearly written and with all the pictures in addition all these things are really easy to understand! Thanks a lot. My picture taking skills are already improving…